


|


Mike_da_Spike
-
Posts
3789 -
Joined
-
Last visited
-
Days Won
241
Content Type
Profiles
Forums
Events
Downloads
Store
Articles
Everything posted by Mike_da_Spike
-

Pinball FX3 Cabinet Mode Authentication for Steam removed!
Mike_da_Spike replied to Draco1962's topic in General
Nice ! Thanks for sharing. I need a couple of times search for my key as it cleared somehow within fx3. -
Wow! Realy, realy, realy cool build. And thanks for sharing this with us. Your son must be the most populair boy in school now ! What a birthday party !
-
[PINCAB] My Virtual Pinball Cabinet build
Mike_da_Spike replied to Mike_da_Spike's topic in Gamer Rigs
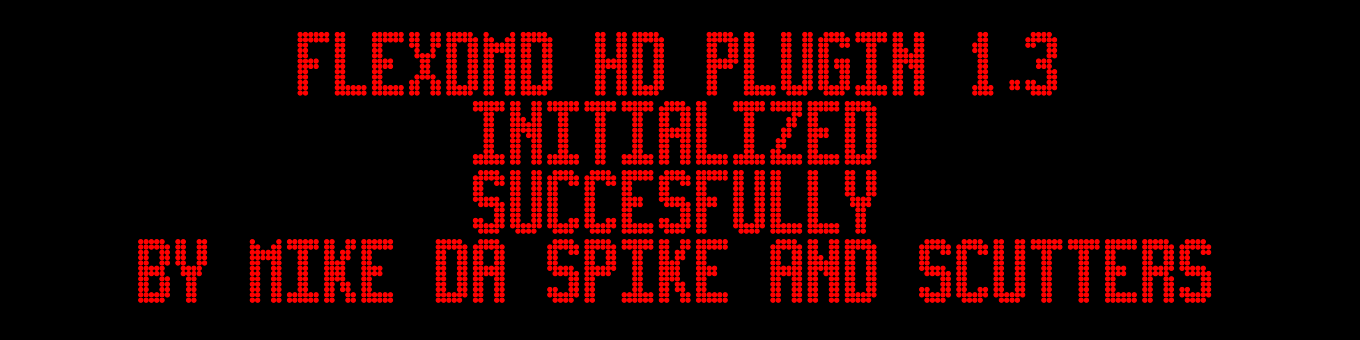
For those using PinballX with my FlexDMD plugin: I've updated it to support a resolution of 256x64 as well. You can download the latest plugin DLL from: Navigate to the Plugin Manager, select the desired plugin, and proceed to configure it. Enable the 'Use HD' checkbox. Click 'Save & Exit'. Upon launching PinballX, you will see: And all your media will be processed in a 256x64 format. Only use this if you have 256x64 DMD or want to use it with the virtual DMD in higher resolution A huge thanks to 'FlexDMD master' @scutters who made the most part to get flexDMD to work. I only added some other stuff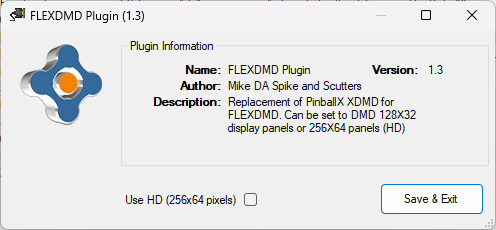
-
[PINCAB] My Virtual Pinball Cabinet build
Mike_da_Spike replied to Mike_da_Spike's topic in Gamer Rigs
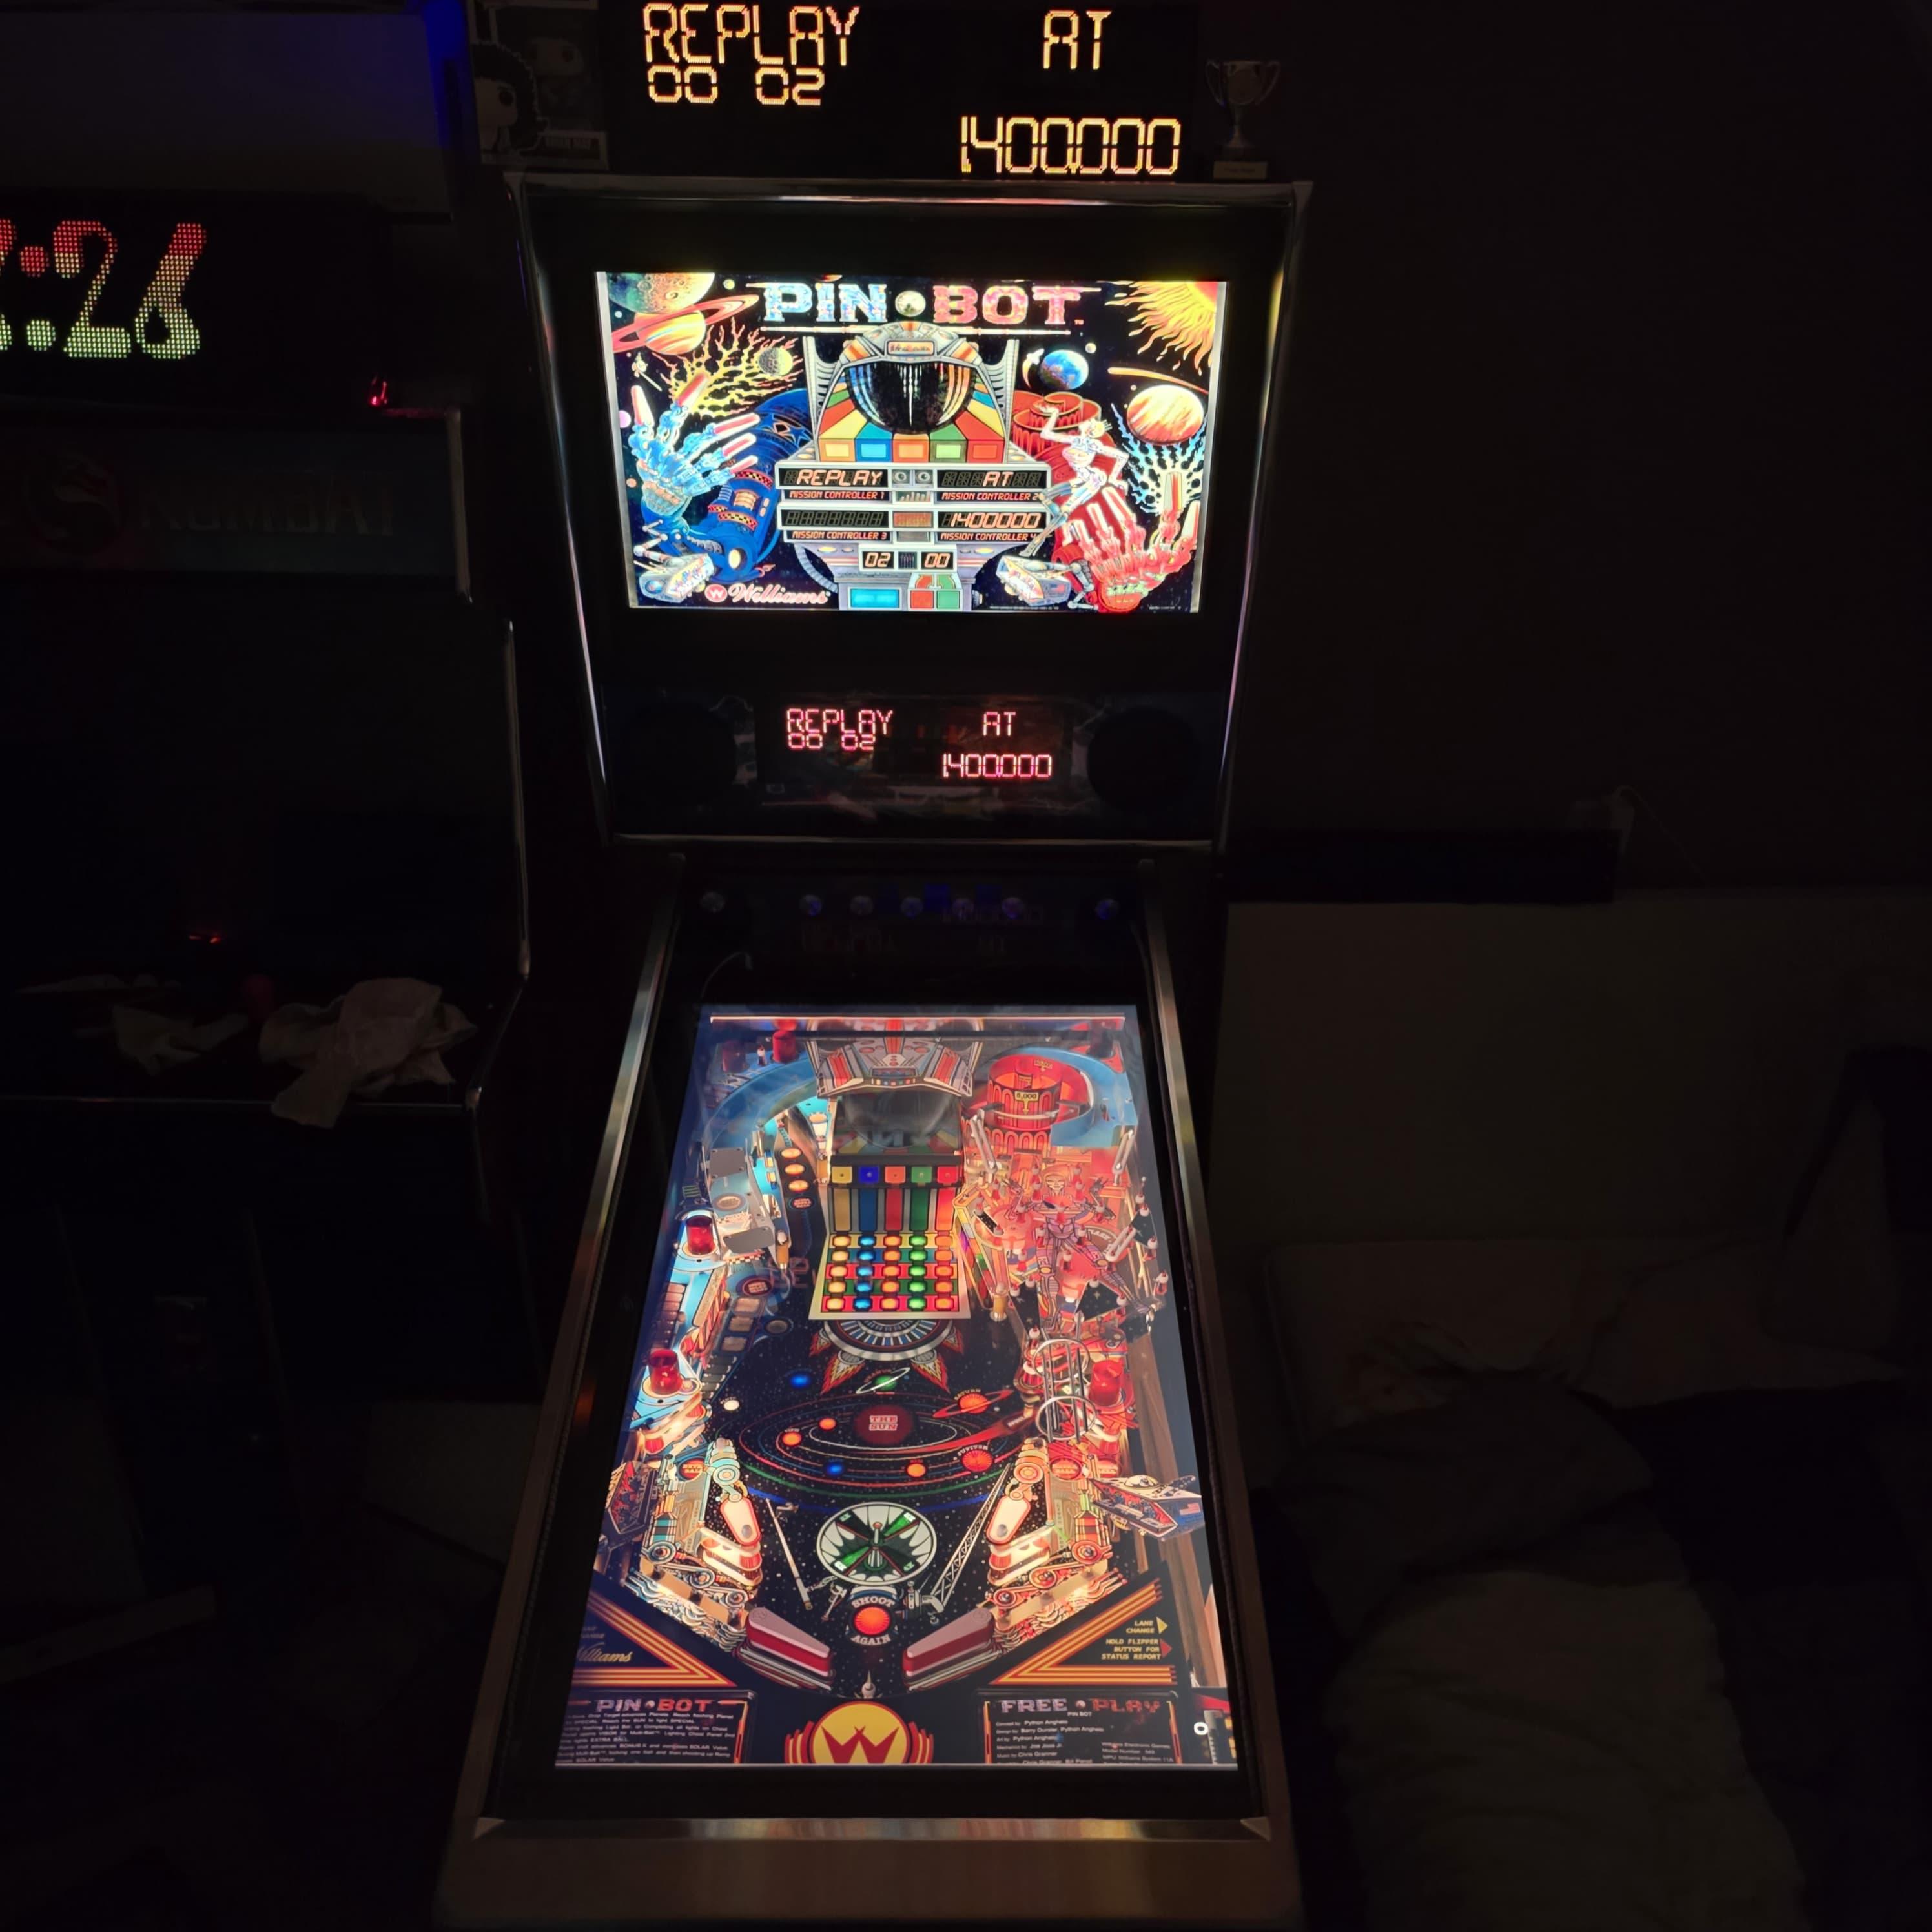
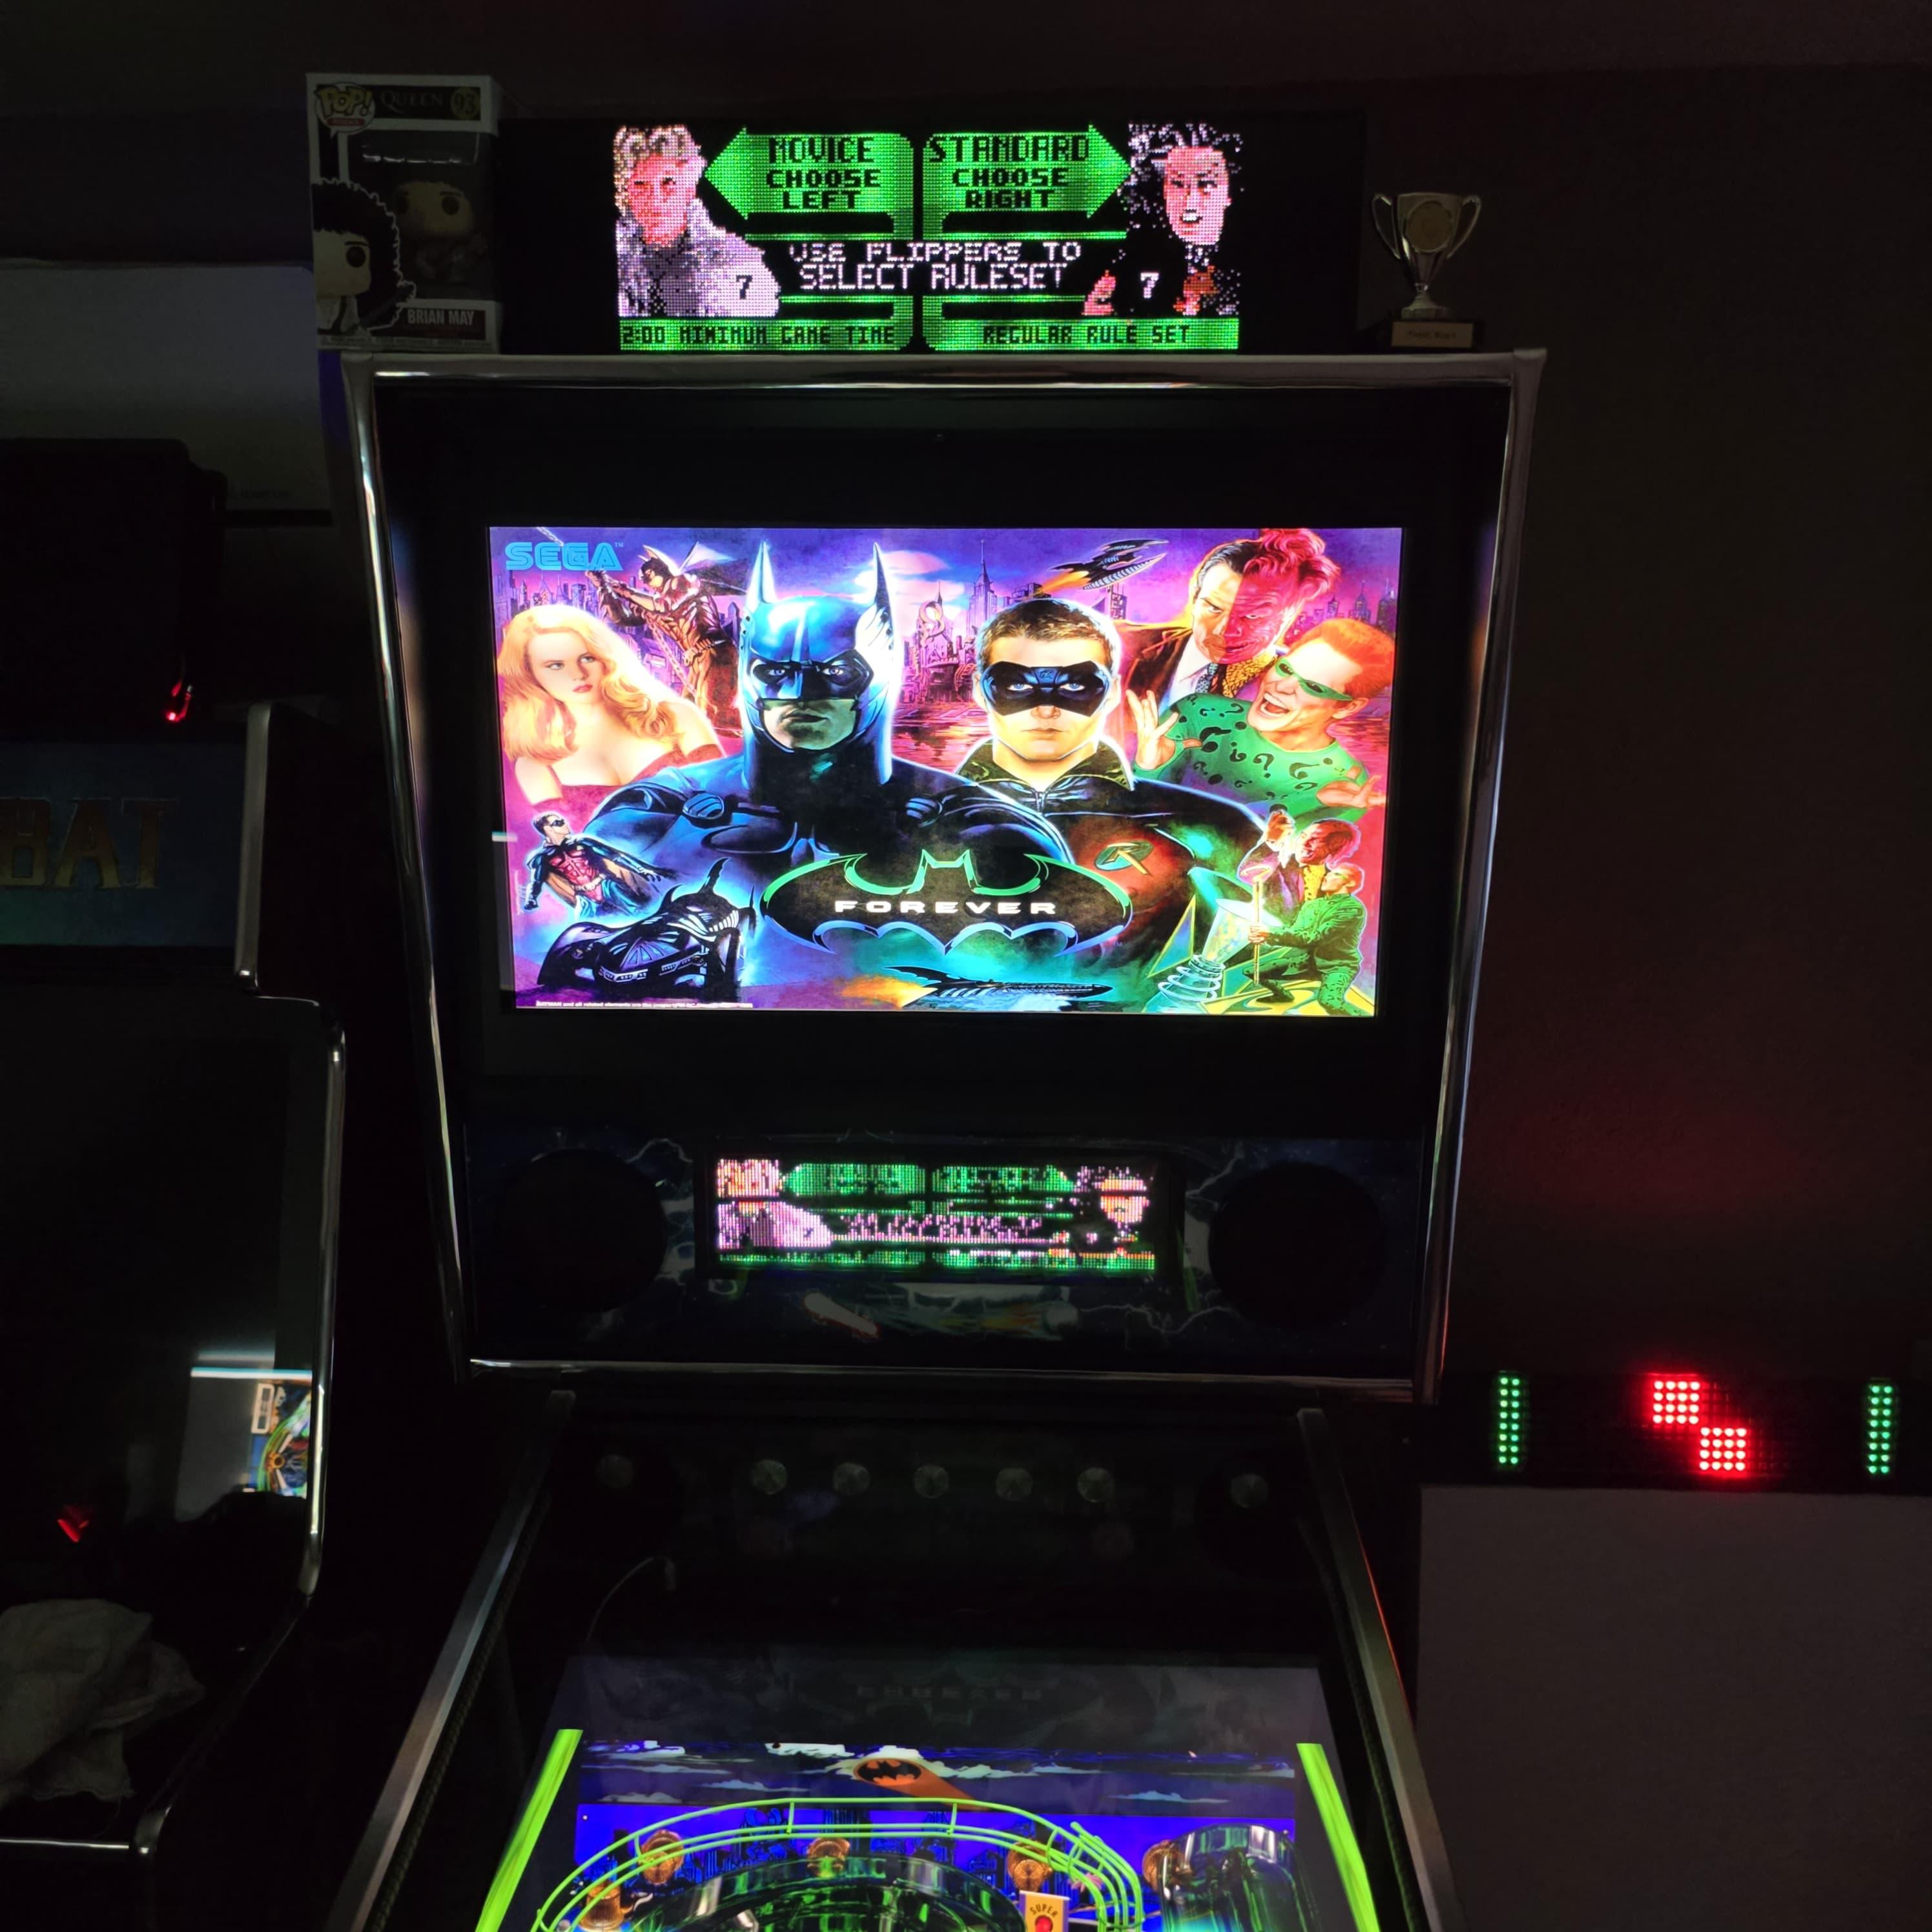
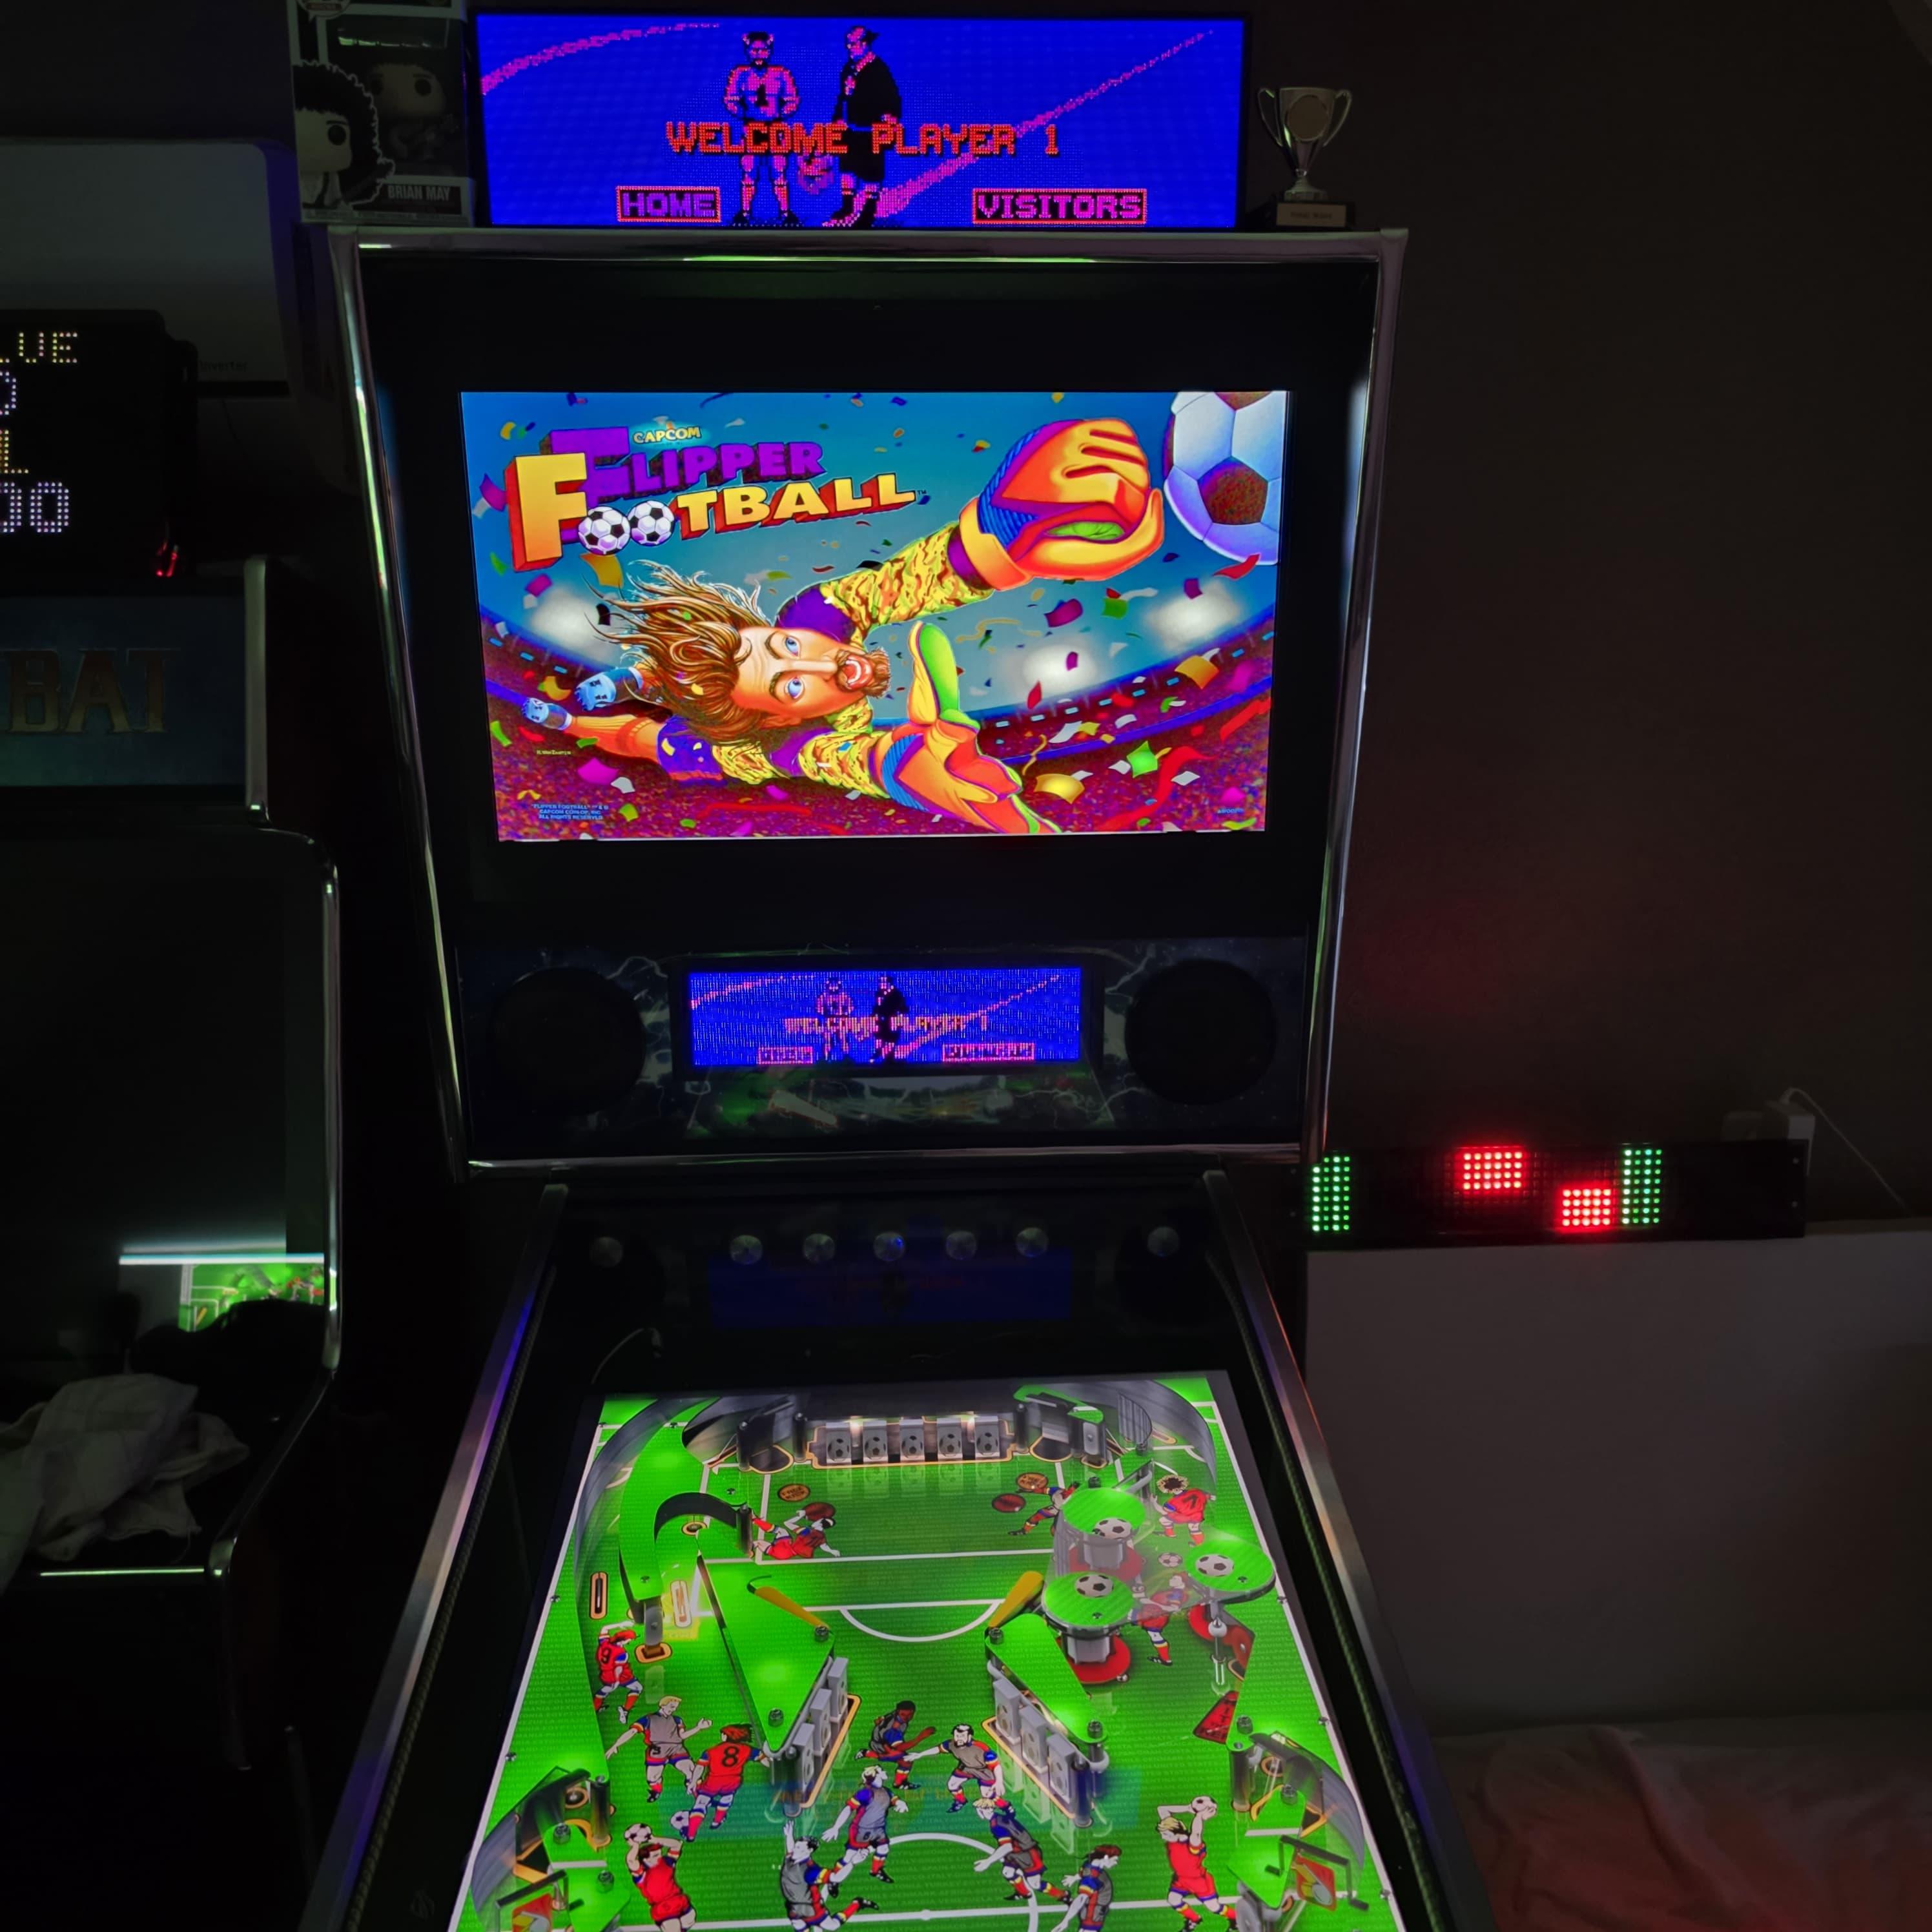
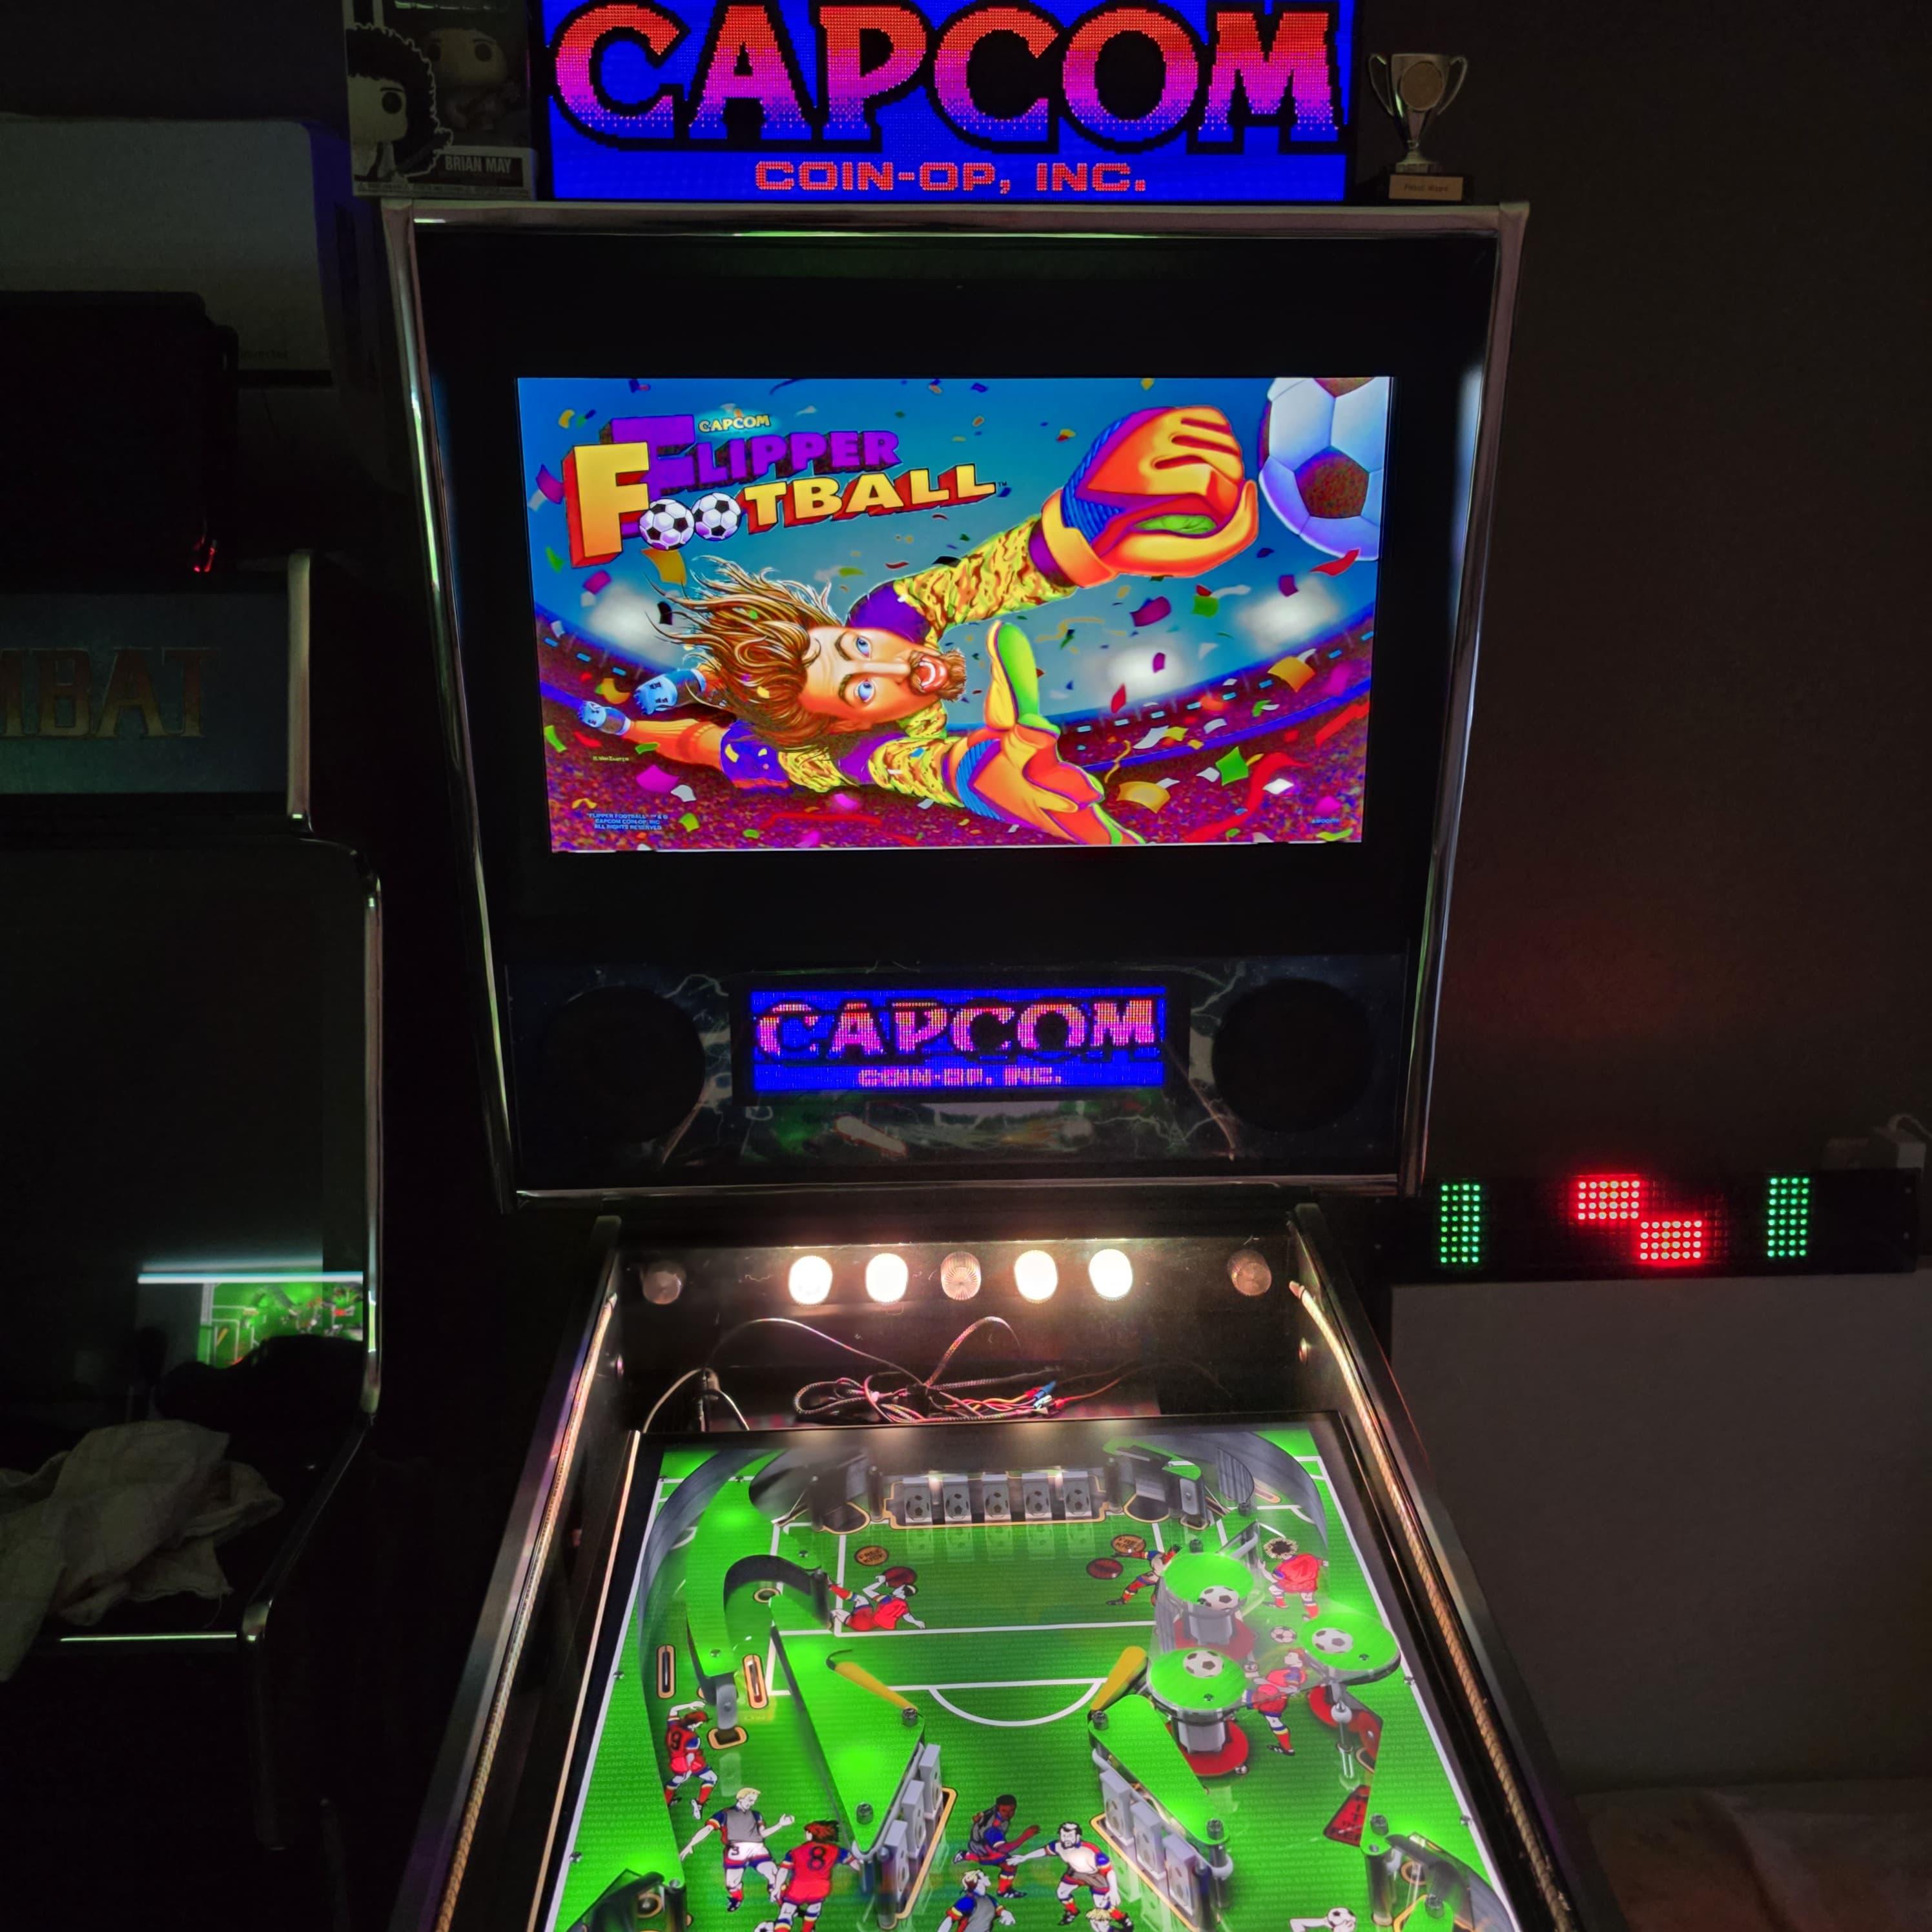
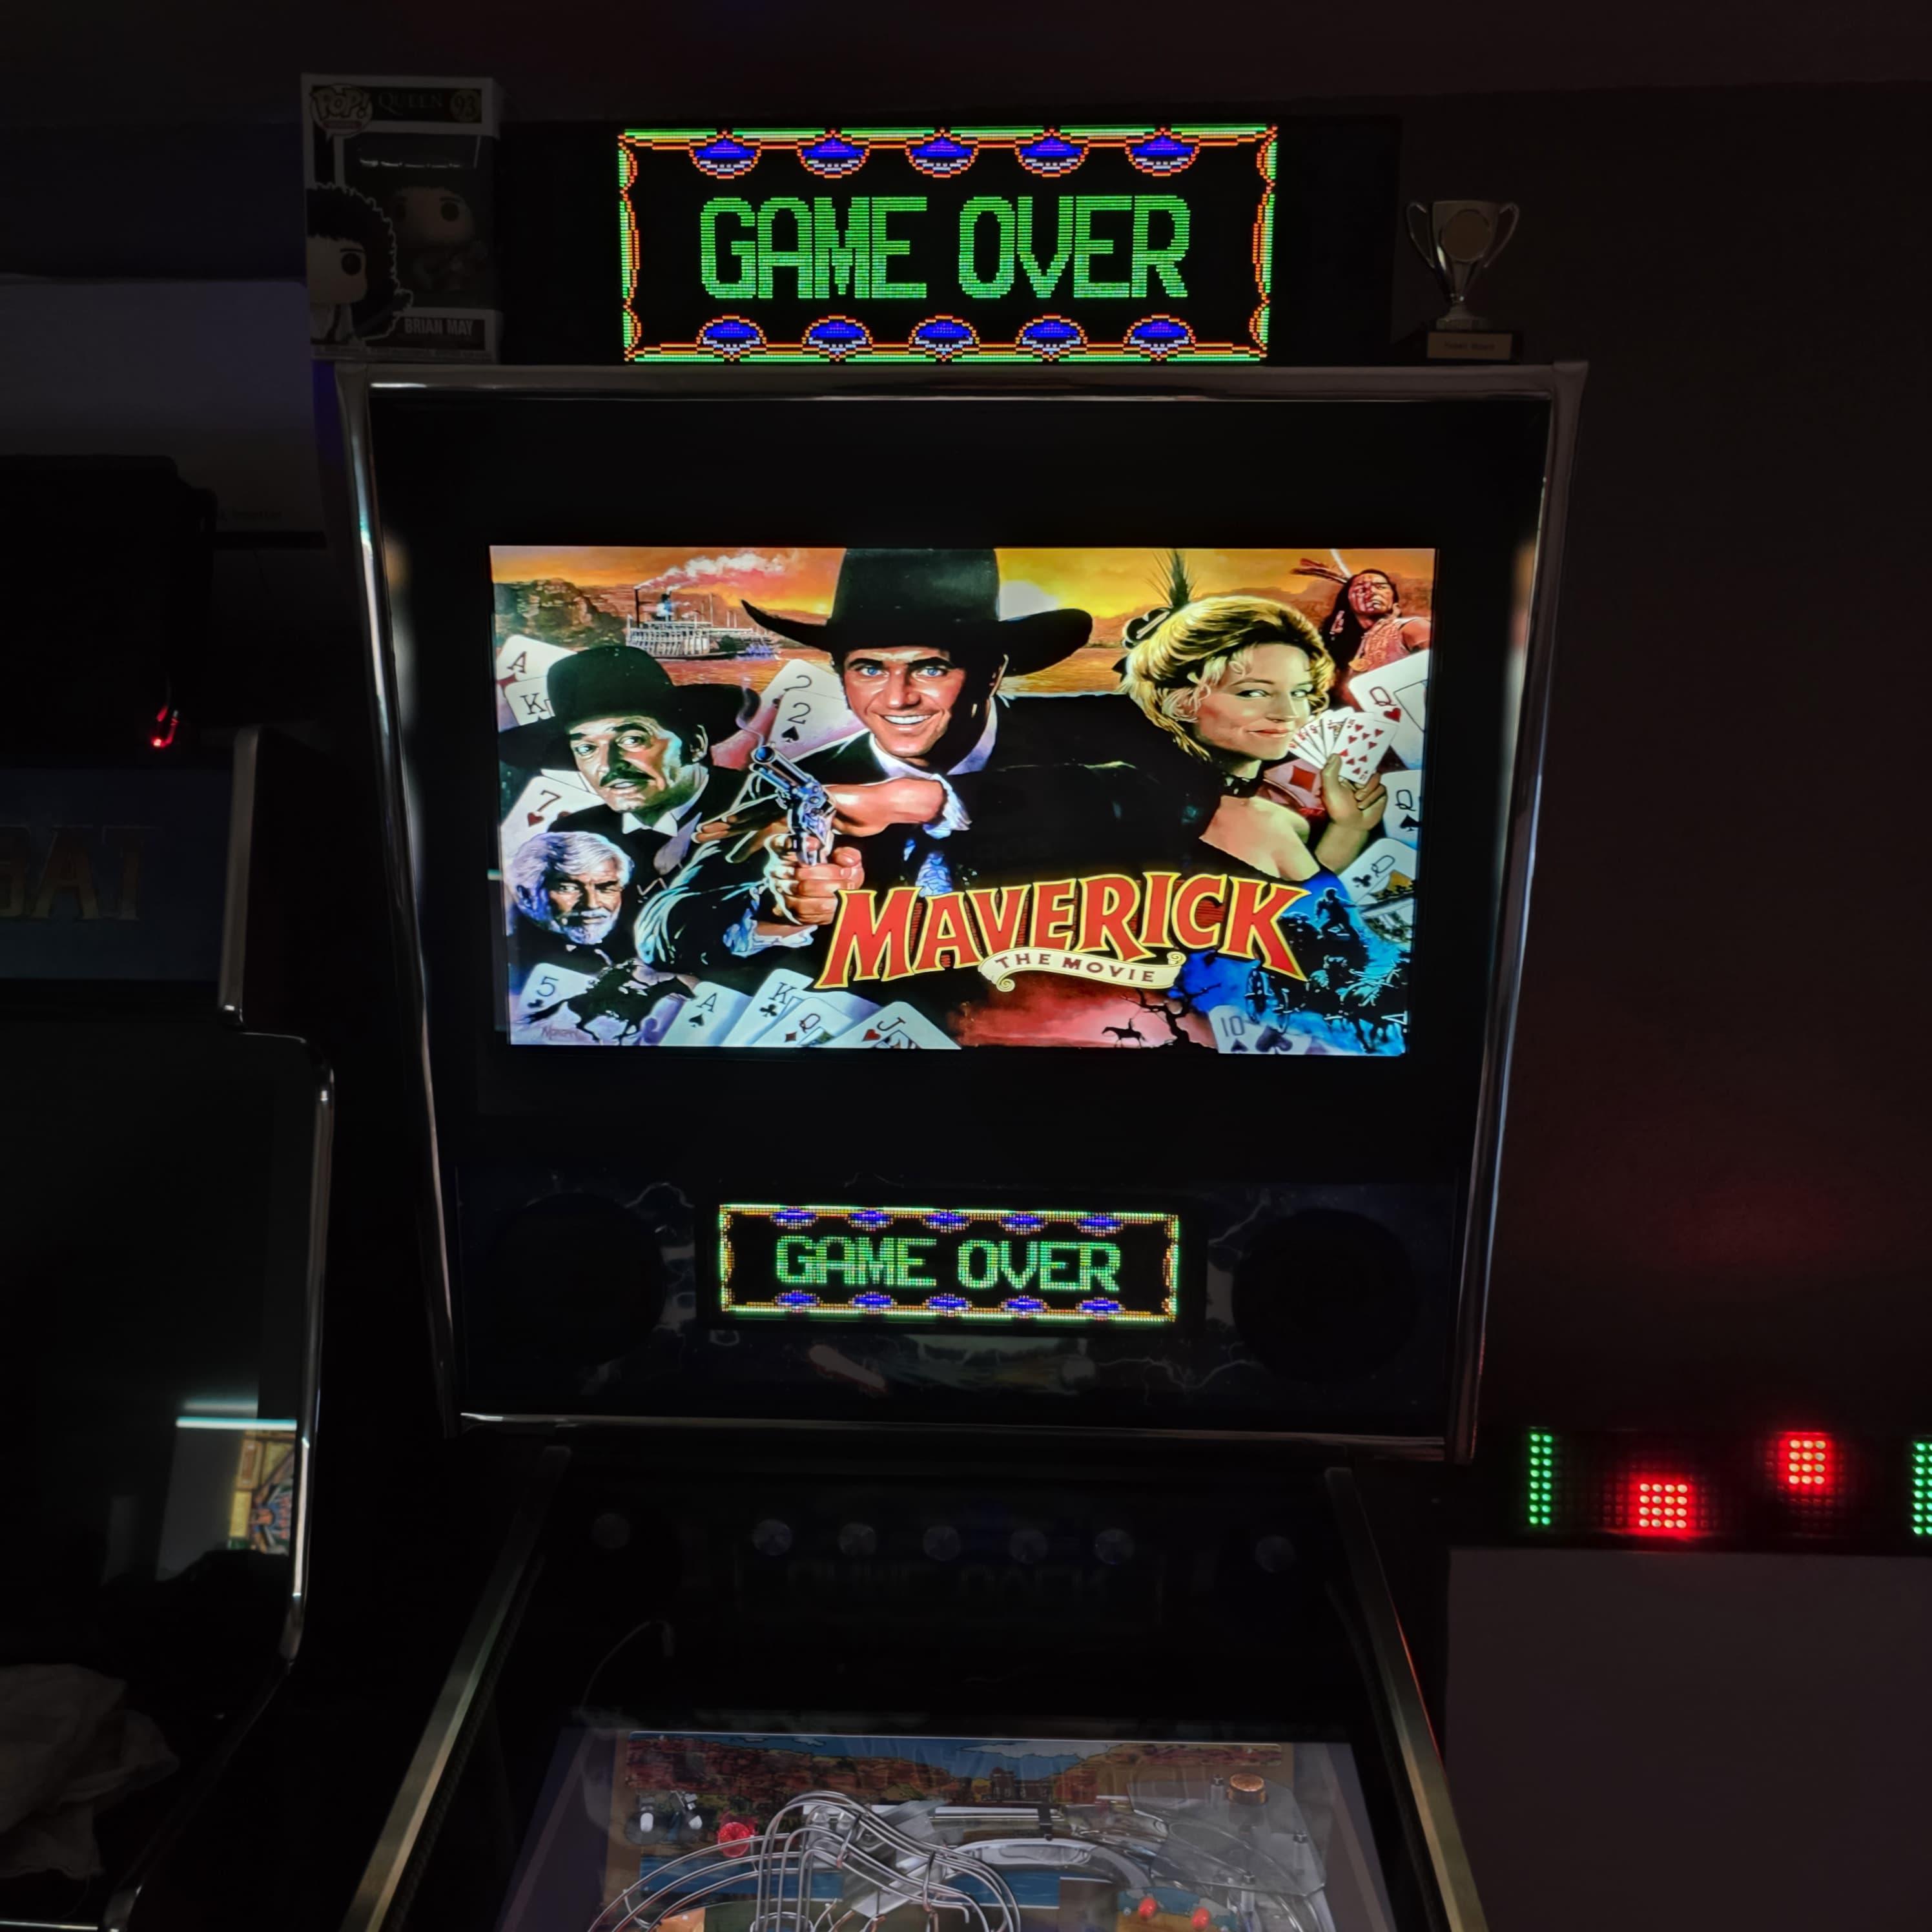
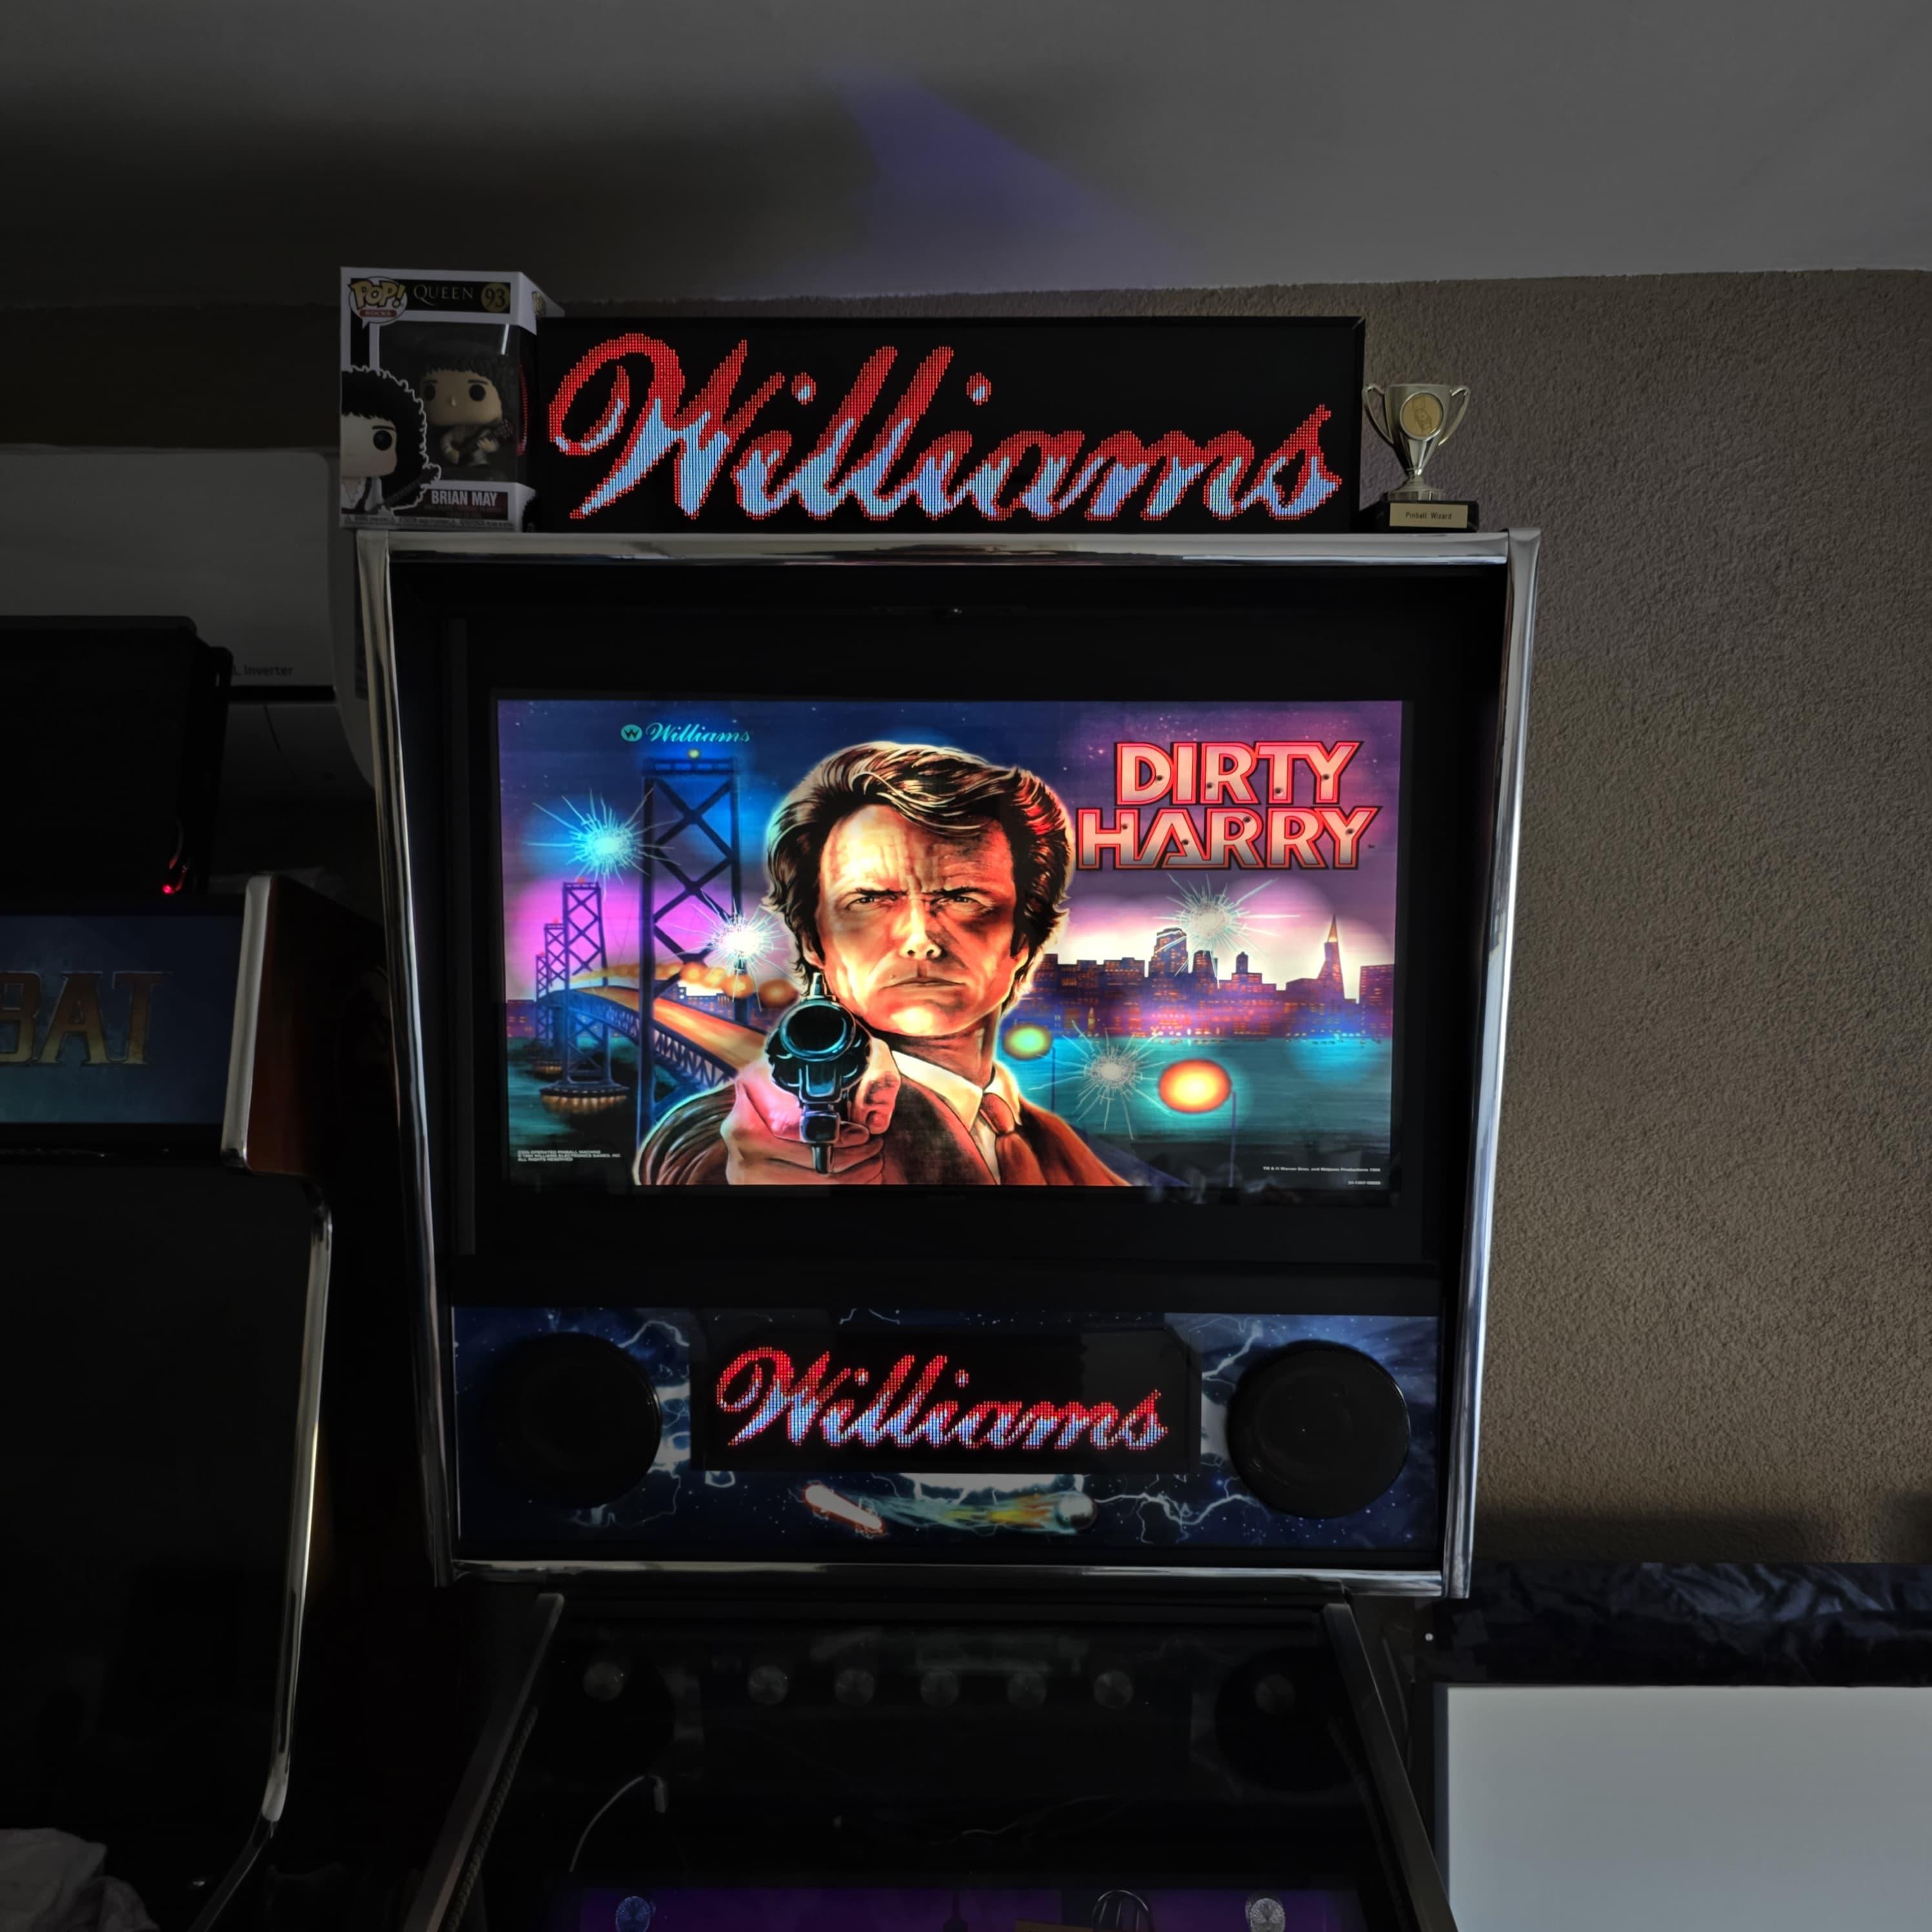
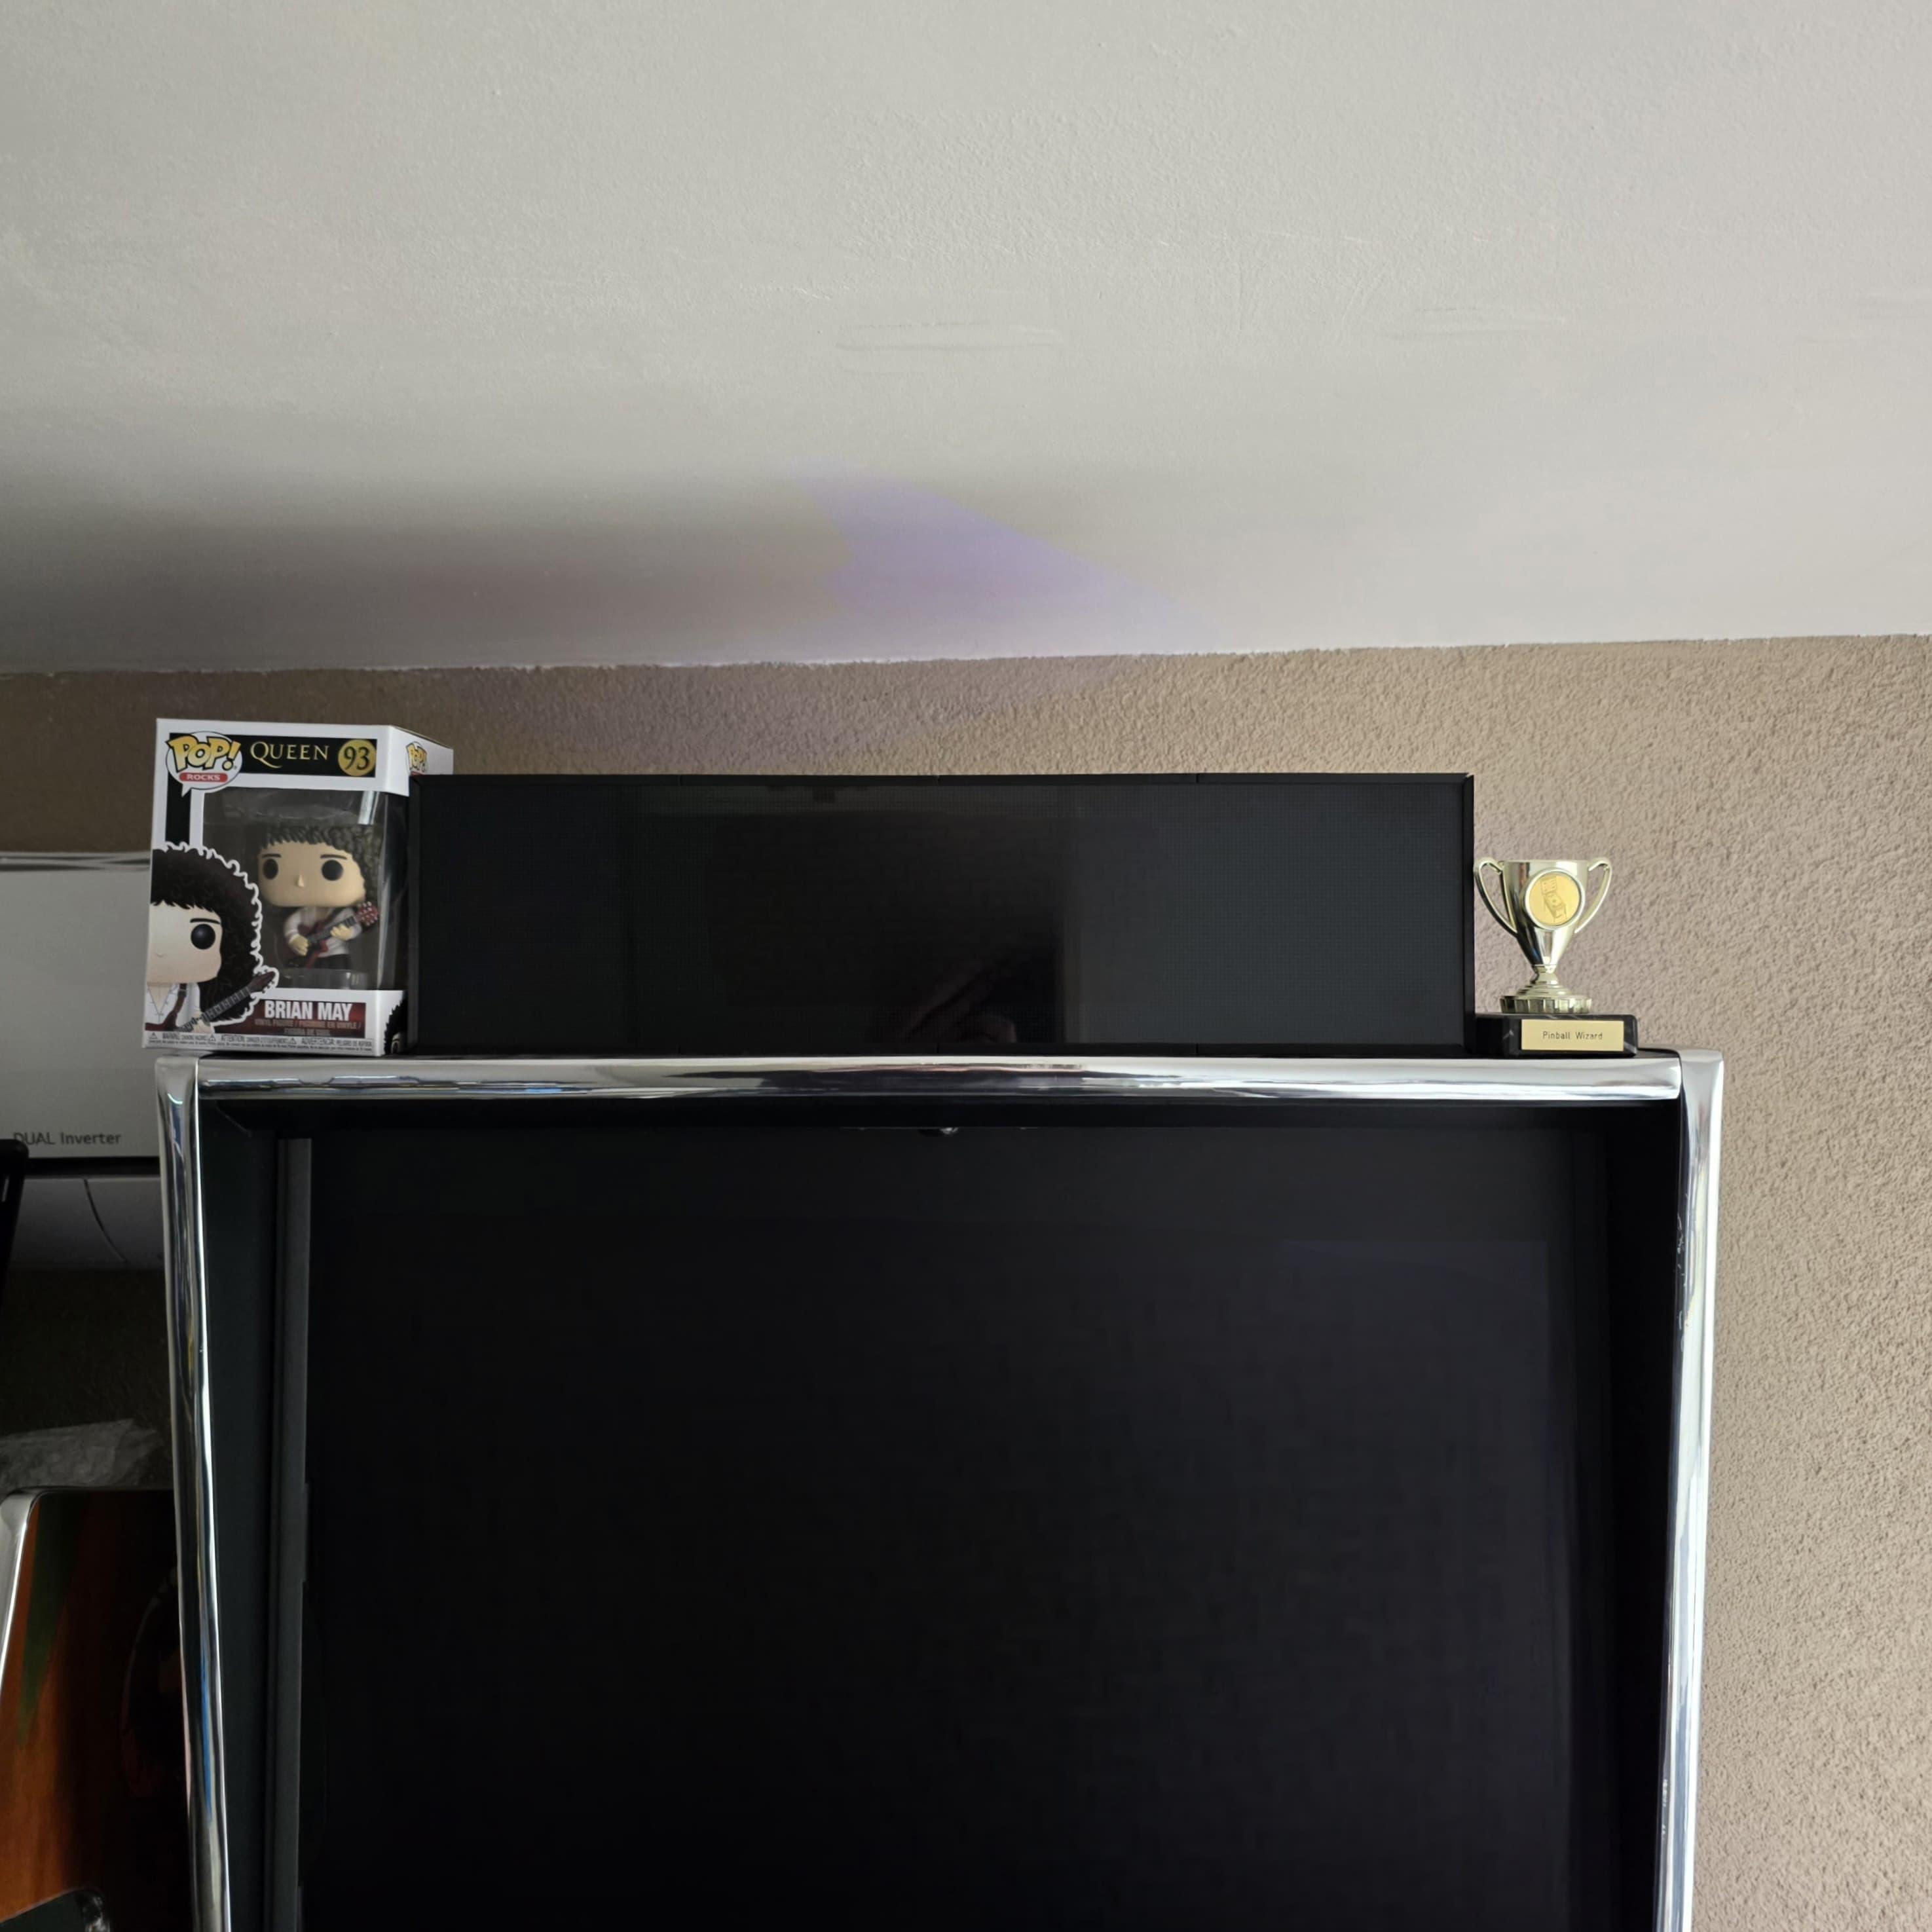
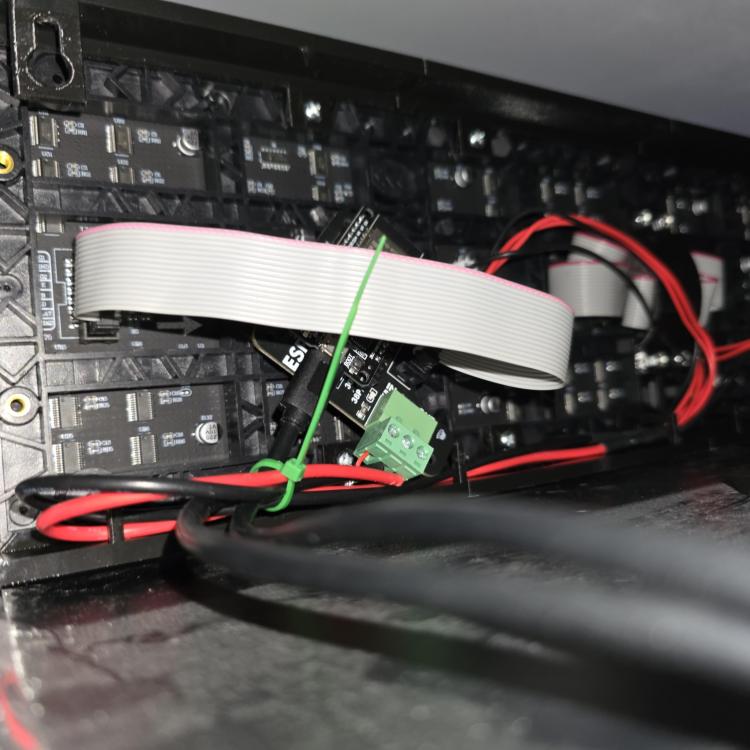
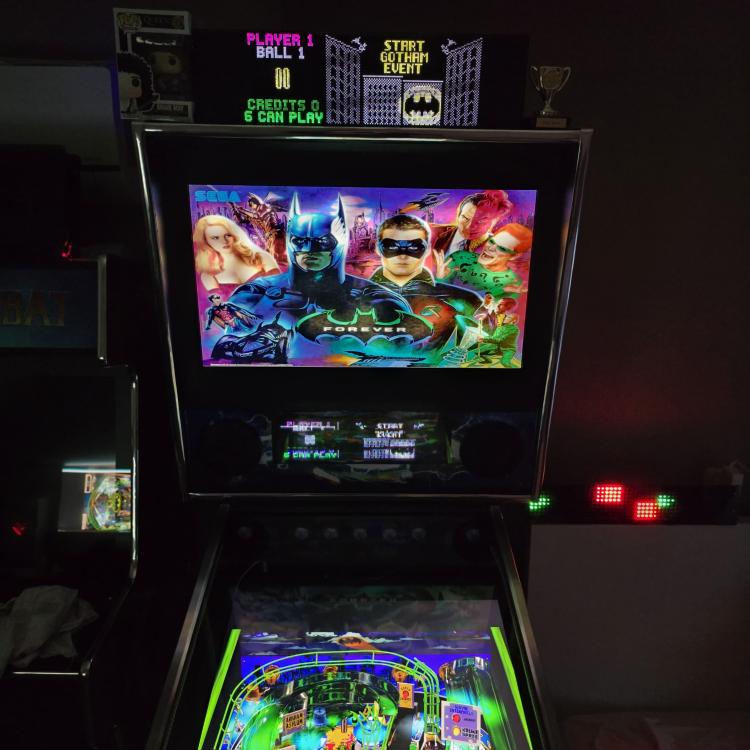
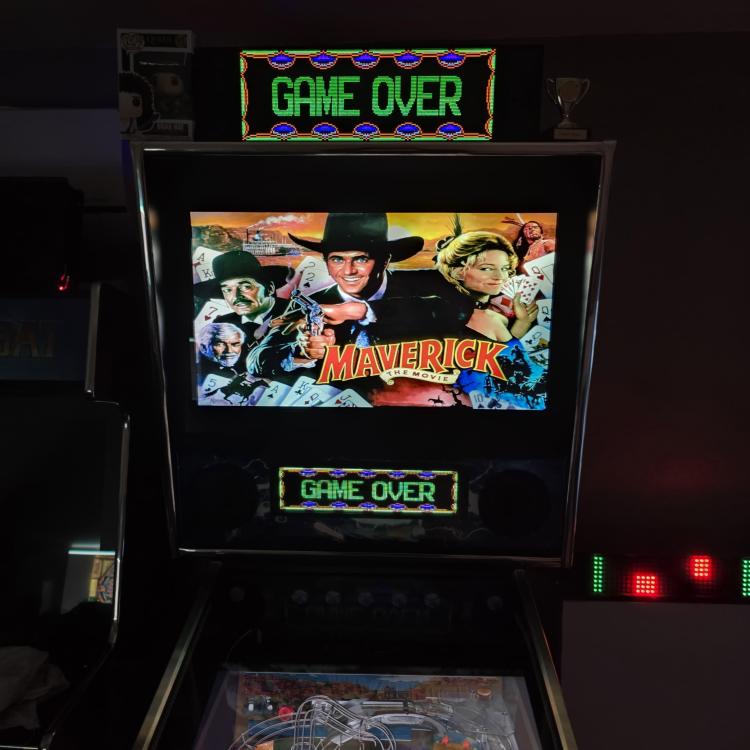
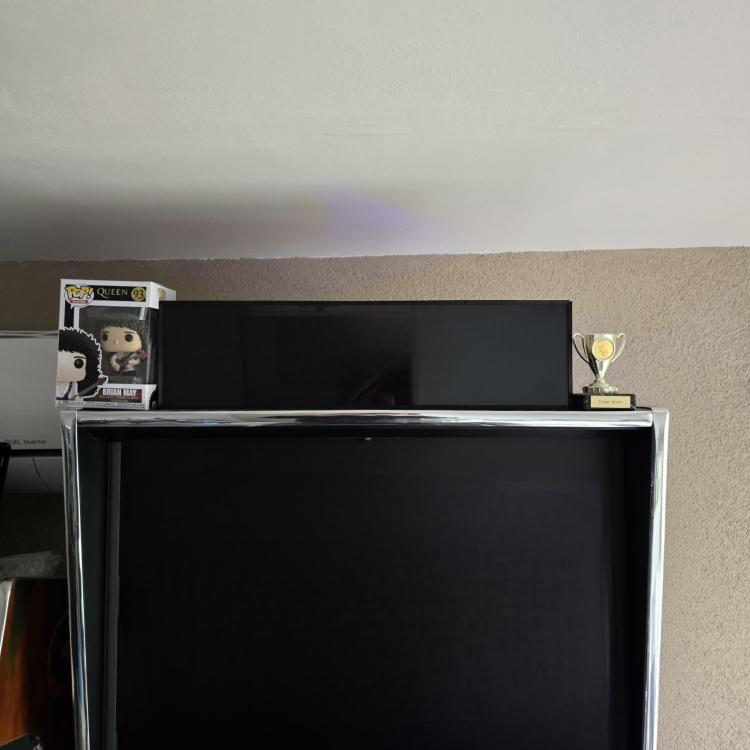
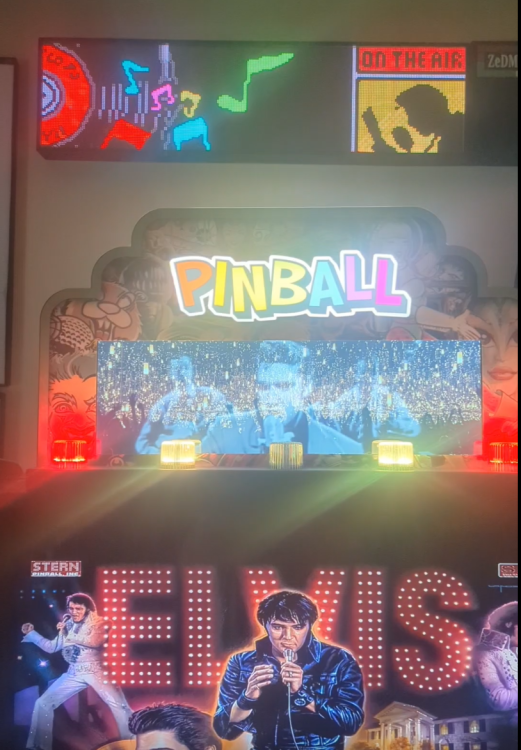
A minor yet significant update: I've tested the latest version of XDMD, which now enables zeDMD to function within PinballX. Kudos to @Tom Speirs for this achievement. It's likely that he will make it available shortly. Following Tom's success in getting ZeDMD operational, I proceeded to flash the ESP32 for ZeDMD HD compatibility. Additionally, I've completed the DMD frame by installing tinted plexiglass. Since I didn't create the small box next to the DMD frame for the power supply and circuit board, I simply used two zip ties: one to hold the circuit board and another for the cables. You'll notice I utilized two USB wires; one is connected to the ESP controller for data, and the other is trimmed and attached to the connector to adjust the voltage from 5V to 4.7V. The method I use to power the LEDs is definitely not best practice. If all LEDs are lit up, they could consume a significant amount of watts, and if the USB cable simply connected to the PC, it could potentially damage the power supply ! so be aware ! I've placed the ZeDMD HD on top, and this is its showing my wheel logo's (with year and animated company) within PinballX : during gameplay I've now set that DMDdevice.ini should use a ZeDMDhd and the PinDMDv3 : For alphanumeric displays, the PinDMDv3 was already adequate. However, the ZeDMD not only upscales the alphanumeric display twice but also enhances the font appearance, making it look better and more rounded. However, the significant changes are evident with the new CRZ files, which feature 256x64 coloring (for 128x32 ROMs). Take, for instance, one of my preferred tables, GnR: or even the games that are having a larger display by default and looks crappy on the 128x32 real DMD Short video of attract mode Baywatch. Observe the differences between DMDv3 and ZeDMD HD. WhatsApp Video 2024-11-03 at 06.01.21_ec8ae89e.mp4 or a non coloured roms , which have large display : Or just an upscaled 128x32 shows fine during gameplay: And now, with the lights turned off, the room is brighter and equipped with plexiglass. Once again, a huge thank you to @Tom Speirs for integrating ZeDMD support into PinballX, and a heartfelt thanks to dizzytal for fabricating the frame for the P2 panels!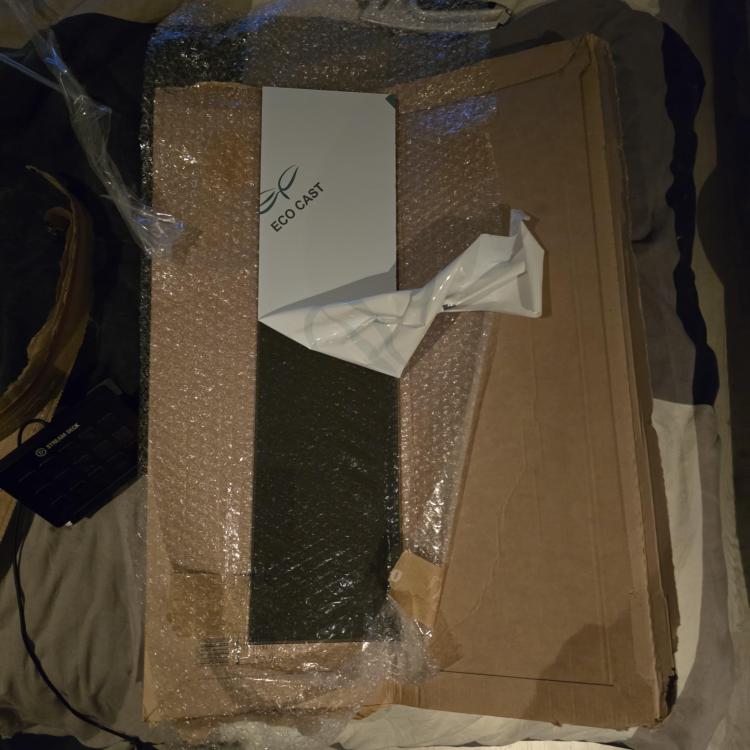






-
[PLUGIN] FLEXDMD real DMD video player (version 1.3)
Mike_da_Spike replied to Mike_da_Spike's topic in User Projects
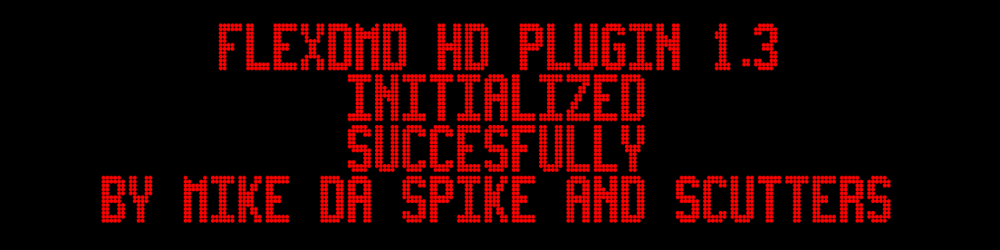
For those interested in using flexDMD with a 256x64 resolution, it's not merely an upscale; it actually renders media at this resolution. This feature can be enabled through the plugin manager. Once activated and launched, either virtually or through a real DMD supporting 256x64 pixels, you will observe: This indicates that the 'HD' size is functioning correctly. If you have an actual DMD and the text isn't visible, it could mean that you have a 128x32 display running at 256x64 pixels. To fix this, adjust the settings in the plugin manager and click configure to deselect the HD checkbox. When it displays as the following picture, it indicates that it is still utilizing a 128x32 pixel resolution. Thanks to our own flexDMD master @scutters for his support and help

-
[PINCAB] My Virtual Pinball Cabinet build
Mike_da_Spike replied to Mike_da_Spike's topic in Gamer Rigs
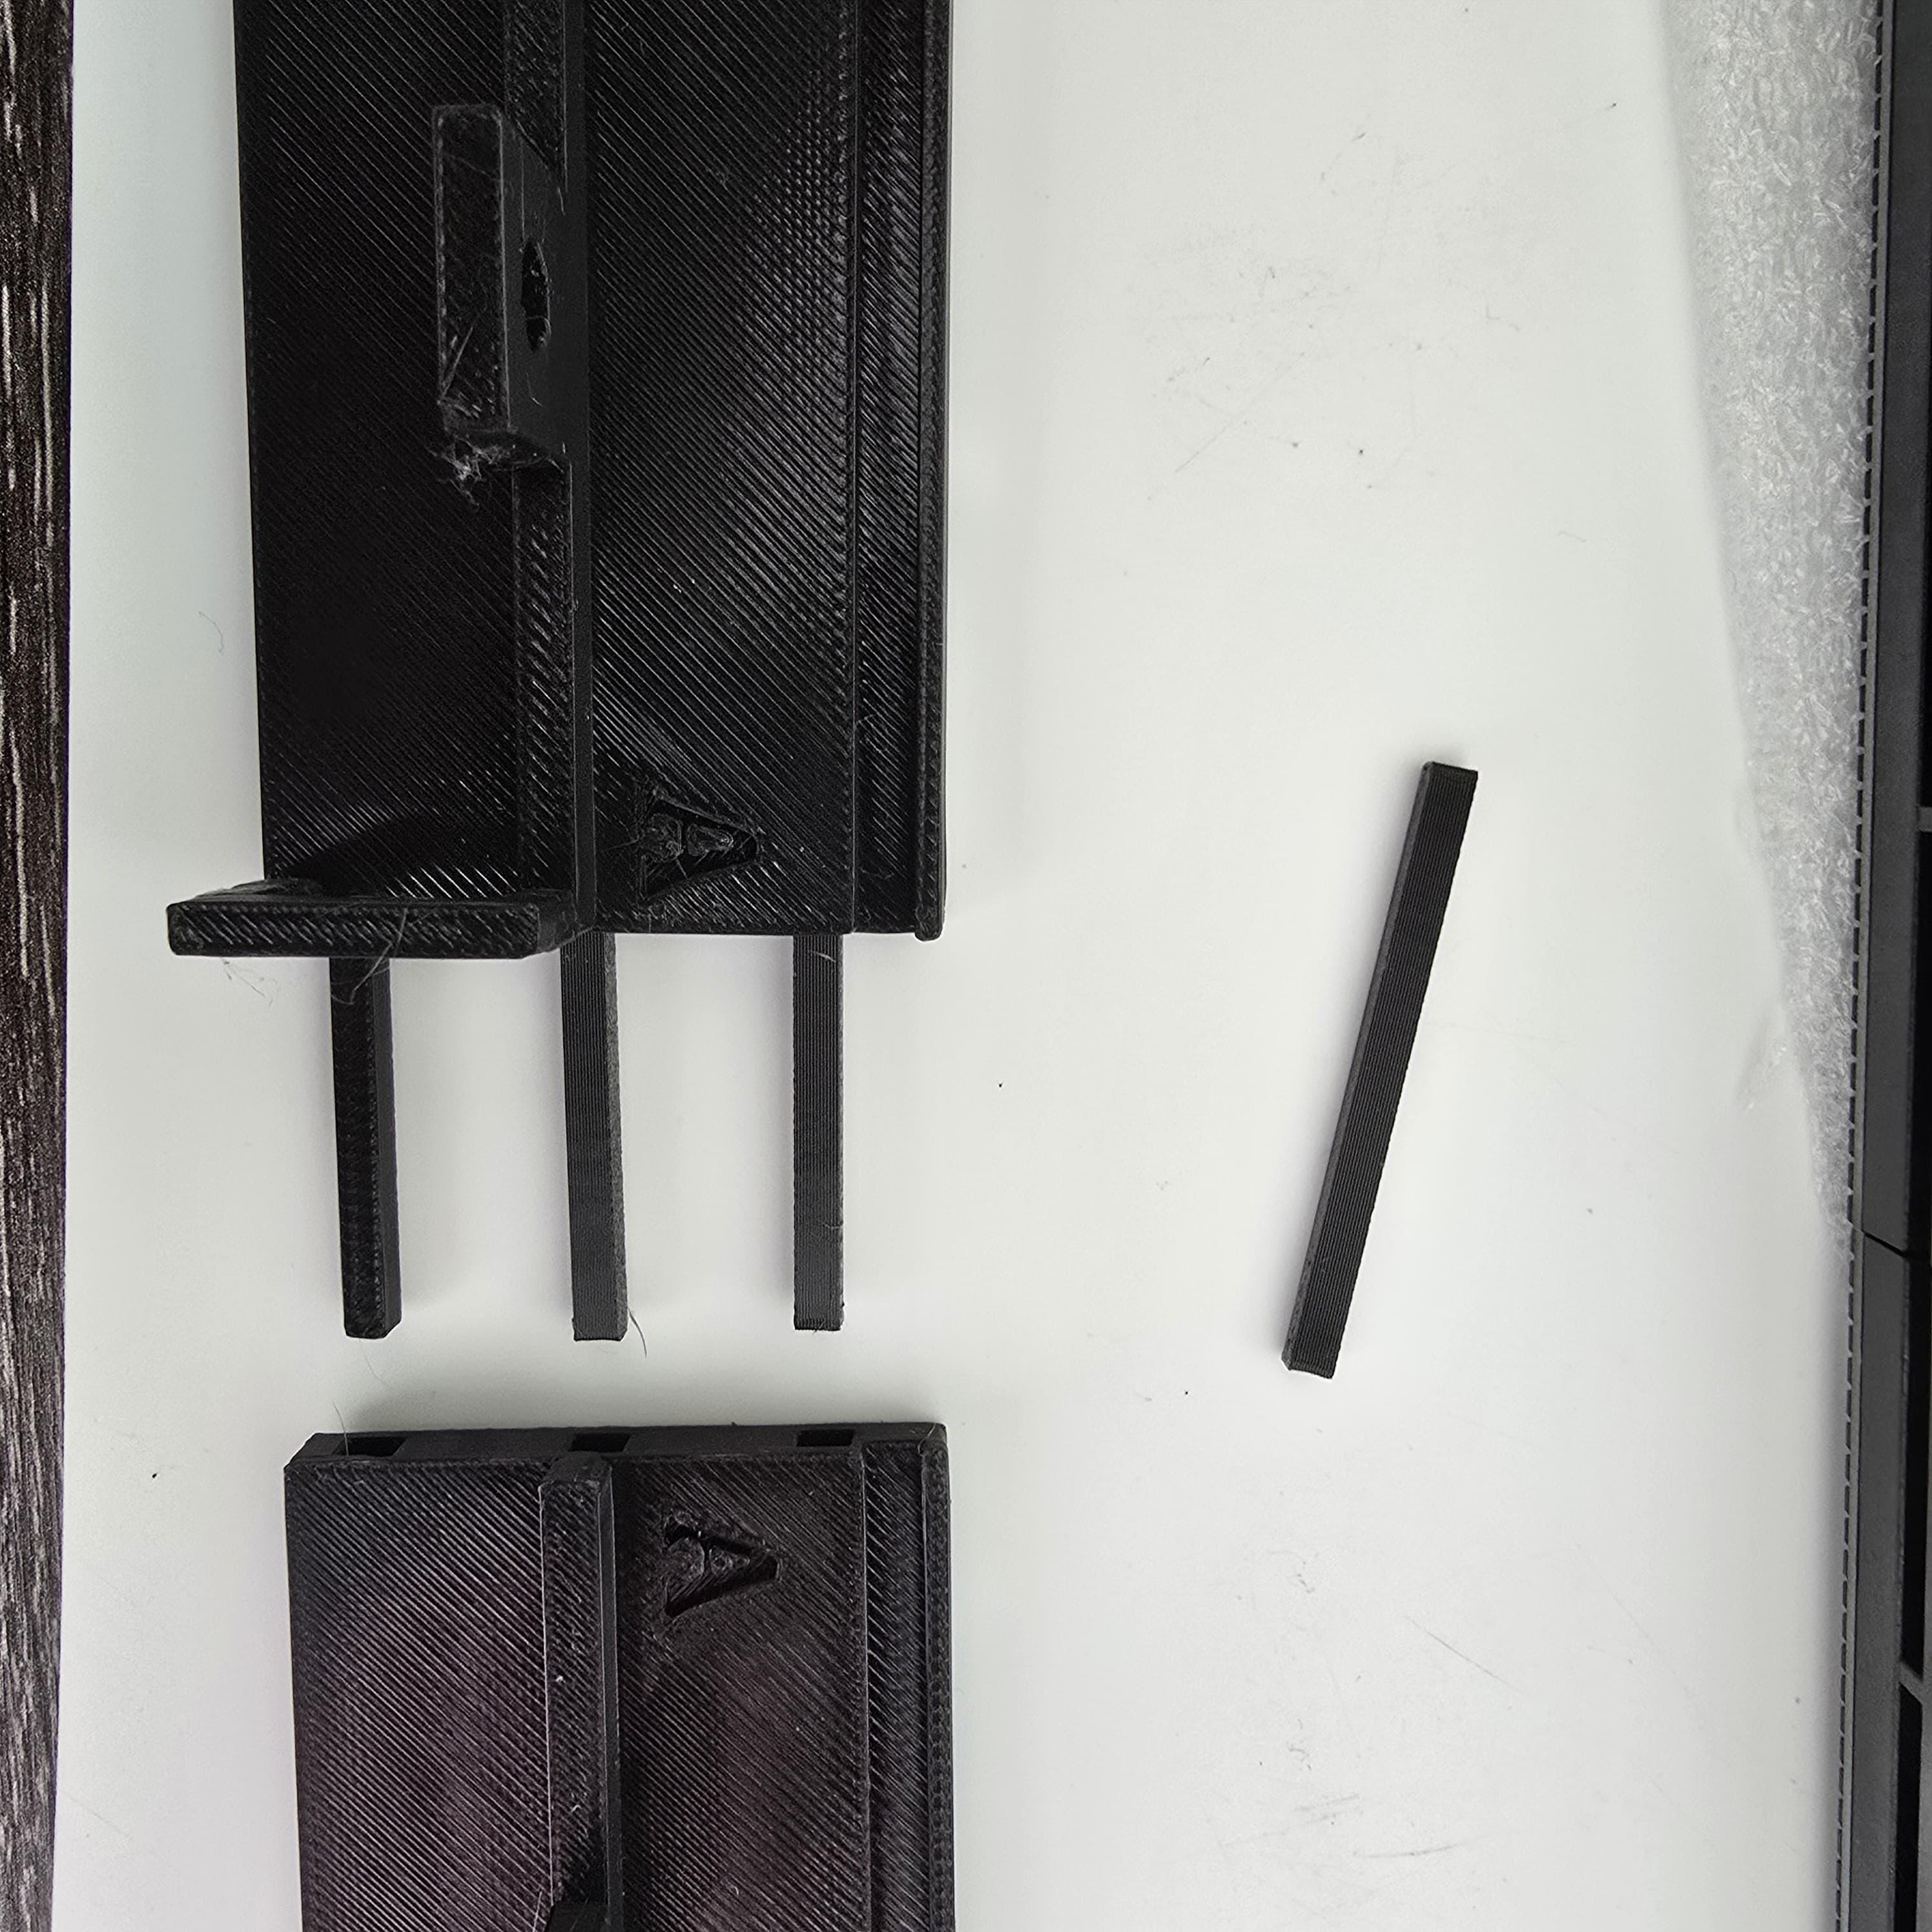
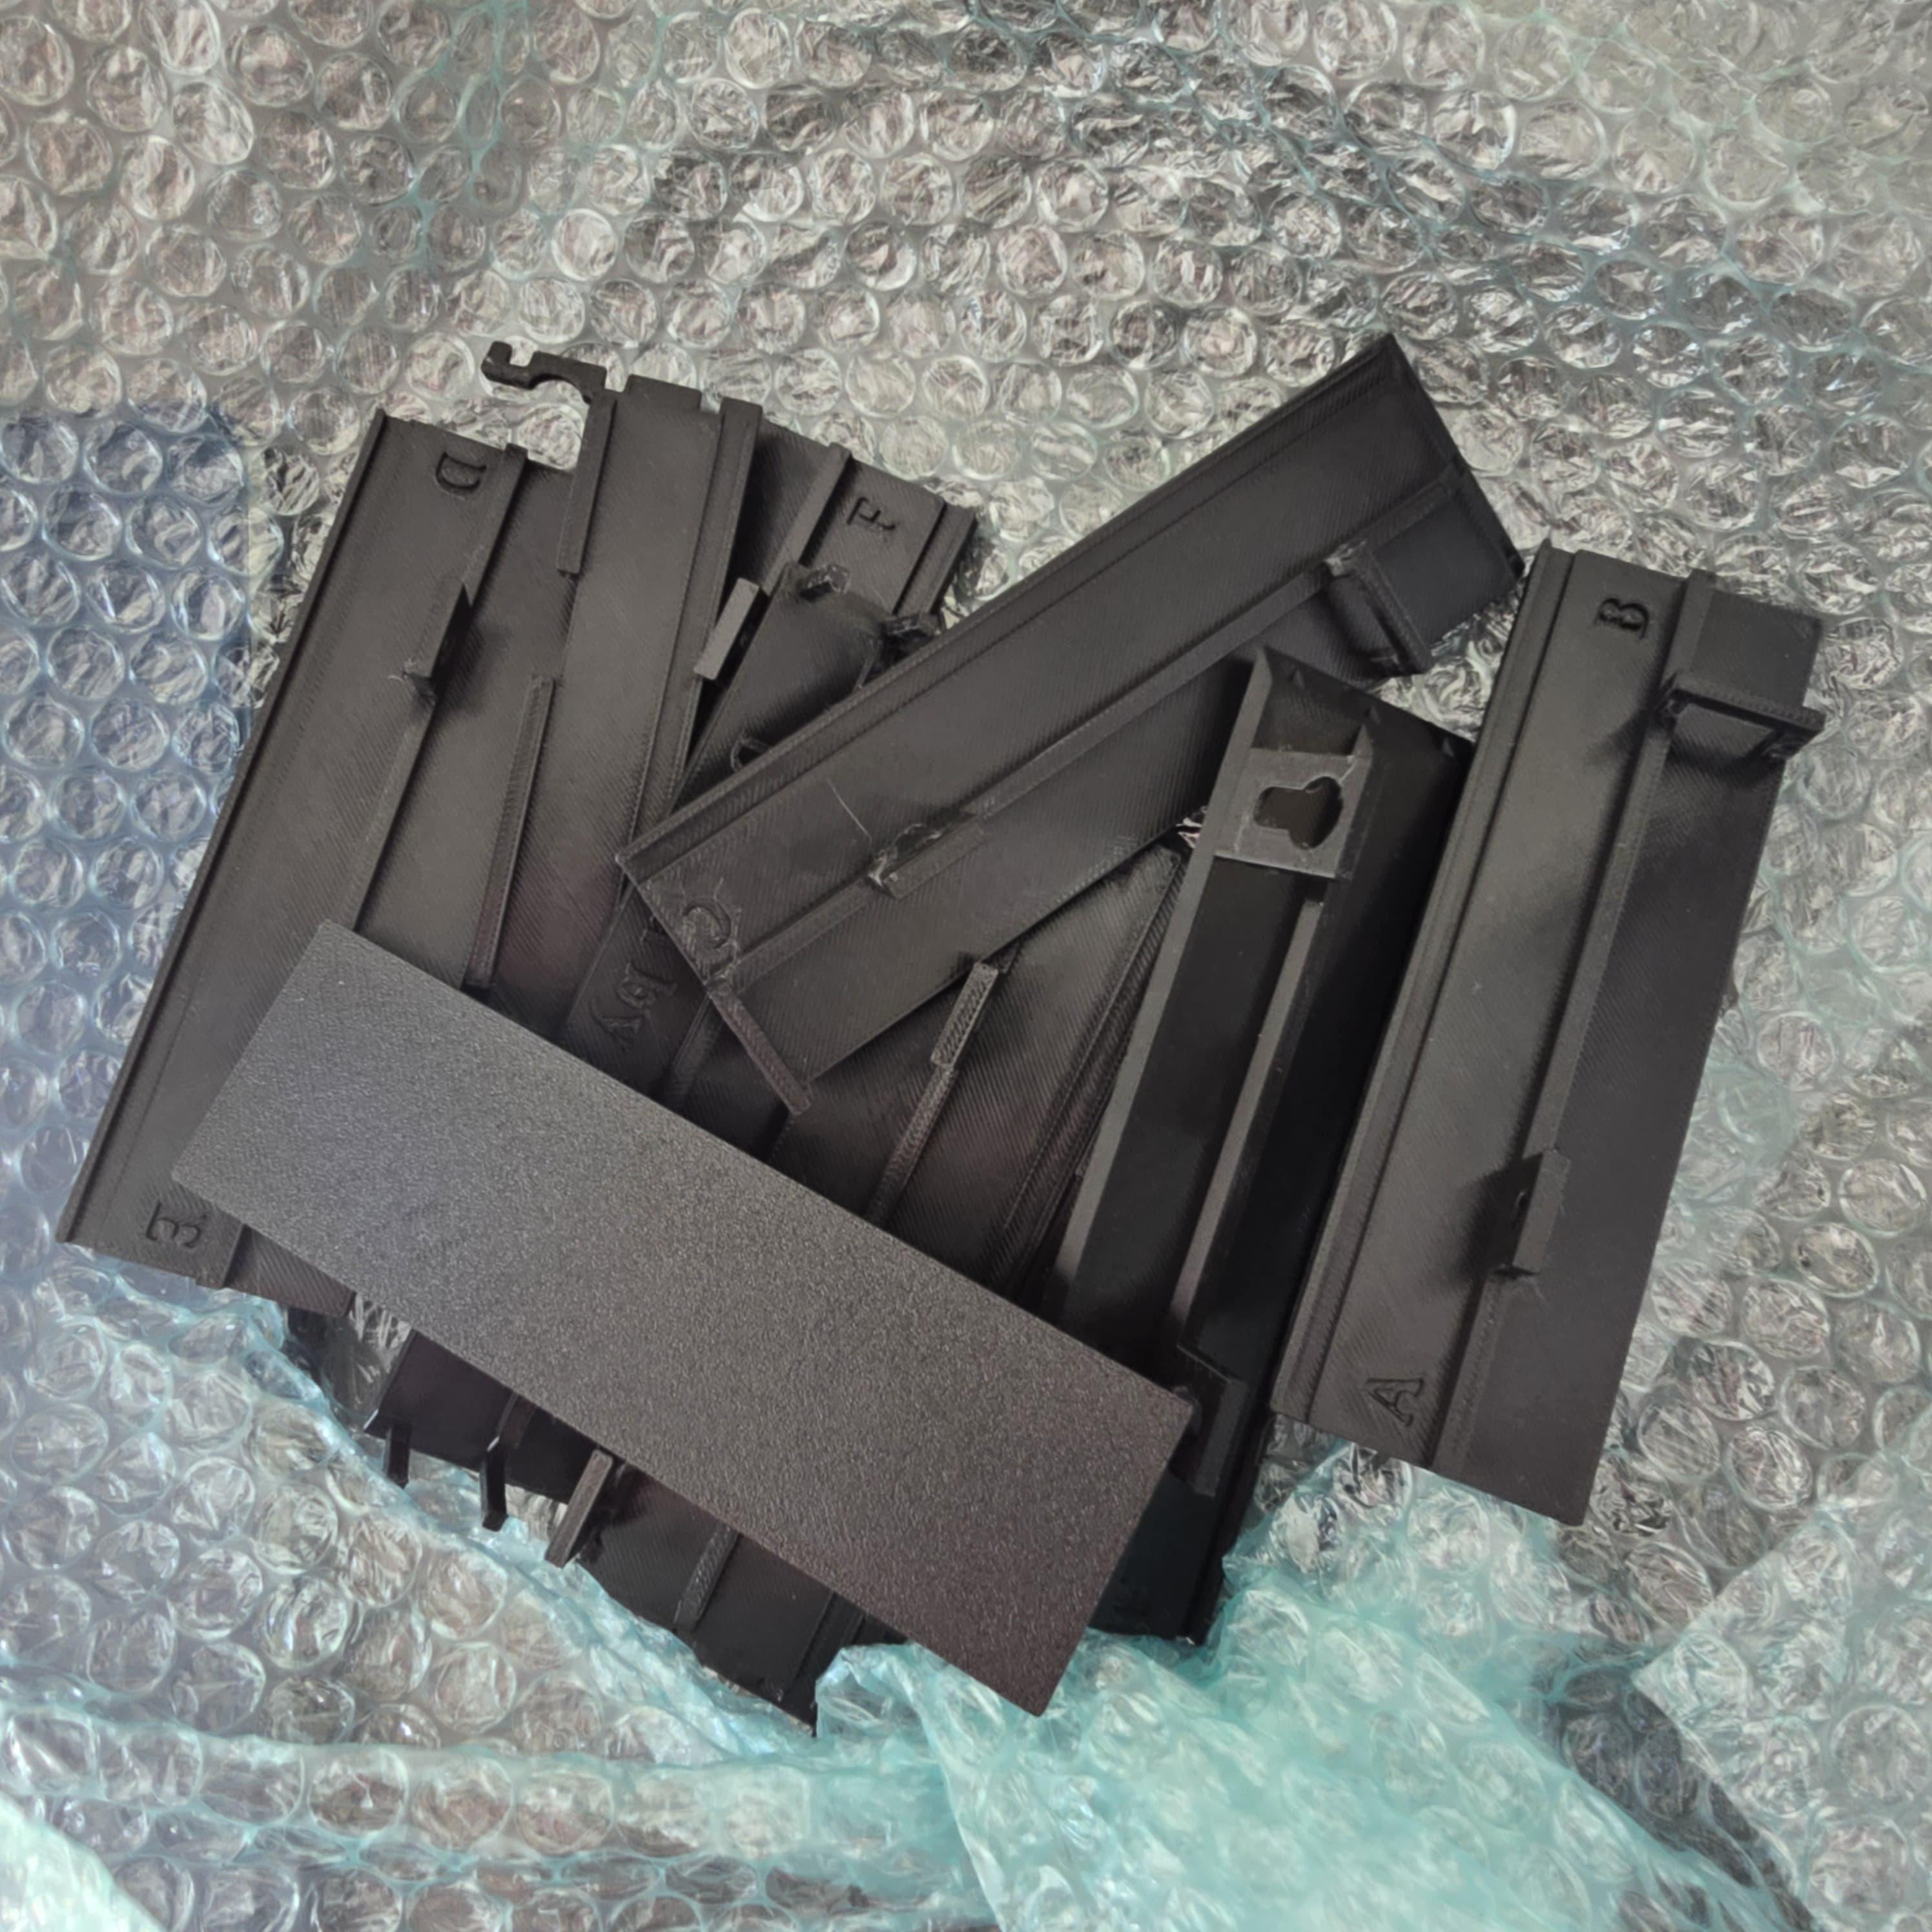
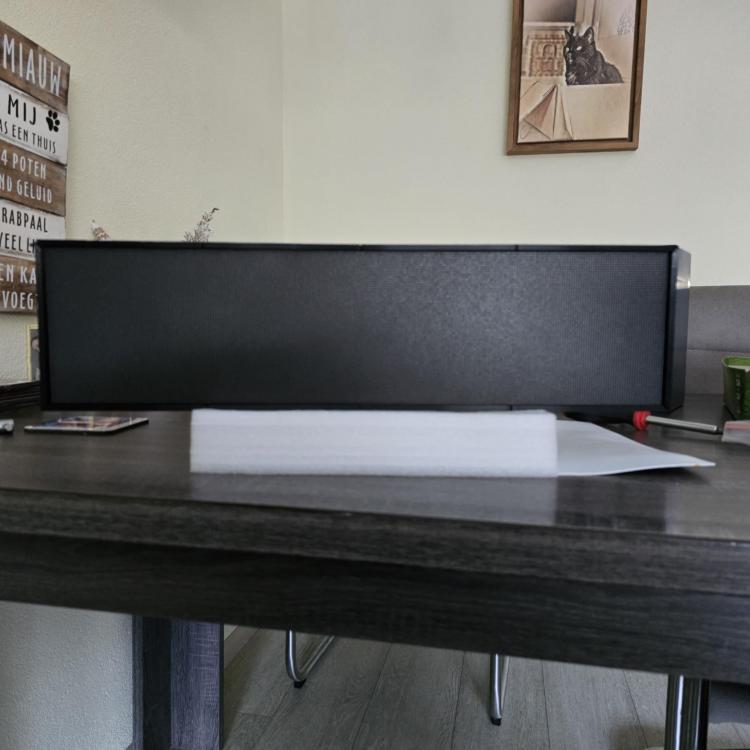
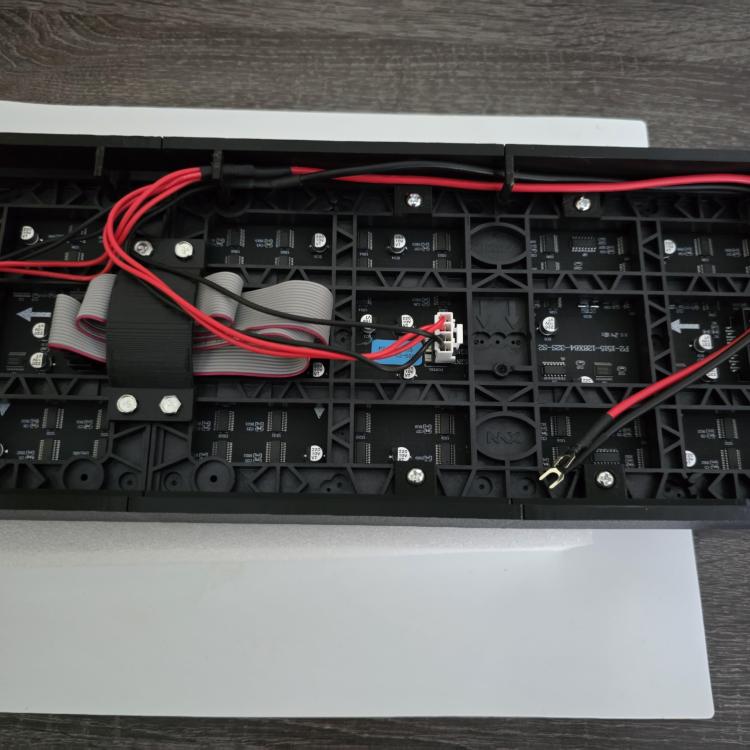
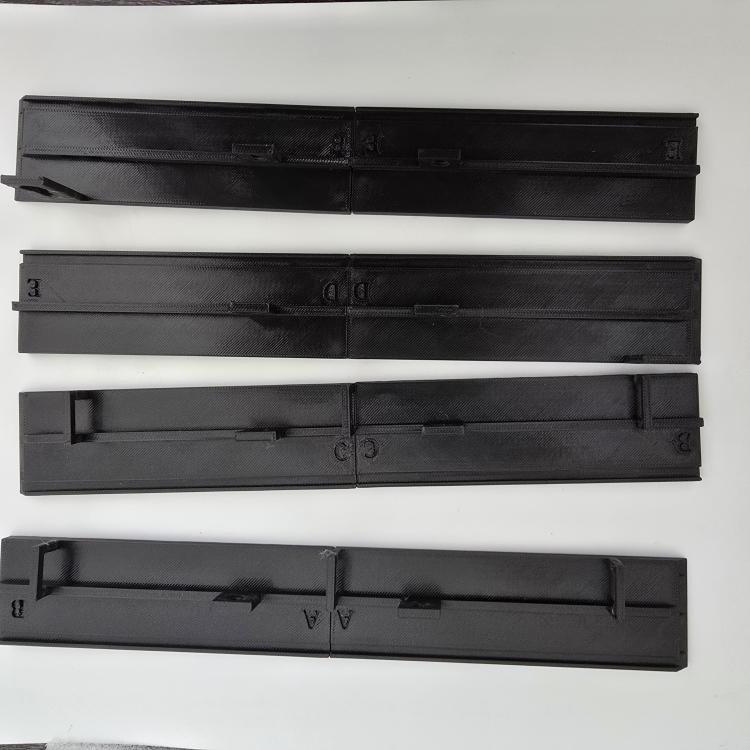
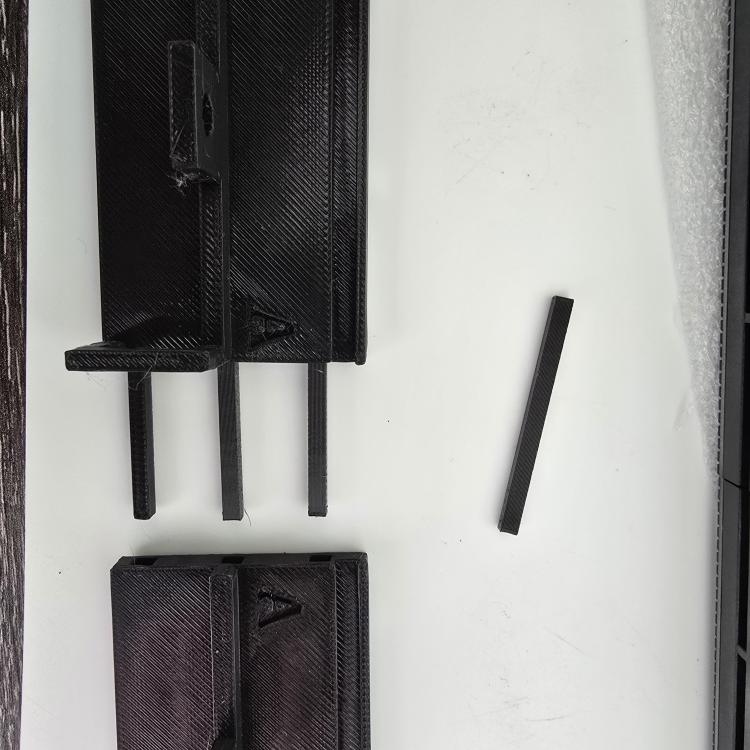
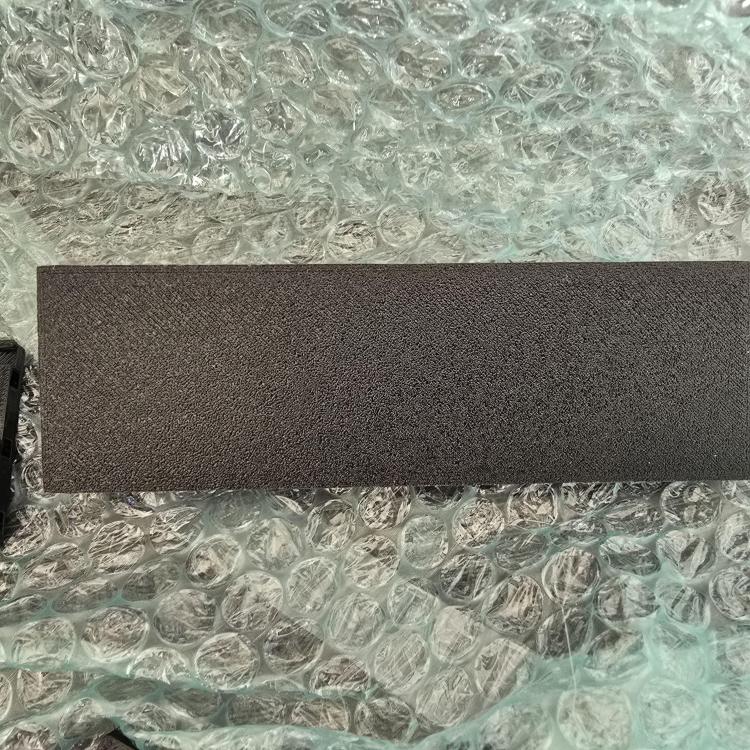
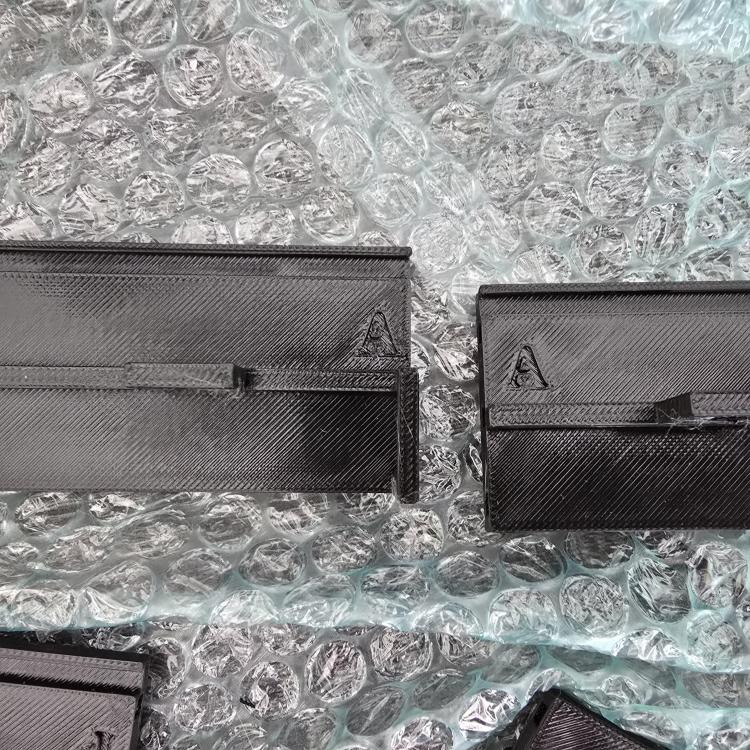
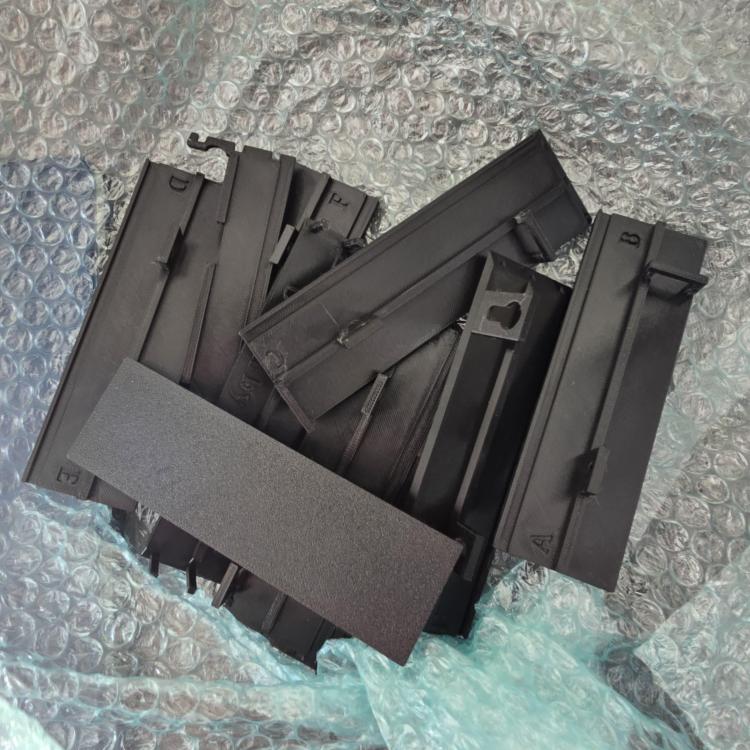
"As this was working, I wanted to test more. When flashing the firmware for ZeDMD, I noticed it could be flashed as ZeDMD HD as well:265x128 pixels! How cool is that? Finally, those Sega games like Baywatch and Mary Shelley's Frankenstein on my real DMD and readable (not cropped). I ordered two 128x64 panels (p2) from AliExpress. Including shipment, it cost around 70 euros, still cheaper than the PinDMDV3.1 sold for 229 USD. To my surprise, those panels were delivered in one week. That's quicker than my local Chinese takeaway! But the size of around 518 x 128 mm didn't fit into my cabinet. I searched for a box to mount them in and spent a long time searching the internet, but couldn't find anything. The only option I found was a 3D printable wall-mounted ZeDMD HD frame (3d printable wall mounted zedmd hd). I don't have a 3D printer, and the 3D schemas included too much. I just wanted the frame, not the boxes next to it. I checked online services for printing, but the costs were high, including the shipping. When I watched a video on VPU of the ZeDMD HD, it looked like the DMD panel was way bigger than the backbox (or almost similar in size). But when I checked my backbox, my panels were much smaller. I contacted him via discord and he said all was fine. he just had a smaller backbox that I have. On a Dutch website where we discuss Vpinball, I posted: 'Who can print 3D for me and what will it cost?' A user named dizzytal responded quickly, offering to print it, although he lived on the other side of the country. I explained that I only needed the frame, not the box for the circuit board and power, and if possible, to print it twice so I could also replace one of my two goDMD clocks as one is looking worn out. He printed it for me. I arranged the delivery, and within a couple of days, I received a well-packaged item, wrapped perfectly to prevent any damage during shipment. it looks like a construction kit It is a model kit ! Showing how the two 'A' marks on the pieces should be aligned and connected together. the fronts of the prints looks pretty good as well The construction is reinforced with three small bars for added stability 4x2 constructed. This photo shows the inside of a printed frame for the LED panels. There is a type of cable duct where the power wires can run through, and the panels are held together with a bracket that also secures the flat cables. and this is the final product. The frame is around the 2 panels. Unfortunately, I had a second print for my GoDMD clock, which is the same size as the ZeDMD HD panels, but because these are 64x16 panels, the screw holes are in a different place. So, I'm not able to use it bummer The frame is designed to hold a 3mm plexiglass, so I ordered that as a tinted one as well. To power and connect the panel to the PC, I ordered two long USB cables. Both of my GoDMD clocks run on USB power. Some people say it will work, while others disagree. I believe not all the LEDs will turn white at the same time for an extended period, so I'll test my setup. So 1 of the cables will be used to power the Led's and the other for getting the data(and power) the ESp circuit board. To be continued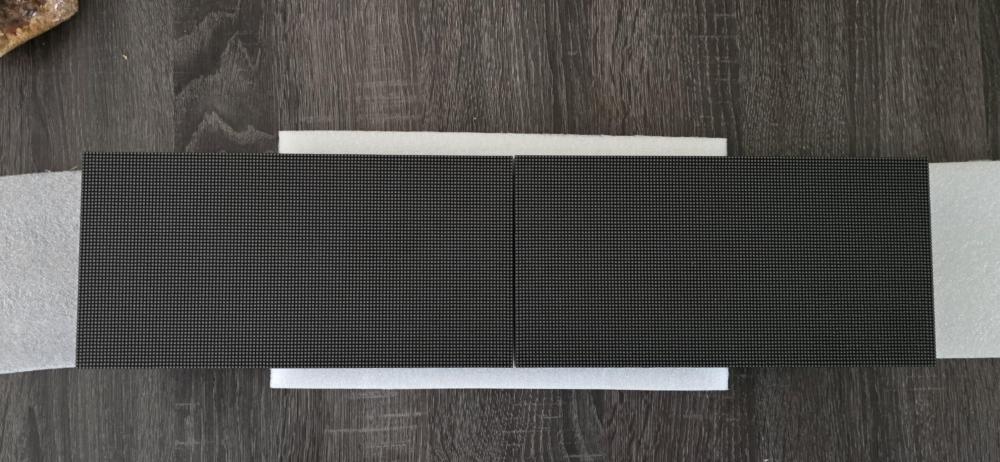
-
[PINCAB] My Virtual Pinball Cabinet build
Mike_da_Spike replied to Mike_da_Spike's topic in Gamer Rigs
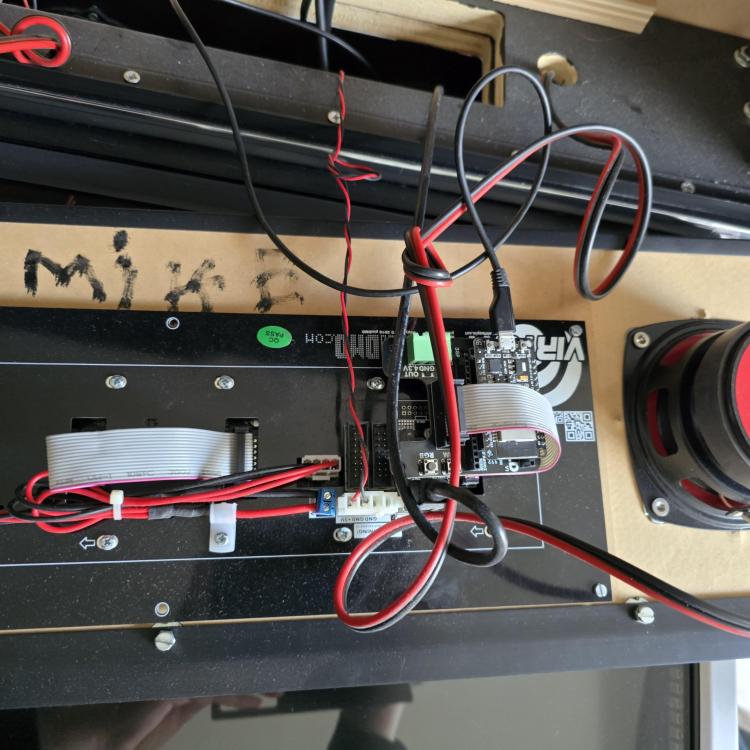
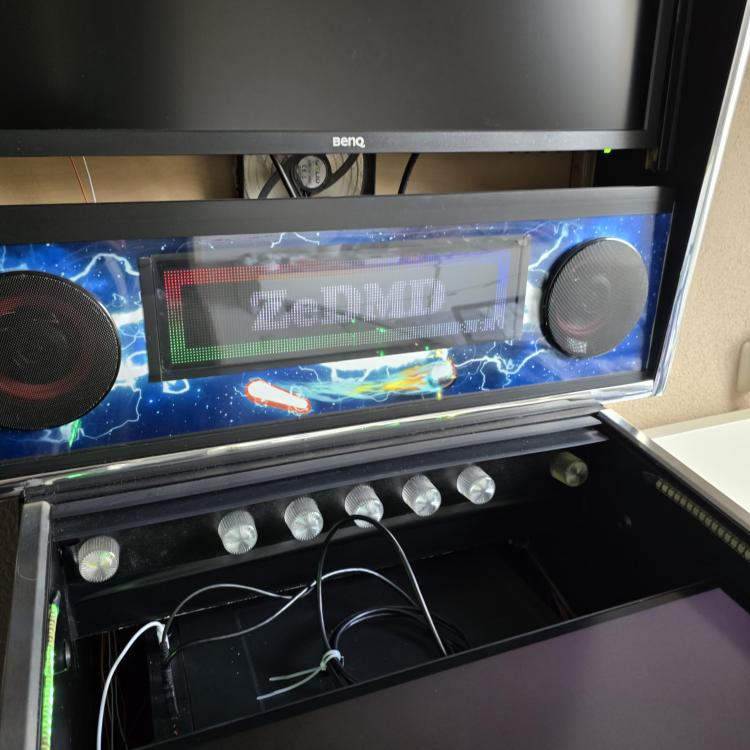
From one project to another on my cabinet. More and more colorized ROMs came which were built with serum. Including the new .crz extension added to DMDext. My main problem was that my PinDMDv3 could not keep up with the scenes and scores, causing the scenes and scores to lag behind during gameplay. It started with the alphanumeric ROMs, but later I noticed it with other ROMs as well. I created multiple GitHub issues for DMDext, but it seems they went to the backlog. I made some videos. Here’s a YouTube video of ATFM, showing the realDMD, virtual DMD, and the PinMAME DMD. You will see that the virtual DMD and PinMAME DMD are lagging behind the scenes and score, whereas the PAC files are showing fine." After more than a year without a solution, I decided to swap my PinDMDv3 for a ZeDMD. This new setup is based on the small ESP32 circuit board and flashed with its own firmware. The DMD panels should be compatible with the PinDMDv3. As the ESP32 circuit board costs only 6 euros, it wasn't an expensive extra to run some tests. Due to my fine motor skills no longer working well, I couldn't do the soldering myself, so I bought a shield that fits the ESP32 and allows the cable to plug into the LED panels. t's been a while since I removed my backglass and do something with my "grill" the 'easy' part. remove the backglass and get to the DMD back The small ESP32 with shield. As the PinDMDv3 is powered via 5V from the PC, I left it as is. I just needed an extra USB cable as the connector from the PinDMDv3 didn't fit (it had an old printer connector, and the new one uses micro USB) Just put the cable on top of the PC and works directly Still one issue: how to get this working with PinballX? I asked @Tom Speirs if it was hard to get the ZeDMD driver into XDMD so it would work with PinballX, as I wanted to try and make it work. But Tom had a better solution: he will add it to XDMD! And he did ! ZeDMD driver is now working with PinballX . Still some slight issues with it, but Tom is doing a good job on it !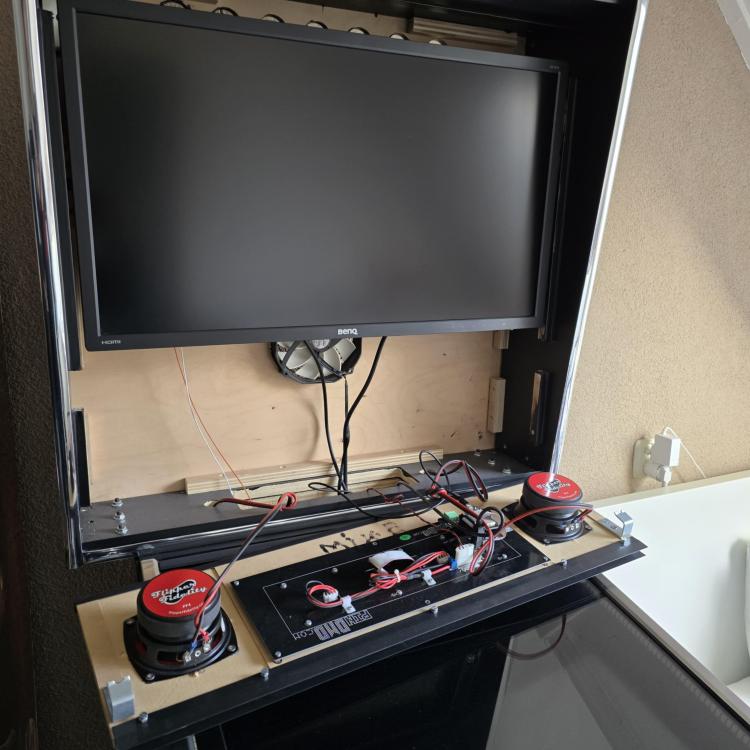
-
[PINCAB] My Virtual Pinball Cabinet build
Mike_da_Spike replied to Mike_da_Spike's topic in Gamer Rigs
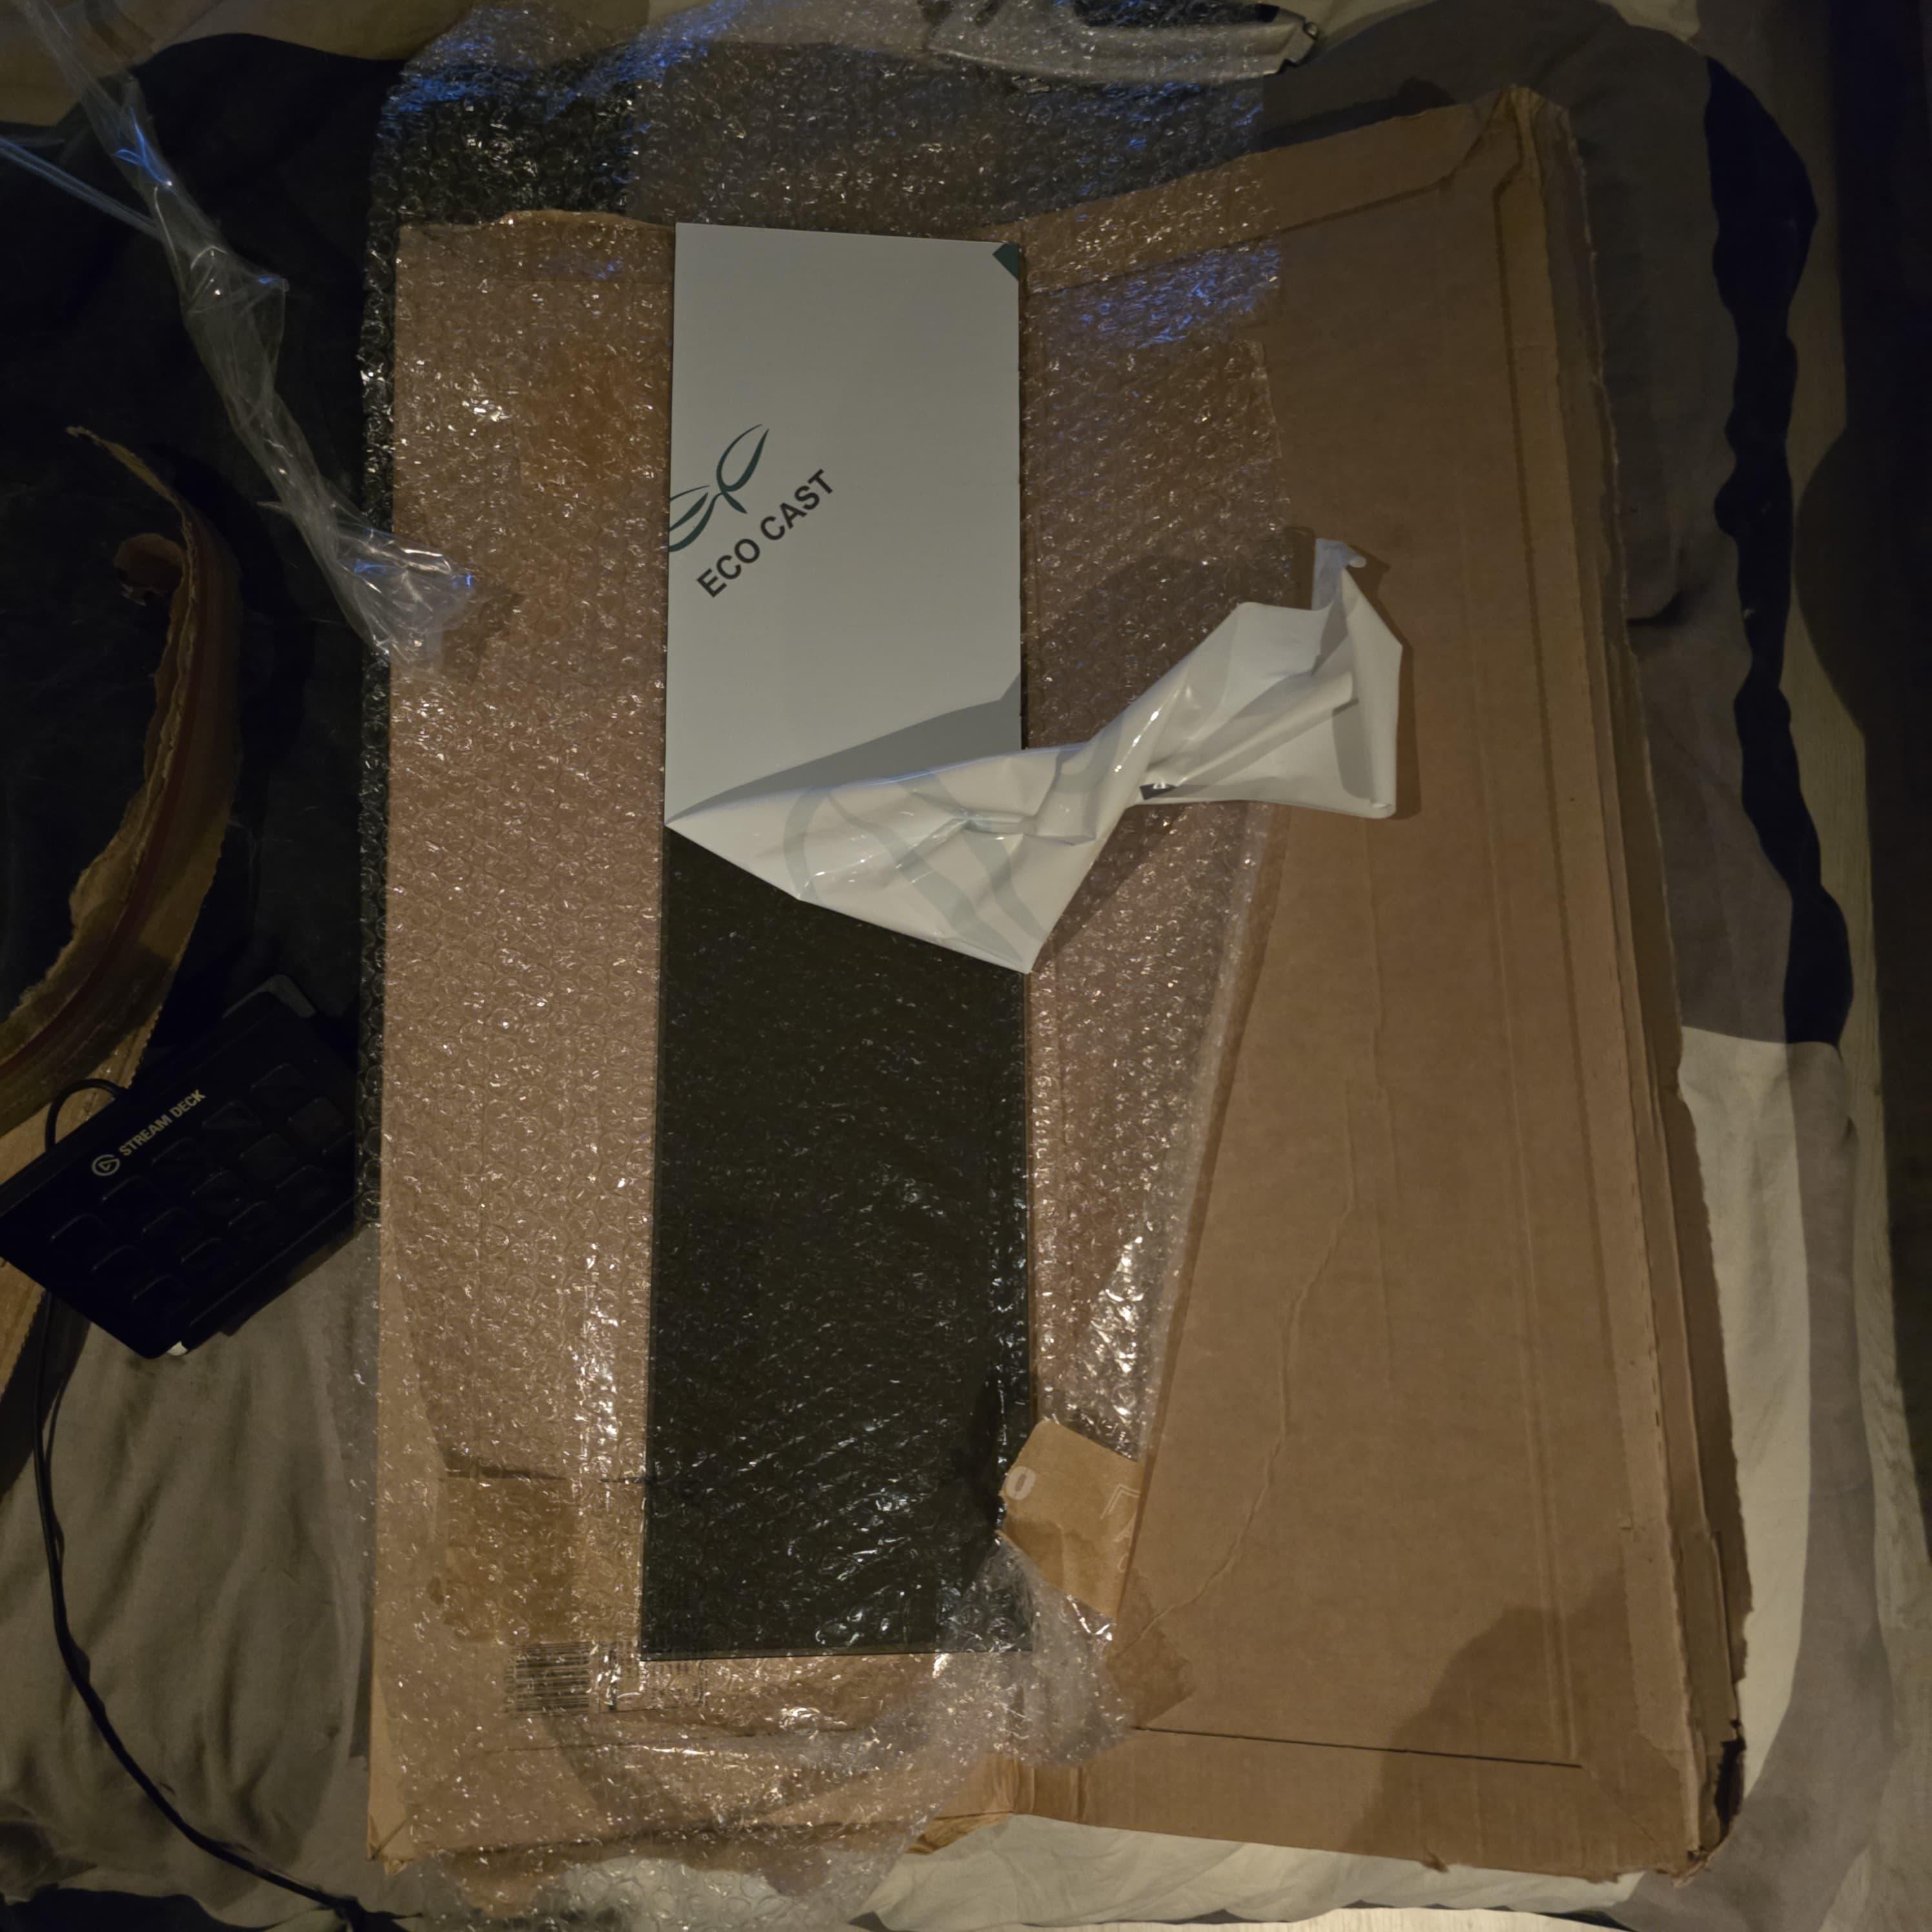
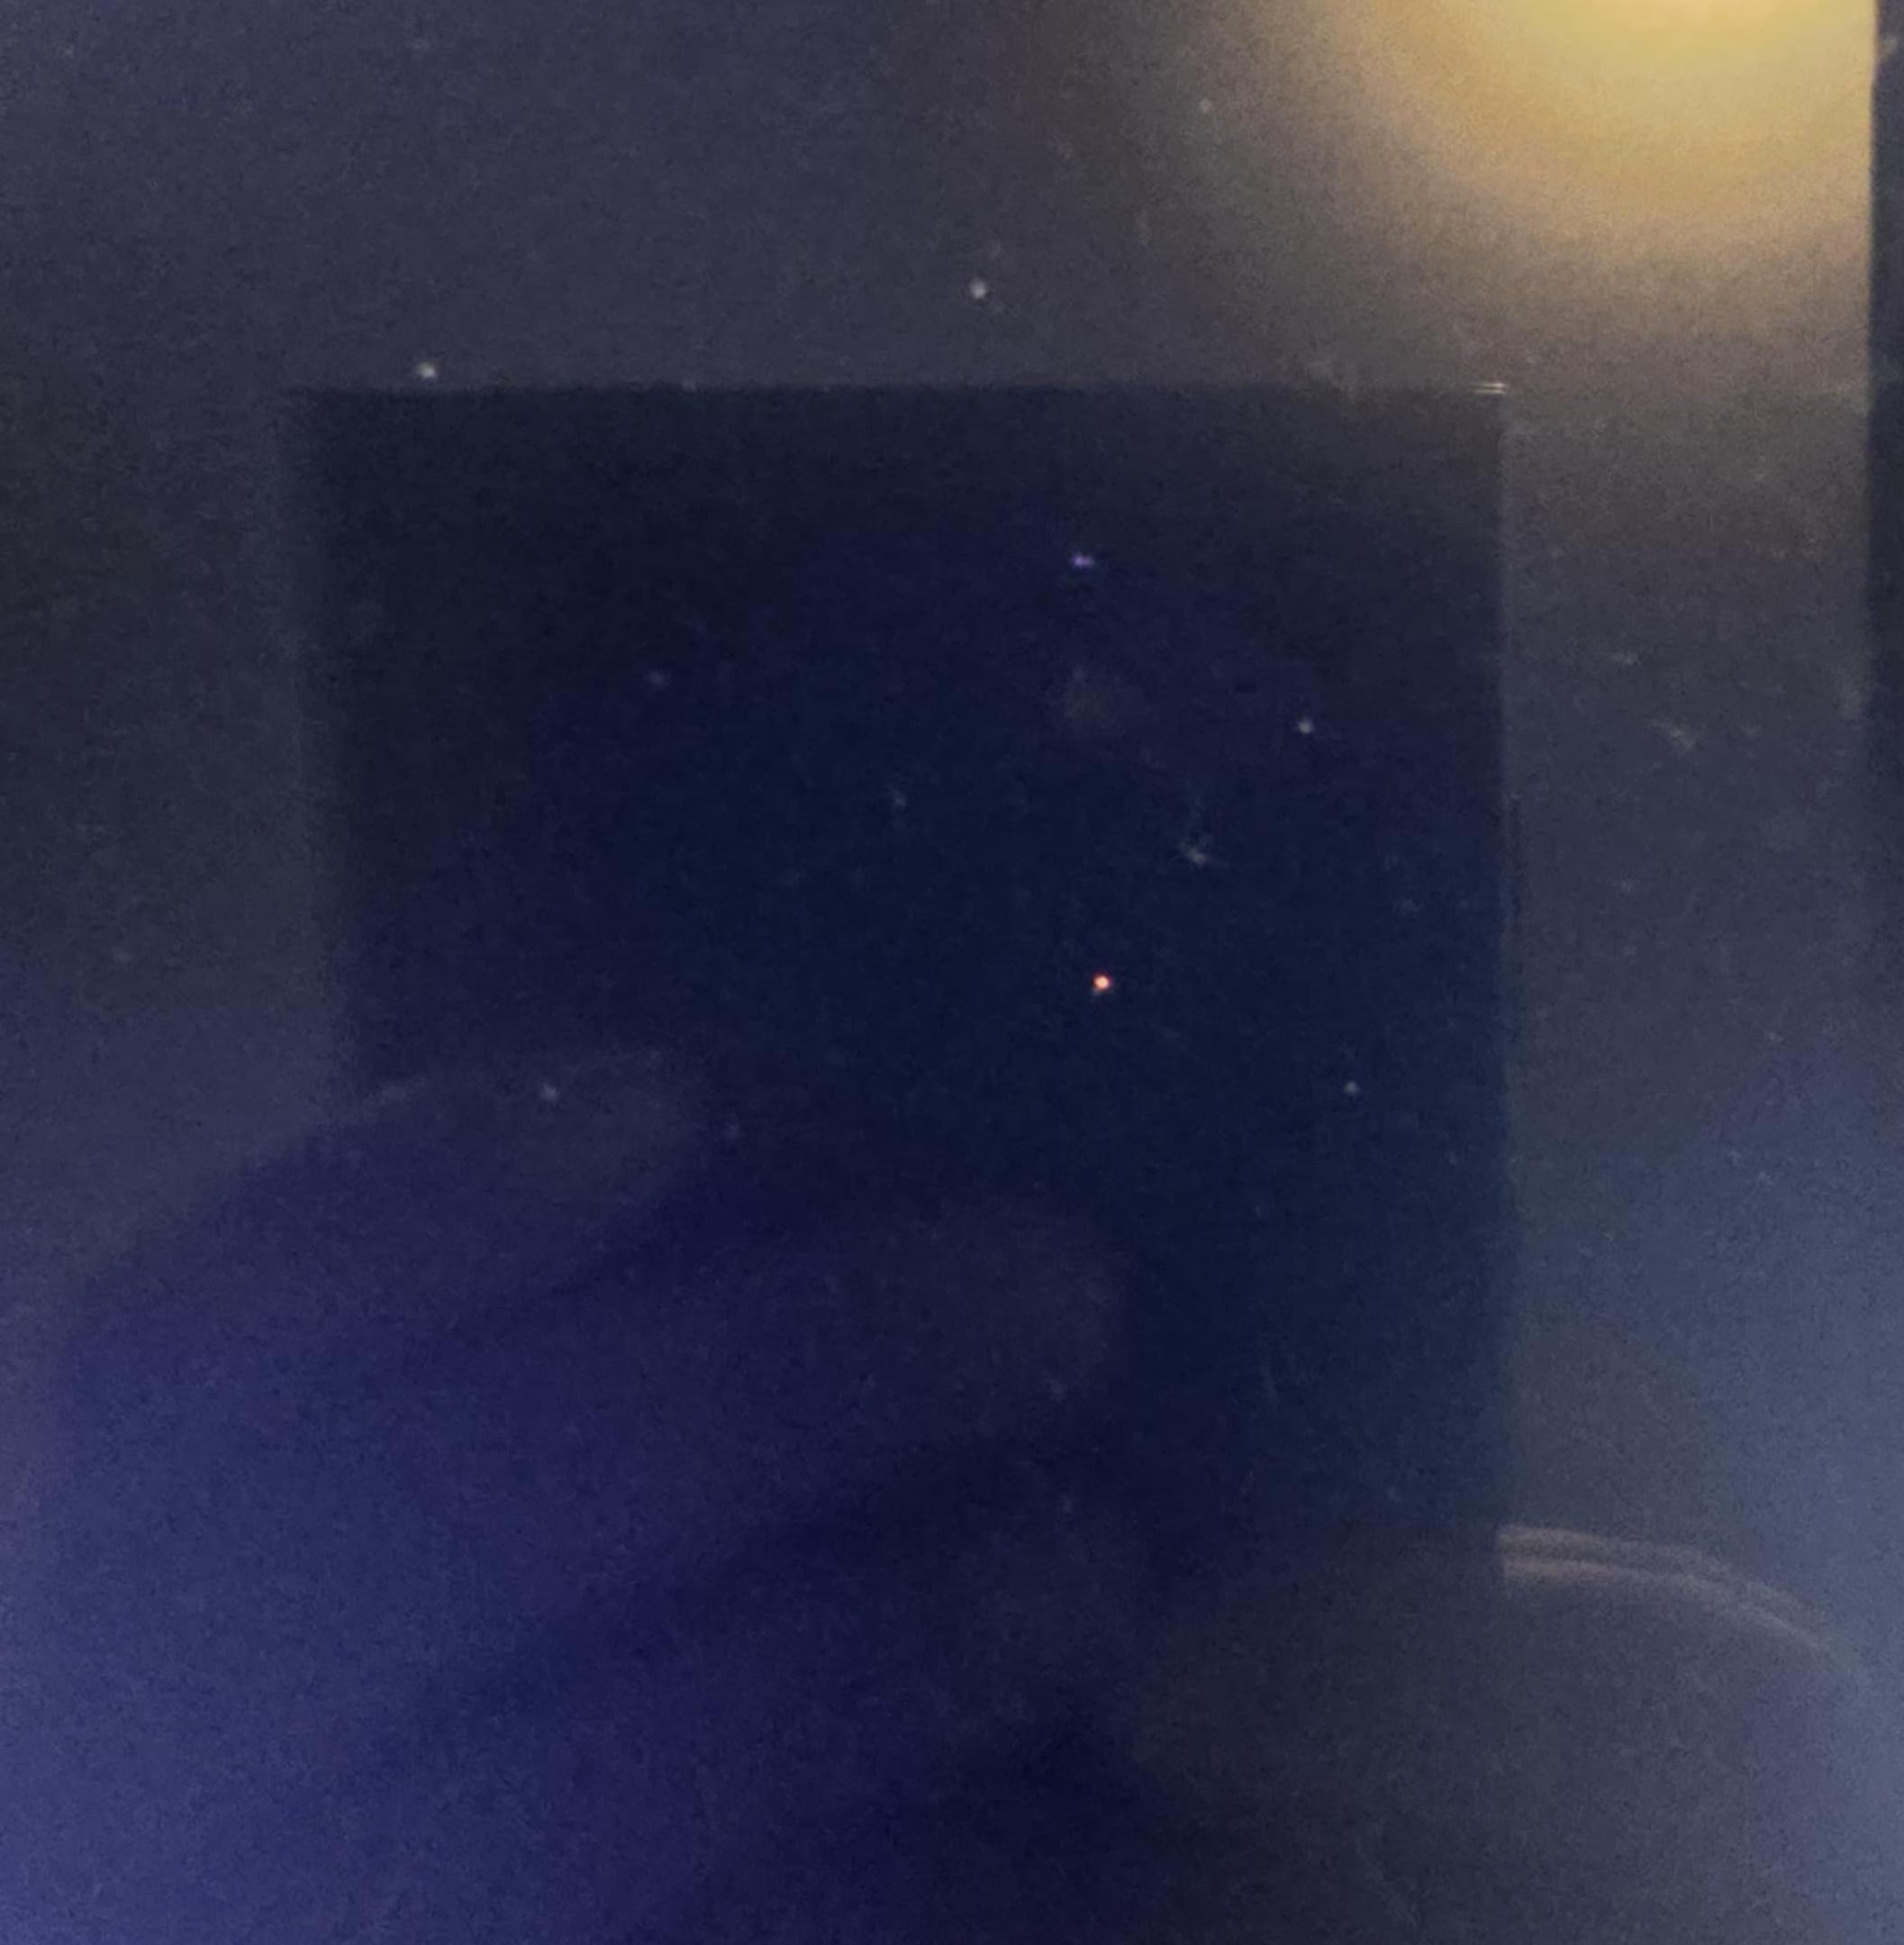
Even expensive monitors can have issues, and unfortunately, my monitor developed a red pixel during startup for around 10 minutes. After that, it disappeared. I called the ASUS service center, and they said I could send it to them. I had already gotten rid of the original box, but thankfully, a good friend and former colleague had a 43" monitor box that I could ship it in. I shipped it off for another surgery and received it back when I got home. Thanks to ASUS for being so kind to fix this, as normally pixels aren't covered under the guarantee. it's the small red dot , just where my phone is.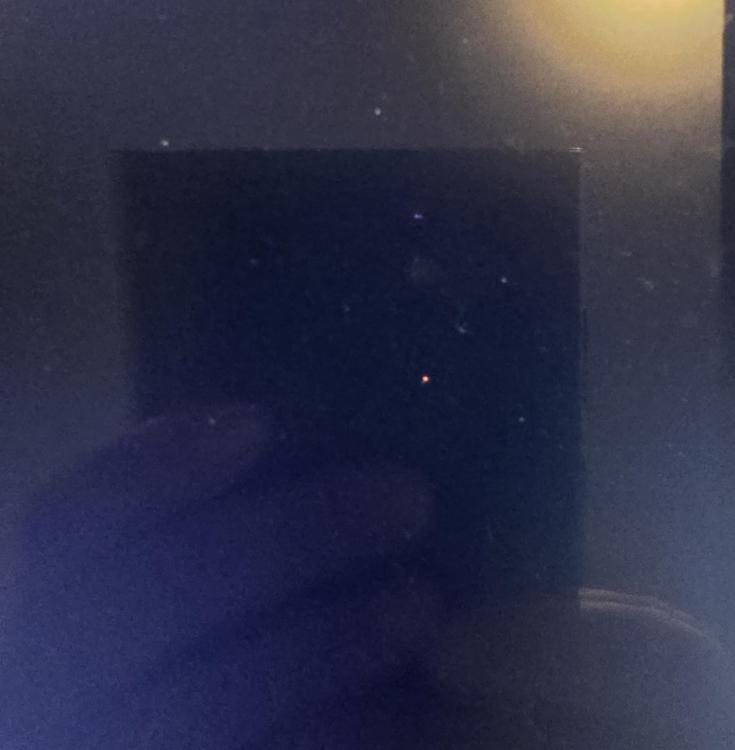
-
[PINCAB] My Virtual Pinball Cabinet build
Mike_da_Spike replied to Mike_da_Spike's topic in Gamer Rigs
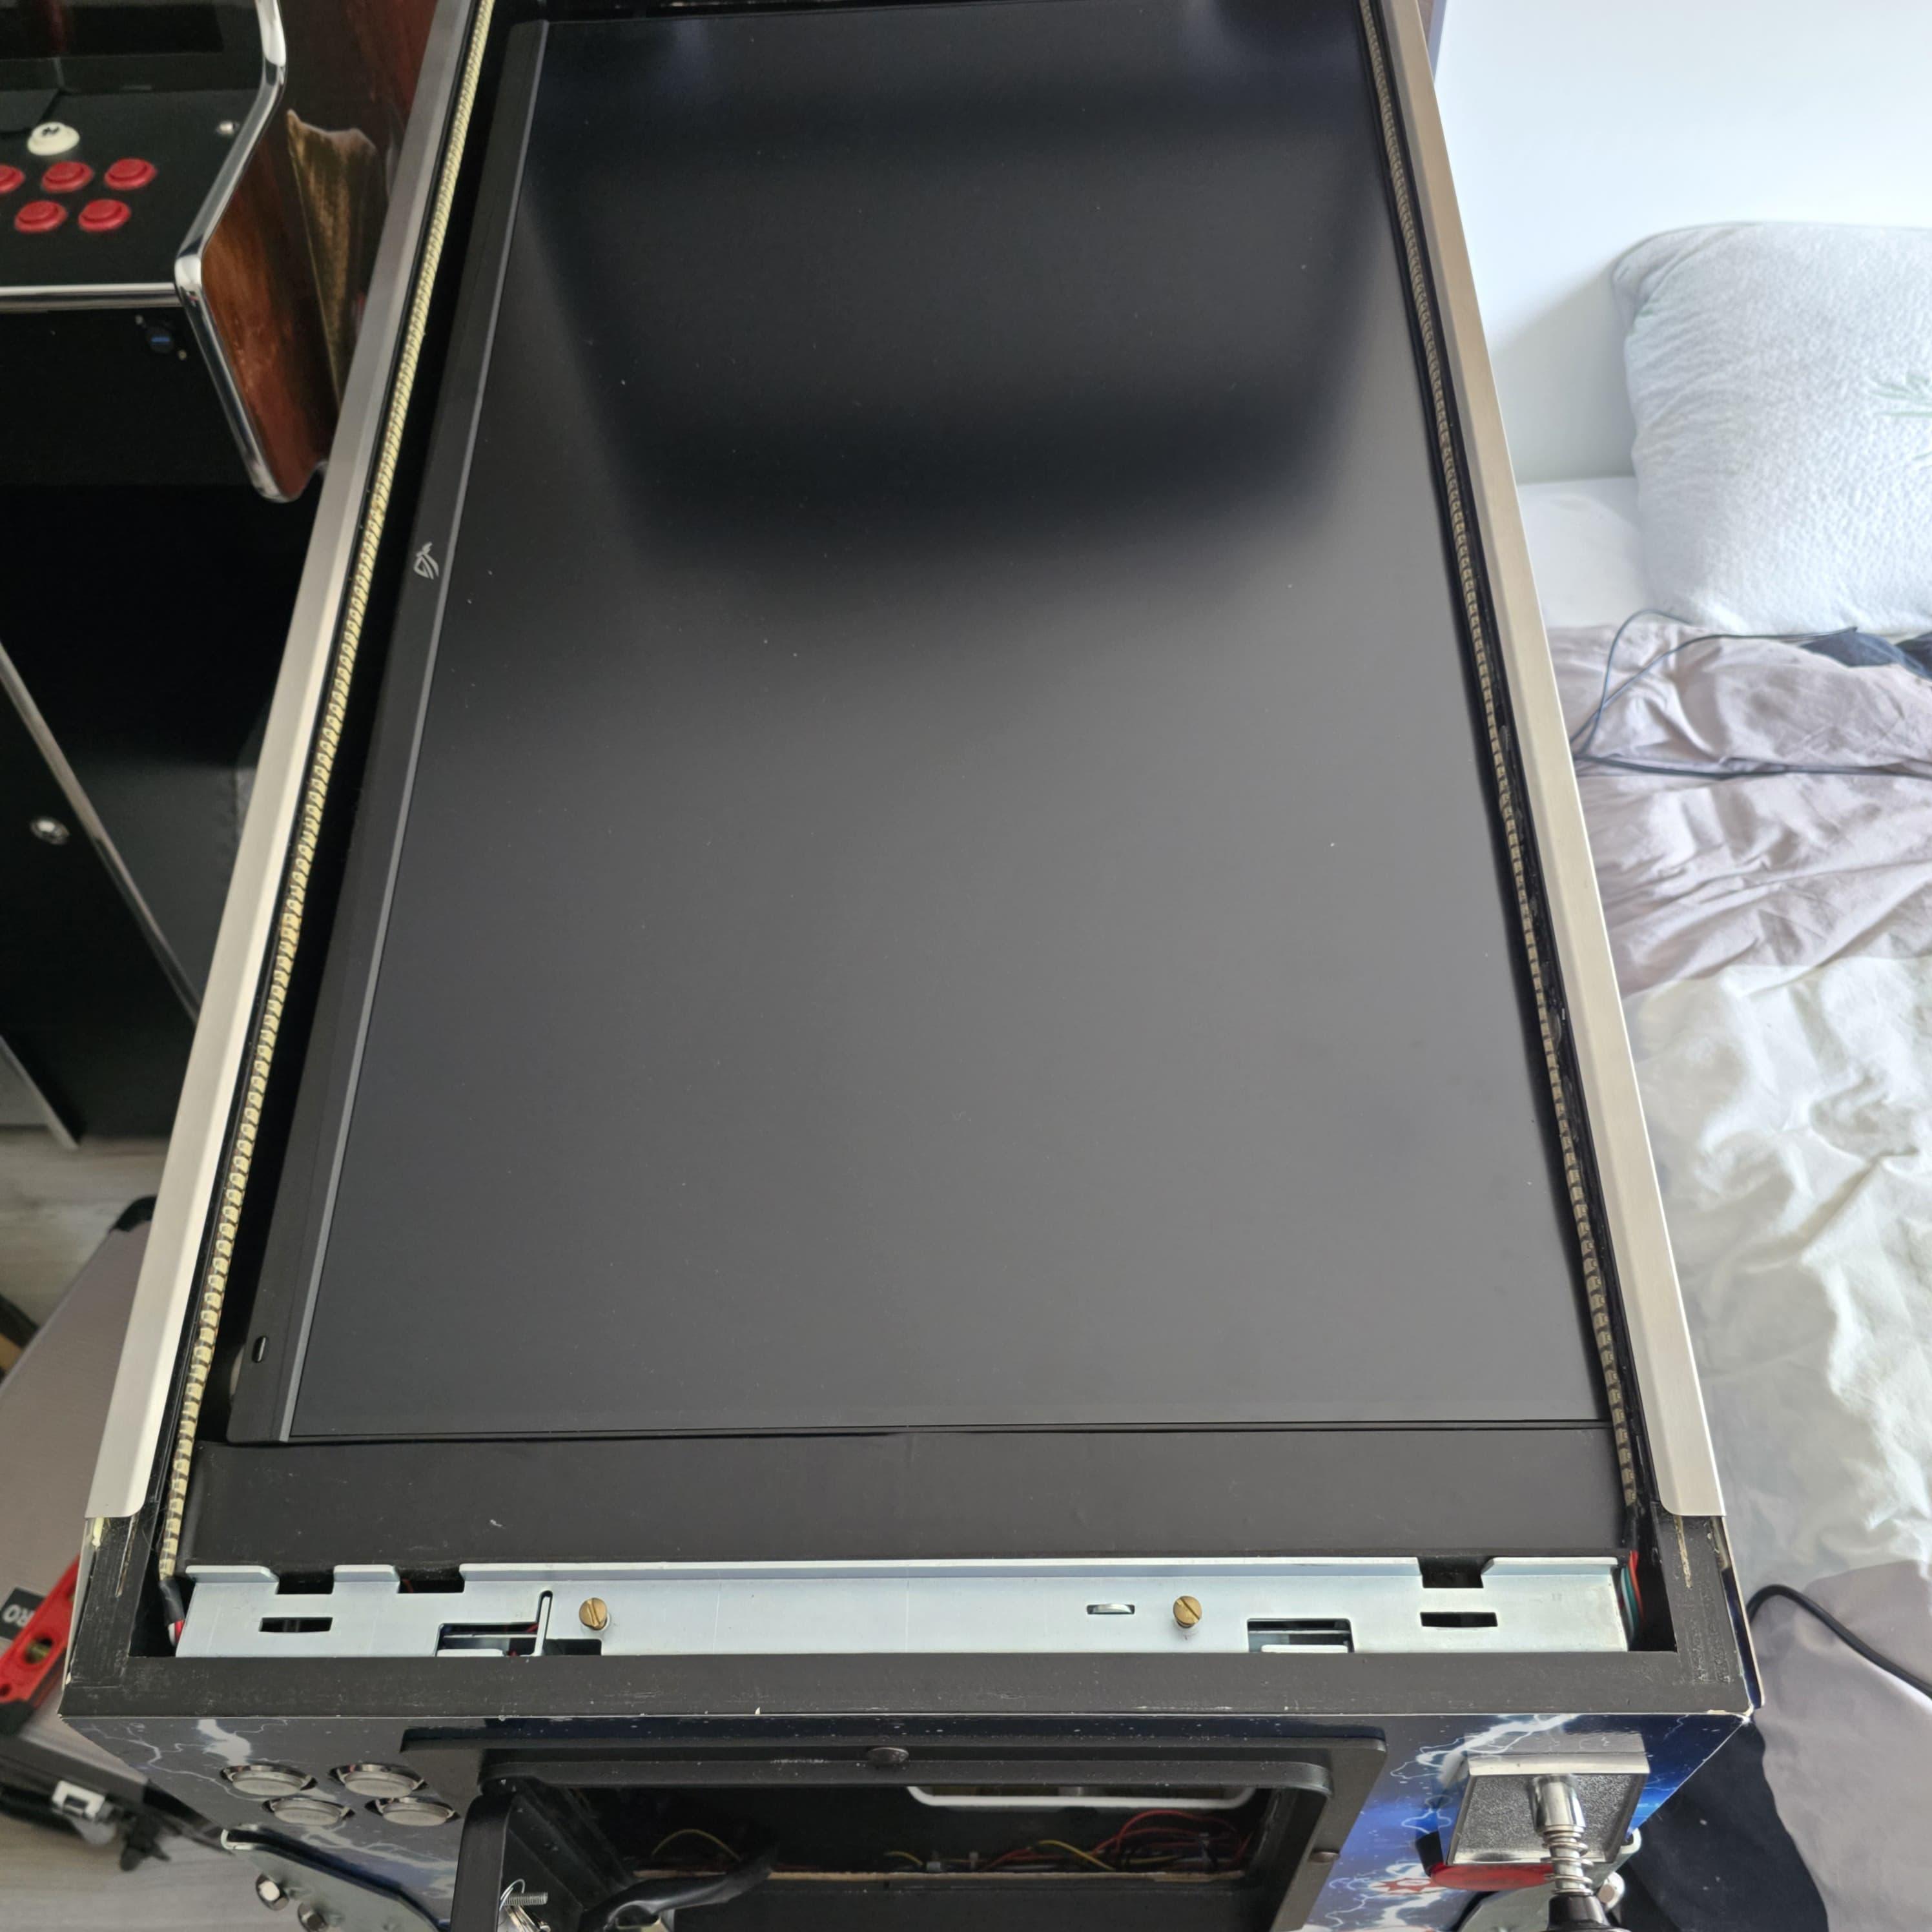
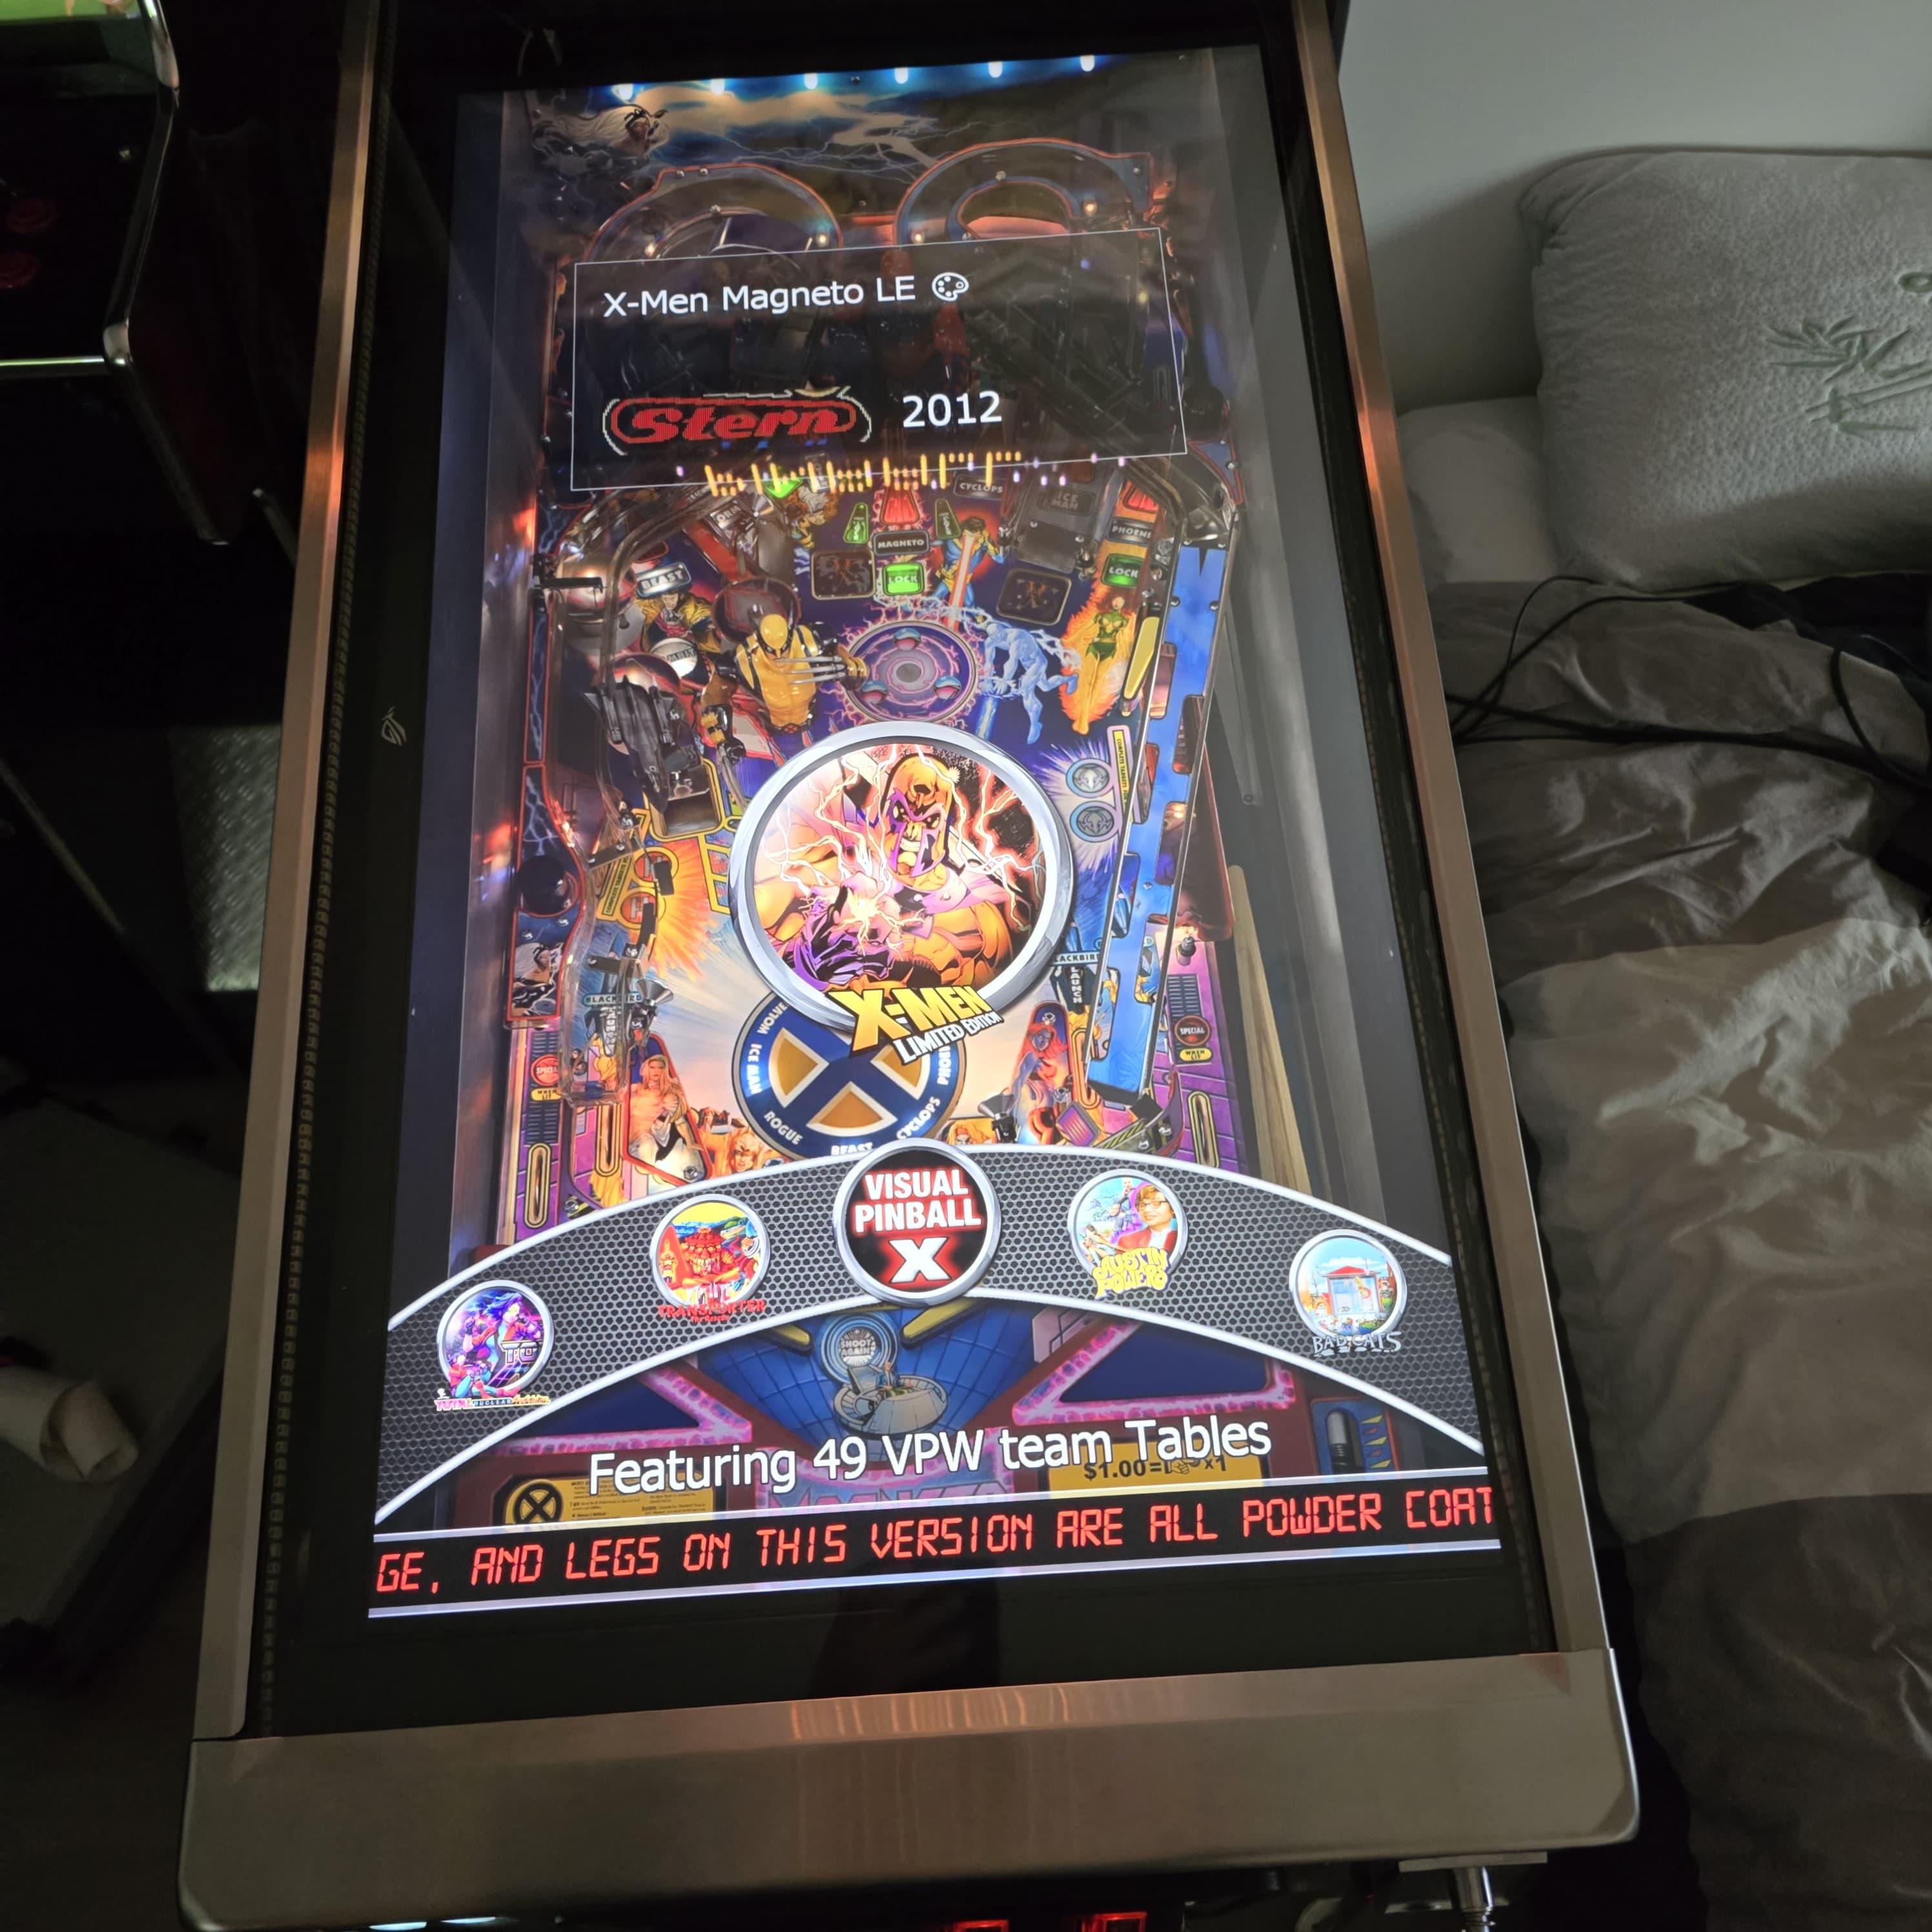
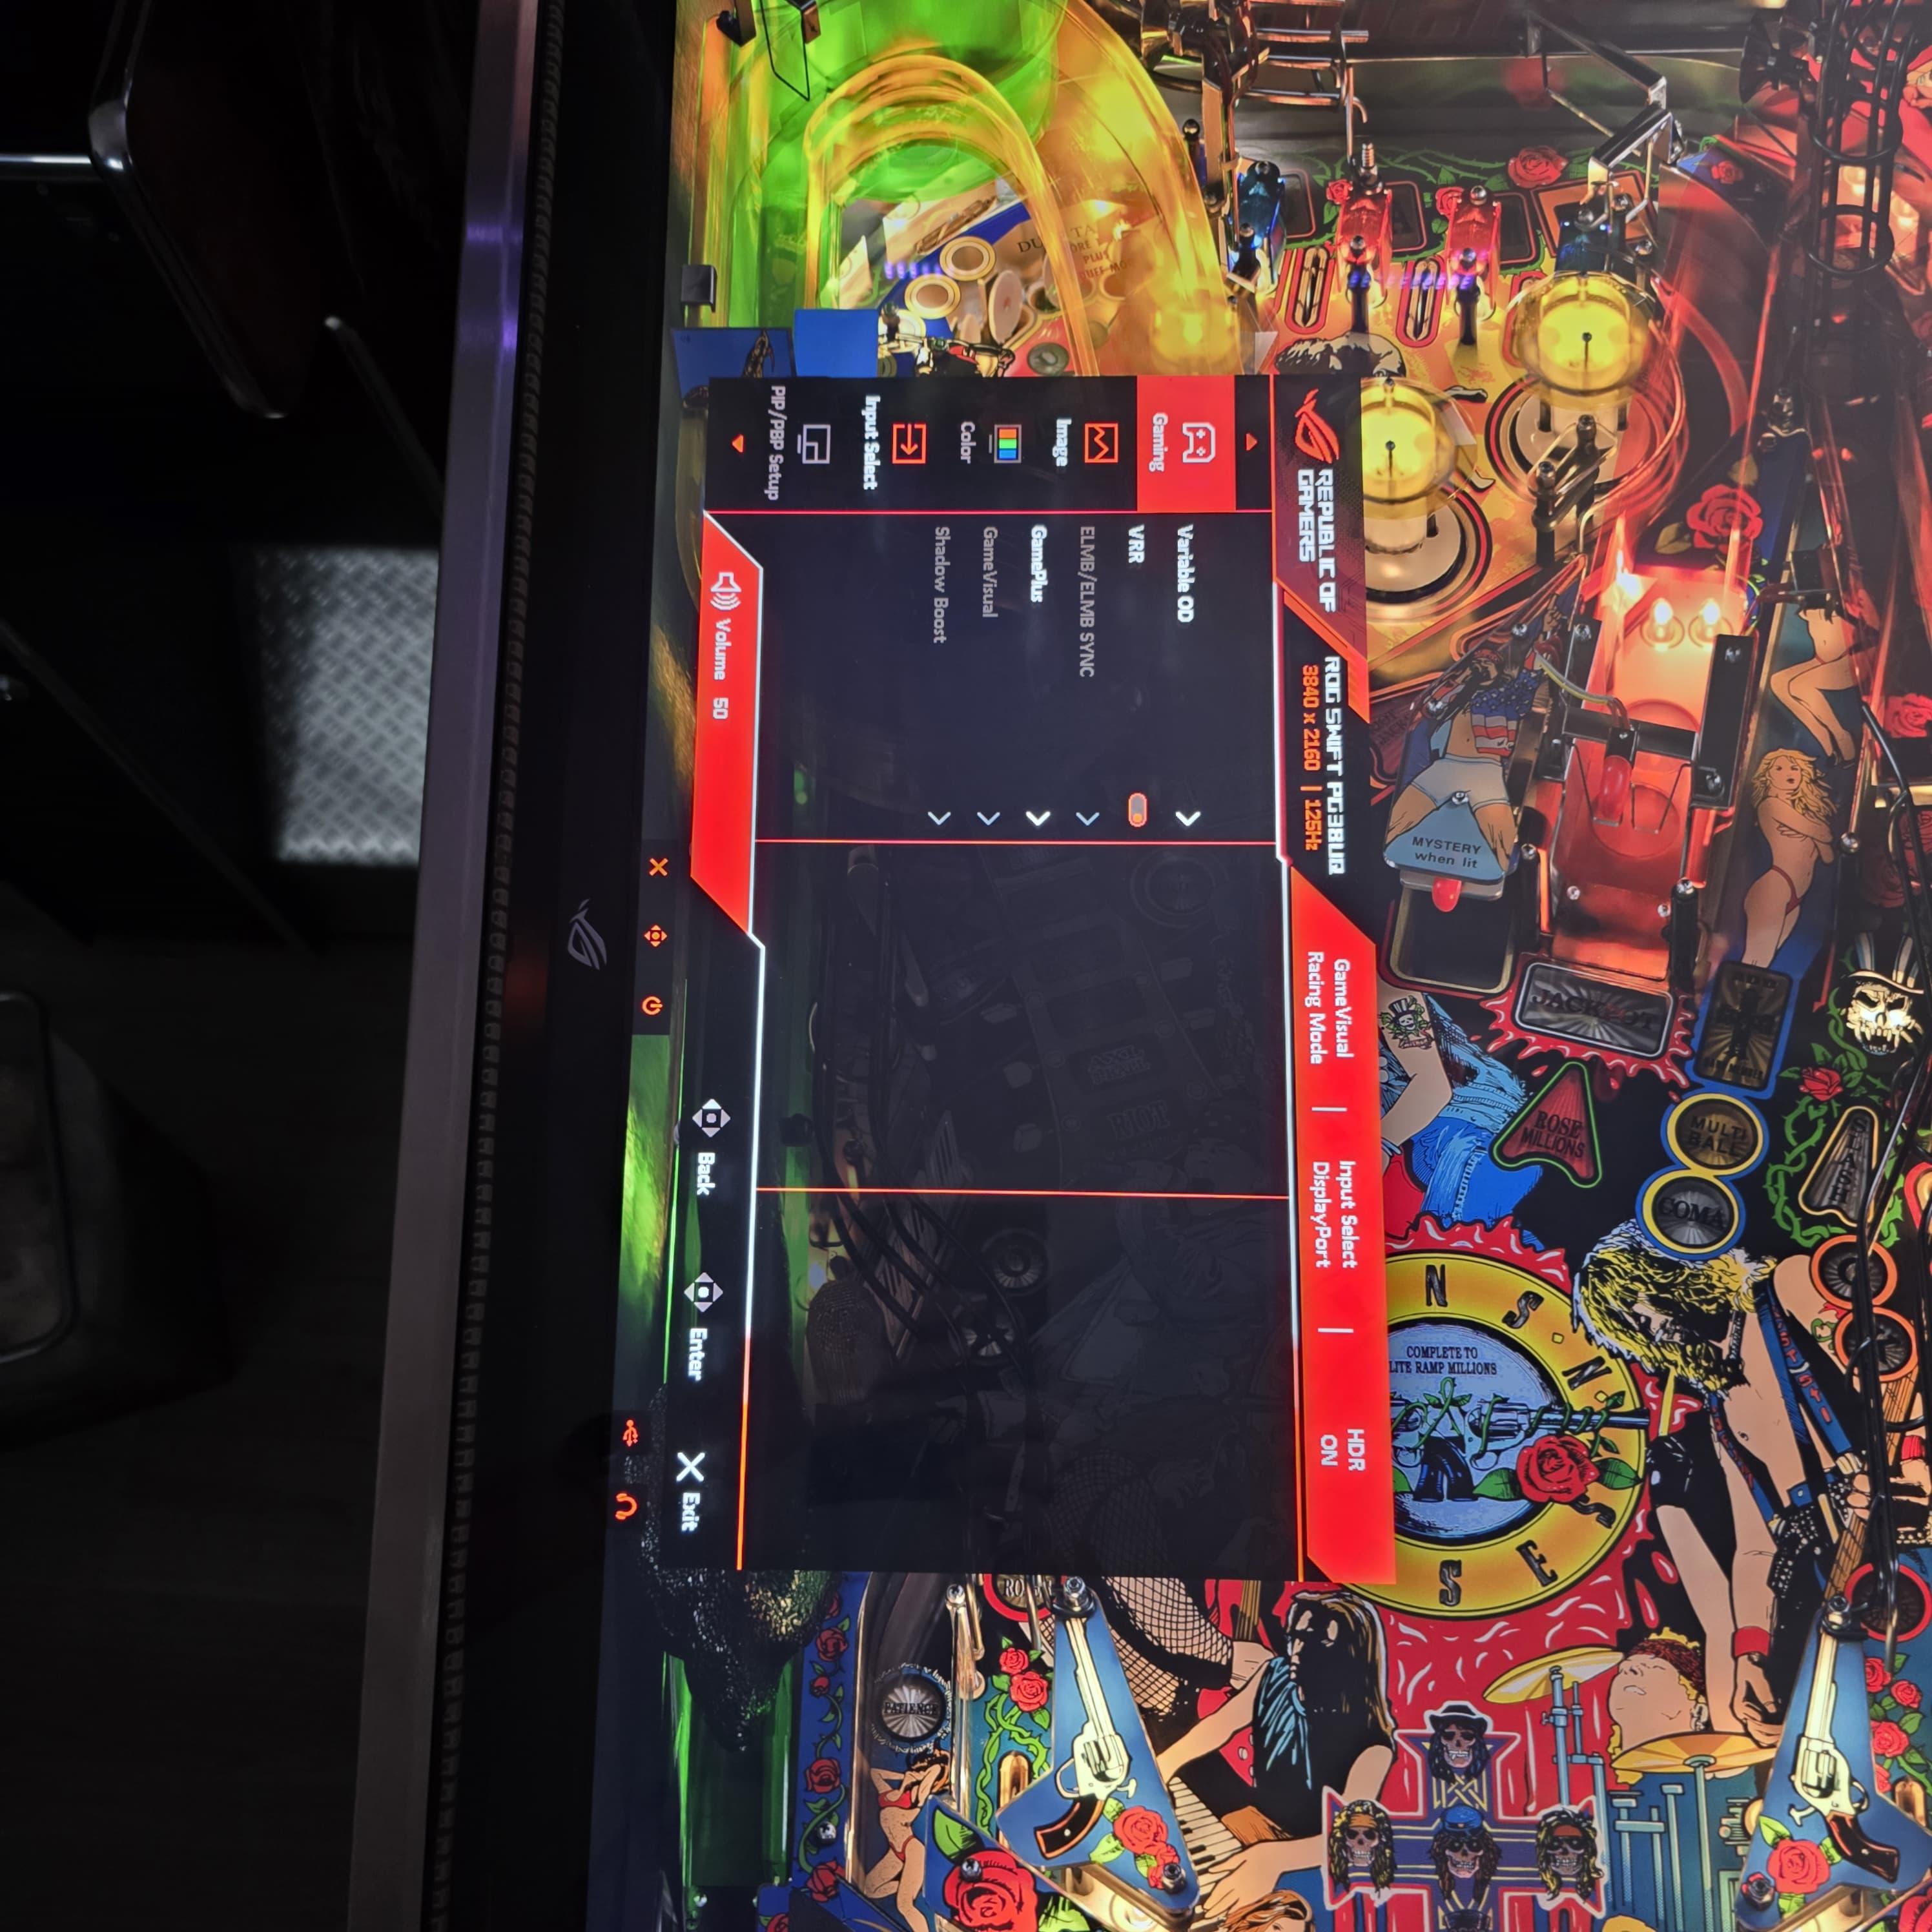
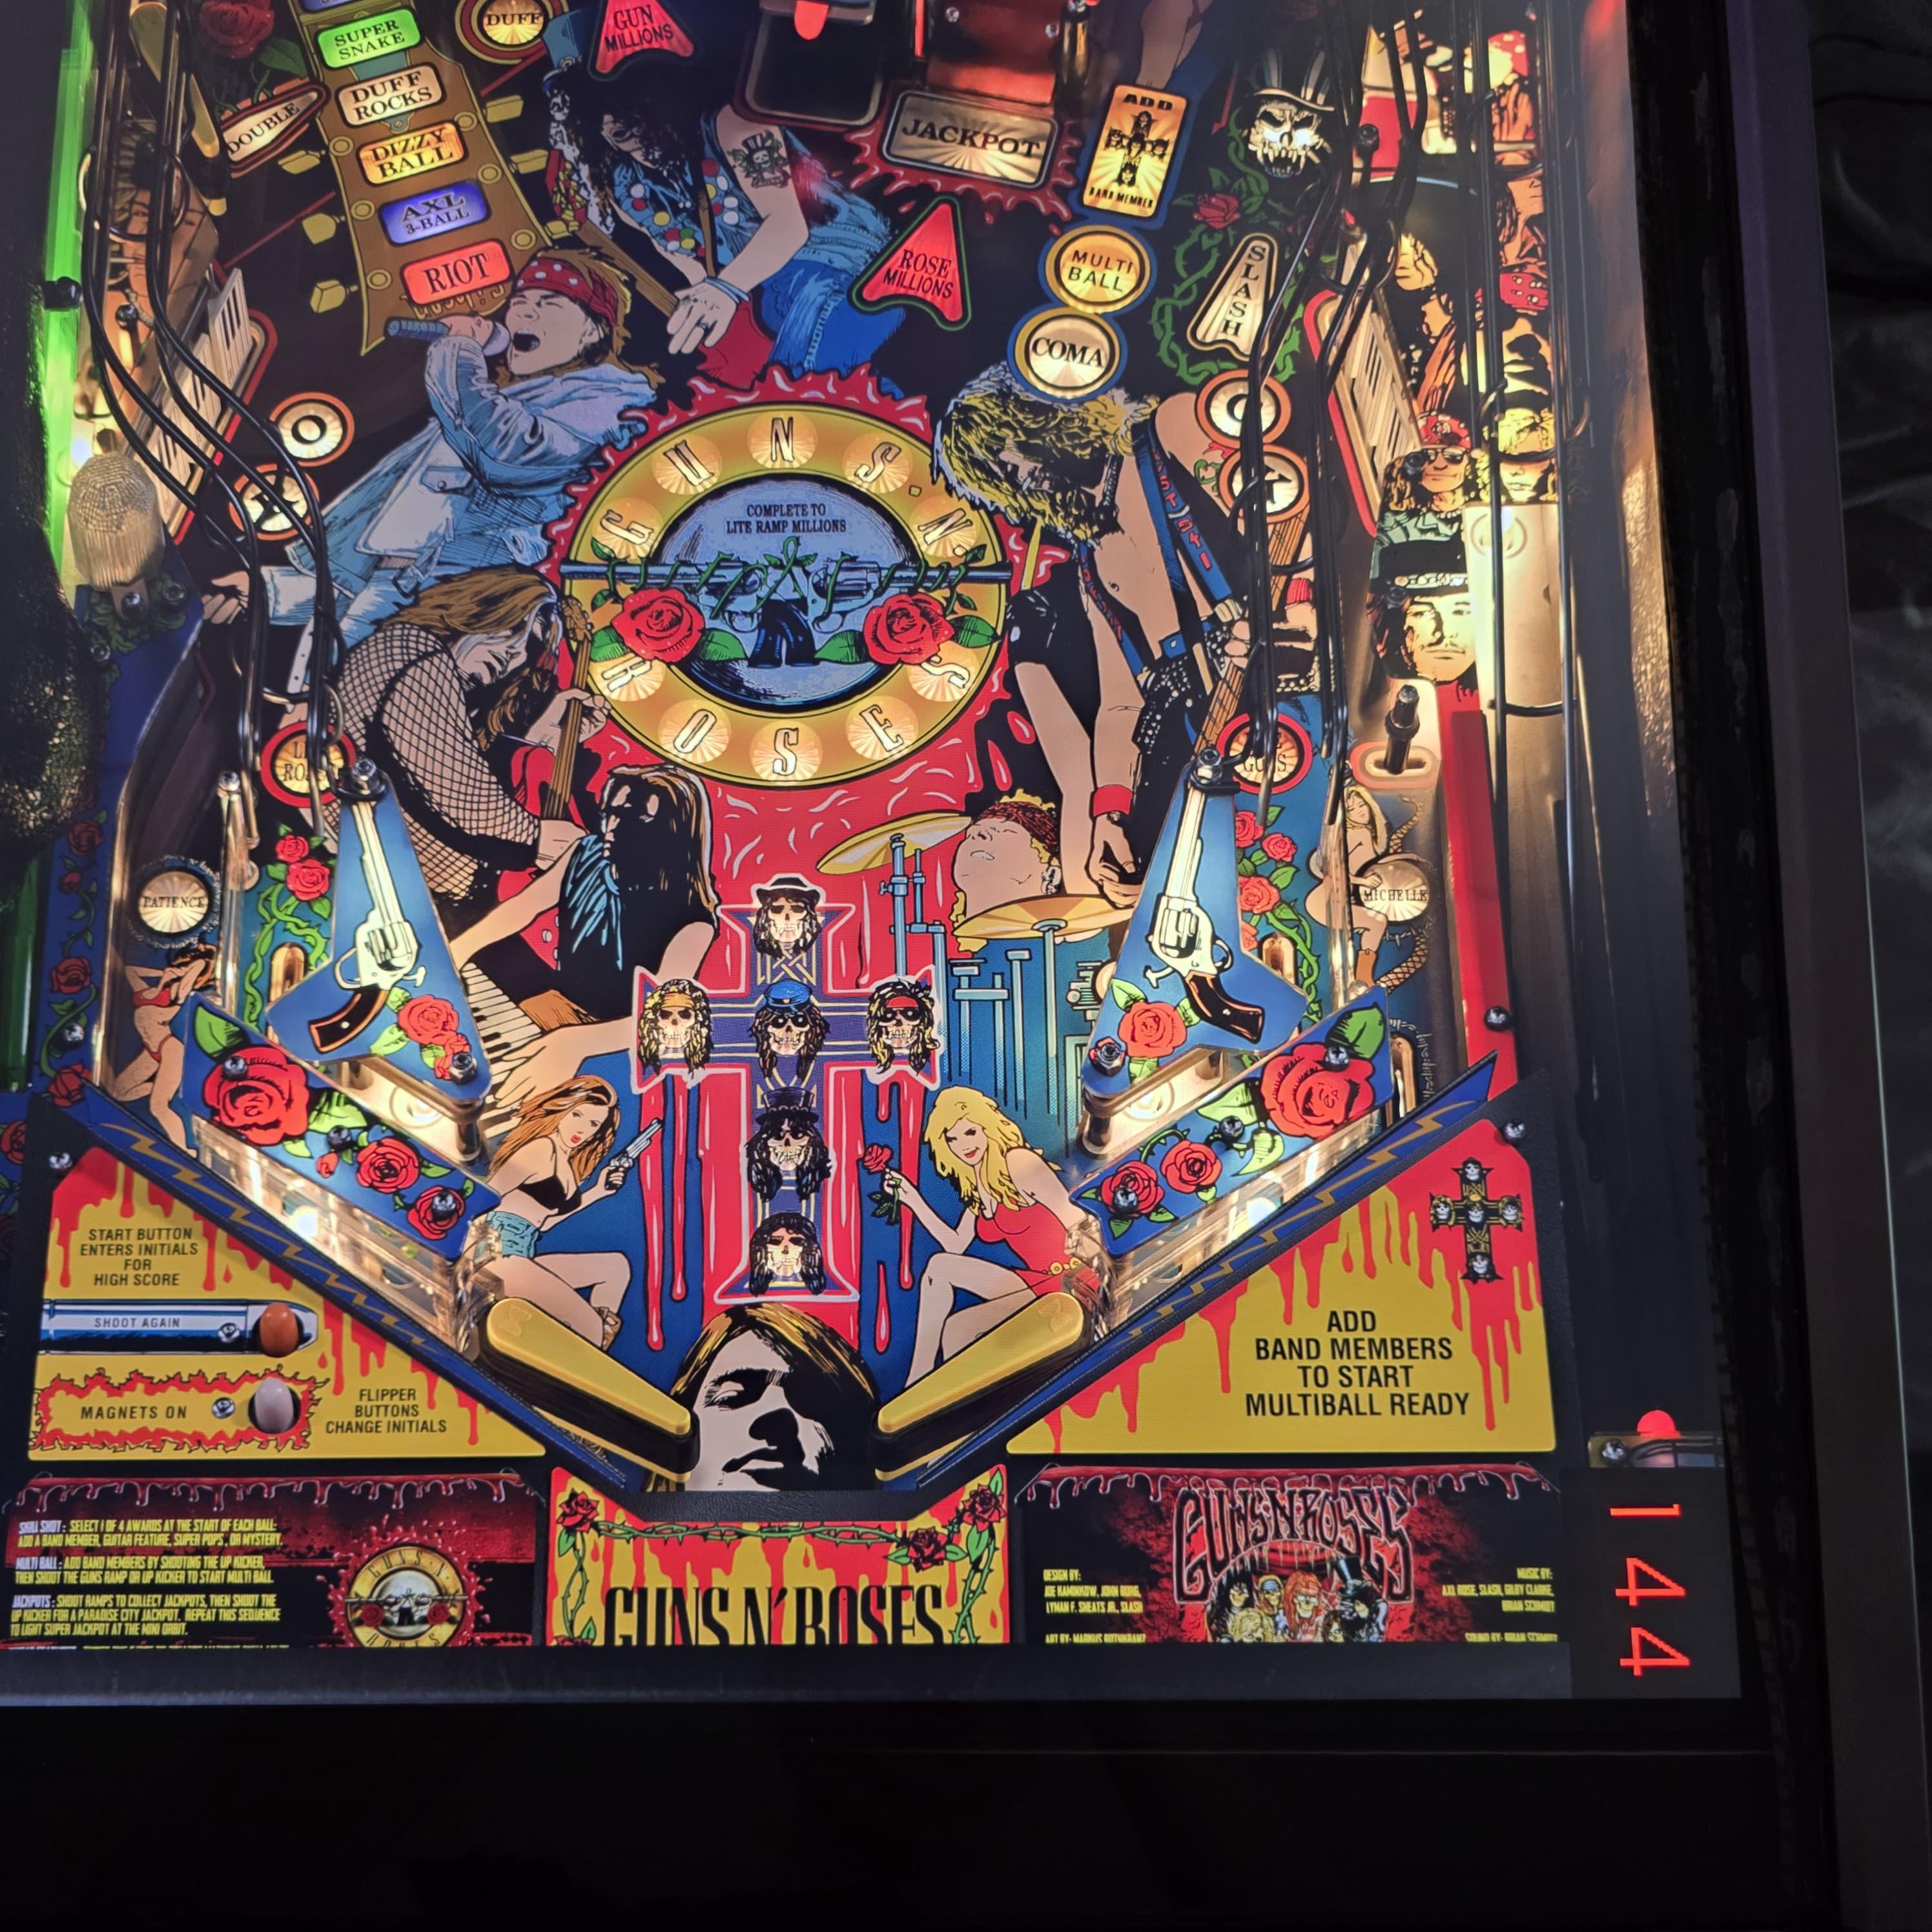
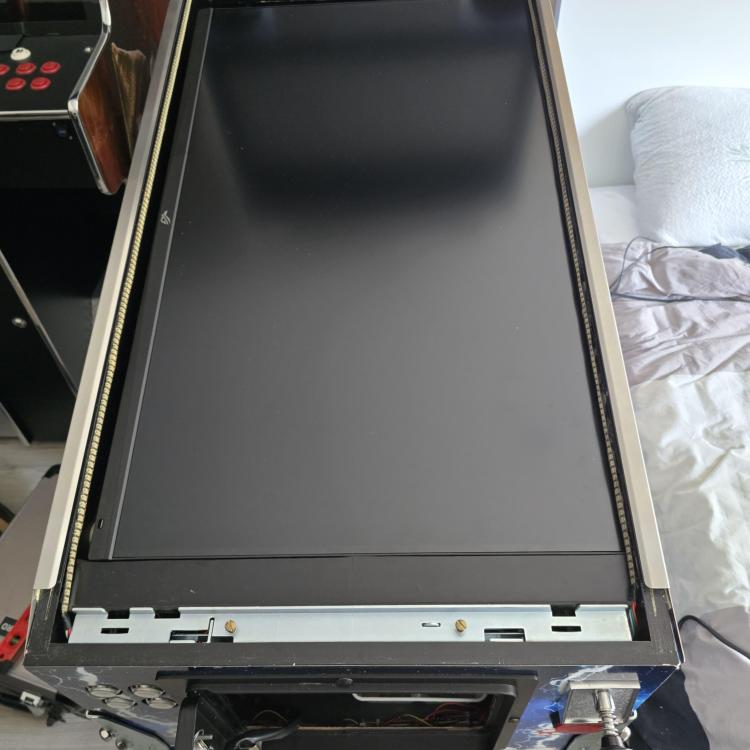
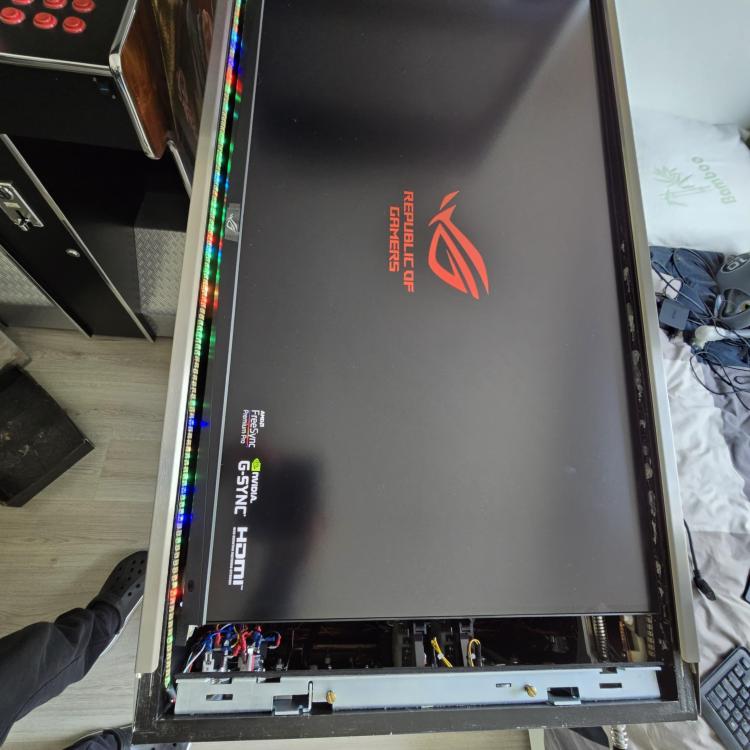
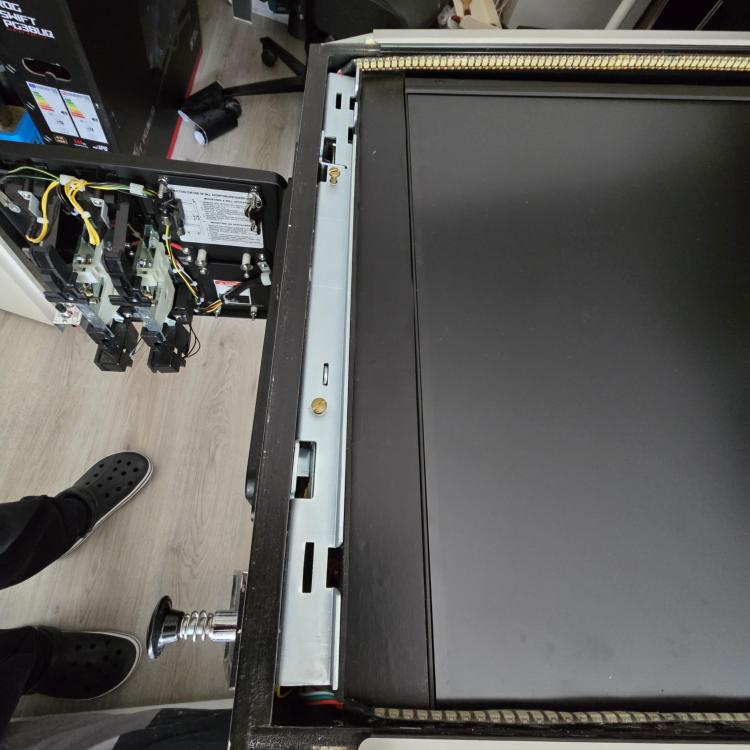
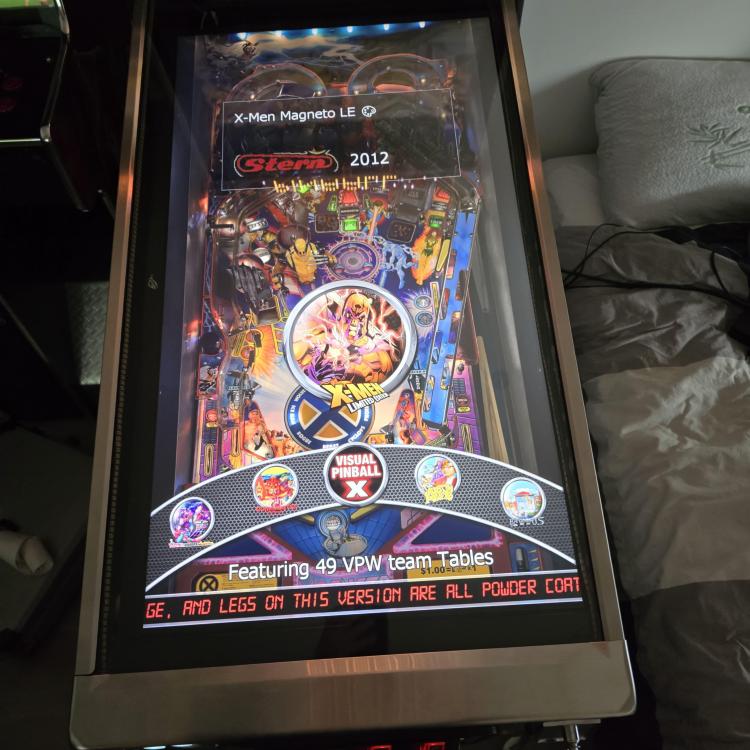
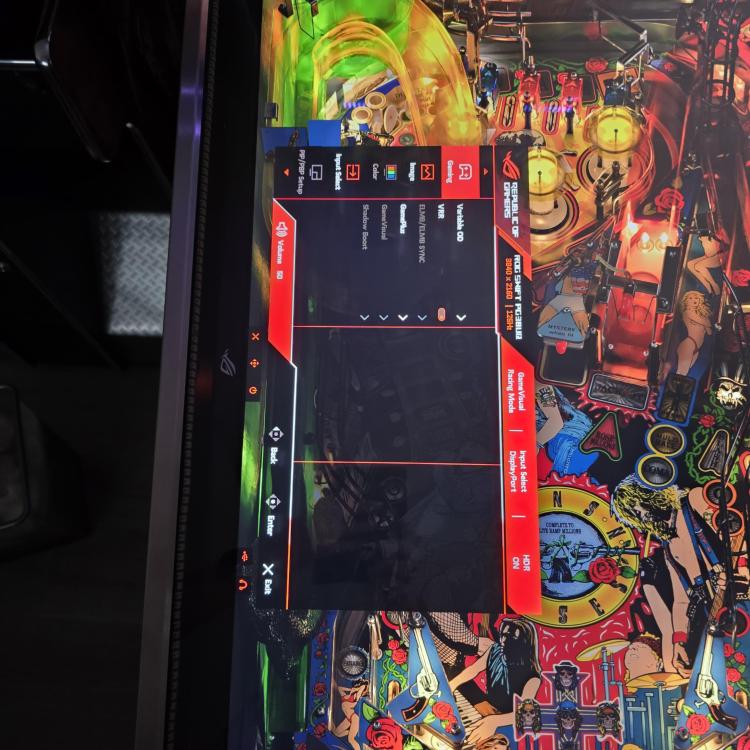
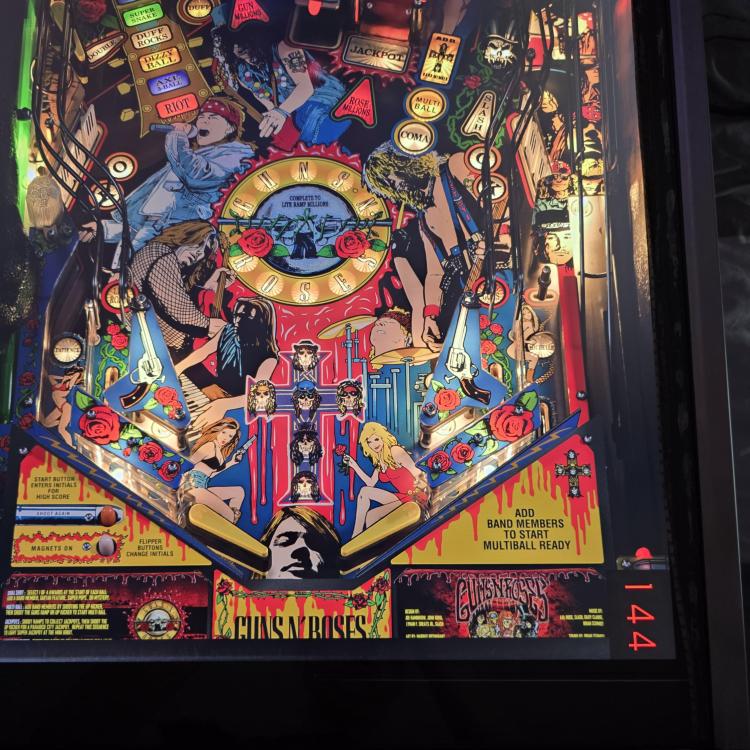
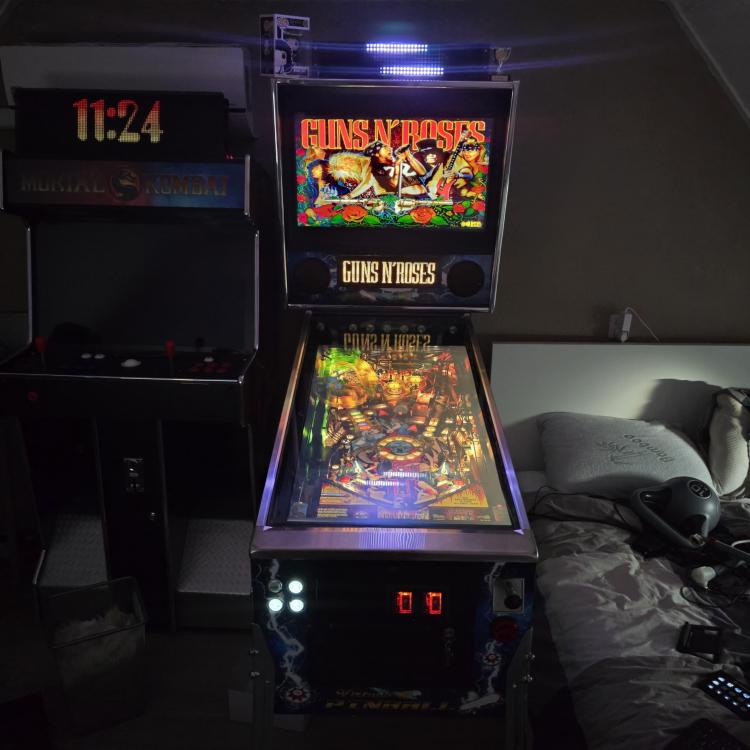
Due to health issues, I was unable to complete this thread about upgrading to my new monitor . The Asus Rog Swift PQ38UQ is a 4K monitor with a 144Hz refresh rate. Since the monitor cost around 1000 euros (discounted from the usual €1299), I was hesitant to remove the back panel. Consequently, I had to install the entire monitor, which made the fit in my cabinet quite tight, and I couldn't slide it over the flipper buttons as with my previous monitor. This led to a gap between the lockbar and the monitor, which I closed by adding a piece of wood that I painted black. Shows the gap between the lockbar and monitor. If you look closer, you can see that the LED strip on the right was also removed. As the monitor was so tight, I could not add it to the cabinet without removing the LED strip Inserted a small black wood strip to fill the gap. Side picture showing my crocs as well lockbar, ledstrip and glass placed again. Perfect ! PinballX displays perfectly, as does Visual Pinball. With VP 10.8.0's new POV setting called 'window', you can set the playfield from the user's perspective. It offers a more 3D experience when playing in flat mode. It's difficult to capture on camera, so you'll have to take my word for it. The monitor has a lot of feature I would never use, bit 1 thing is handy. it will shows the FPS which is actually from the monitor menu from monitor Showing actual FPS on screen (too bad it cannot be rotated, but you get the clue) total picture. As I didn't like the gap between the user and apron/instruction cards (it was too big and the flippers felt too high), I'm adjusting all my tables to show half of the apron/instruction card for a more realistic experience. I also try to set up the tables within VPX to 100% scaling (not stretching), which displays the table at its real size on my monitor.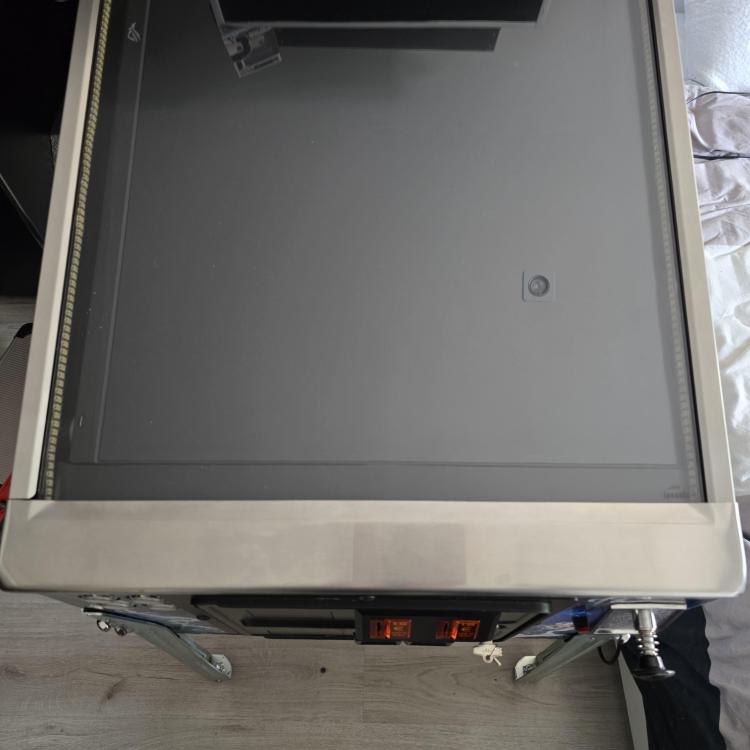

-
Your absolutely right. so these are my options (copied/paste from the new config tool, but it's the same as the old one and here's a small video that it is working/changed : Start and exit button flashing with the same frequency Coin (button and coin chutes) and inf (select) are always on. My config : My global_pinballX.xml : GlobalConfig_PinballX.xml which uses cabinetpbx,xml for my Teensy board (not needed for the ledwiz config) CabinetPBX.xml I hope this helps




-
The DOF plugin should follow completly how your 32bit DOF is setup. The only differrence is that there is a specfic GlobalConfig_PinballX.xml in the config directory, which could point to a differrent inifilepath that has the config. Pinballx only sends the keys/joystick input to dof as an event and dof will handle it. Lights, toys and leds should all be handled by DOF . Very odd. I changed my pinballx table as well in the config tool and all is working. My lights of the coinchutes will lite, start and exitvwill both blink with a differrent time out. And my credit and info button are just on. Recently i turned of my blinking launch button as that lamp was making noises over the exciters. I will post screenshots and configuration when I'm close to the cab
-
I don't have much dof lamps, but my start, launch, info and exit are working. I changed years ago my dof config for blinking start and launch. Not sure what you mean with face buttons. I know that the pbx dof plugin uses the dof api and just use it to parse the table"pinballx" with all the settings that are in the dof tool.
-
[RESOLVED] Pinball X taking black PLAYFIELD screengrabs
Mike_da_Spike replied to Itchigo's topic in General
That doesn't show much .. Can you attacht the pbxredorder ini fe as well? -
[RESOLVED] Pinball X taking black PLAYFIELD screengrabs
Mike_da_Spike replied to Itchigo's topic in General
Can you post the pbxrecorder log ? -
[RESOLVED] Pinball X taking black PLAYFIELD screengrabs
Mike_da_Spike replied to Itchigo's topic in General
I think you need to point it to the pinballx directory where the executable resists, not your xml -
Thanks! I'm all up to date now !
-
I don't understand anymore, I though having the -g on the executable line gave the PinballX error : 00:02:44.60 10/13/2024: An error occurred trying to start process 'Cemu.exe -g.exe' with working directory 'C:\Flynns\Cemu_2.2'. The system cannot find the file specified. 00:02:44.60 10/13/2024: at System.Diagnostics.Process.StartWithShellExecuteEx(ProcessStartInfo startInfo) 00:02:44.60 10/13/2024: at System.Diagnostics.Process.Start() 00:02:44.60 10/13/2024: at PinballX.FrmMain.x() I'm really confused now 😕 Oh man, more arcade stuff? I adore pinball more! 😍
-
[RESOLVED] Pinball X taking black PLAYFIELD screengrabs
Mike_da_Spike replied to Itchigo's topic in General
I can't imagine that If you set only system 3 from 'other' to 'visual pinball,' , you get that error. It is just how pinballx thread that specisystem. -
This was in the last log and causes an error in the log. But not sure if this was removed
-
With tne remove of -g from exe path ? . I tought tecknoparrot was fixed weeks ago?
-
Startup Multiplayer Parameters for Zen Pinball FX
Mike_da_Spike replied to T0mat0's topic in General
Cool. The launcher file has all the options as well, instead of link,link and link 😛 -
[RESOLVED] Pinball X taking black PLAYFIELD screengrabs
Mike_da_Spike replied to Itchigo's topic in General
What Scutters is saying, is that your vpx system is set to "other system" instead of Visual pinball. This is why pbx tecorder skips it That should not be the case. I dont have vp 9 running and all is working for me as well -
Startup Multiplayer Parameters for Zen Pinball FX
Mike_da_Spike replied to T0mat0's topic in General
Did you check the following post with the fx launcher ? -
Yo uhave the following in your exe path : Executable=Cemu.exe -g remove the -g from execute path. that's causes PinbalLX to thrown an error.
-
Log please