|
.jpg.dfba0c4bf43c201ce79c8d3d44e98711.jpg)

tthurman
-
Posts
7014 -
Joined
-
Last visited
-
Days Won
226
Content Type
Profiles
Forums
Events
Downloads
Store
Articles
Everything posted by tthurman
-
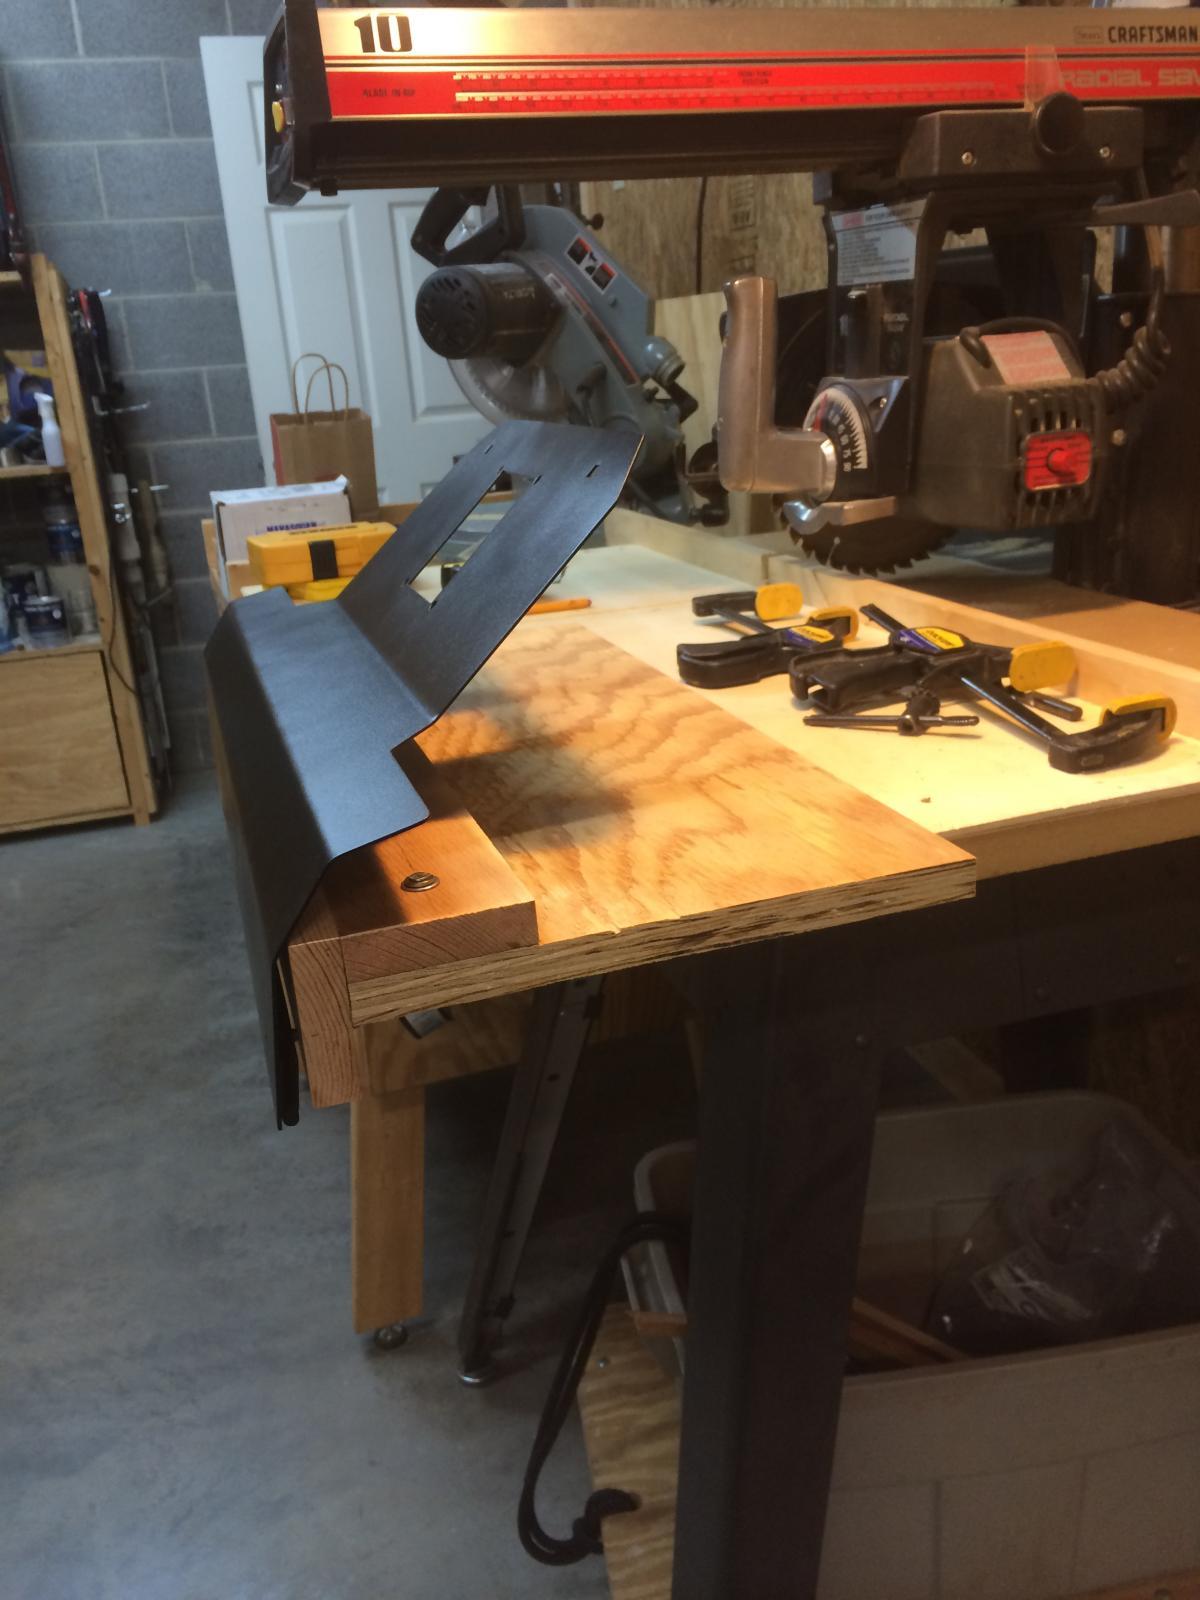
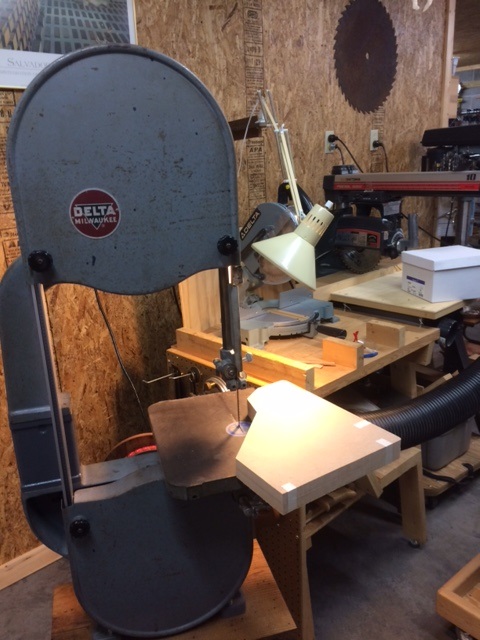
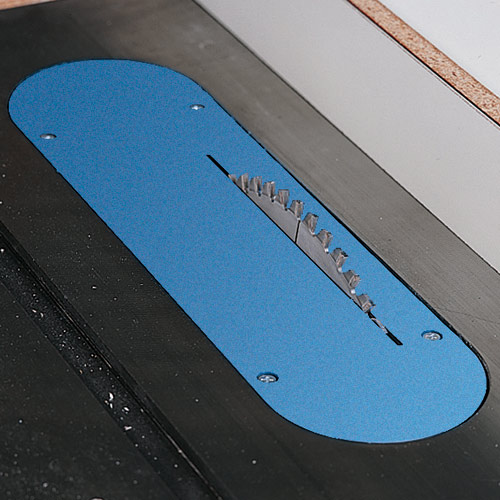
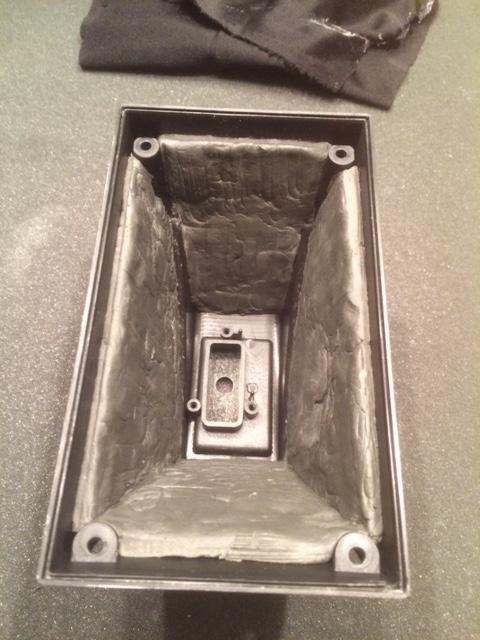
Posted October 29, 2015 Finished what was perhaps the most difficult cutting on the side panels last night. For some added effect, I'm going to be using some inlays that will flange out on the exterior side of the panel. Basically I cut a 3" hole on each, then moved the cutting tool in 1/8 to allow for a 1/16 relieved edge for the inlay to rest in. I then went back to the router to bevel the rim around the outside perimeter to make it appear to flare out. I hope this has a little more effect once painted and lit vs the subtle appearance it has in this shot. Regardless, I was really glad to successfully complete this without destroying them in the process.
-
Posted October 26, 2015 (edited) The yoke is in several boxes separated by section. Hopefully I can get it reassembled without having a bunch of left over pieces. It has been tore down for some time now!
-
Posted October 26, 2015 (edited) Finally, light at the end of the tunnel on the CP for the yoke. Considering some of the challenges I've faced with this thing, I'm pretty happy Lots of work that can't be seen in these photos from yesterday, pre-drilled holes for the led mounts, side panel attachments and the like..

-
Posted October 22, 2015 (edited) Ah well, continuing along with my slow, but consistent speed, I slotted out my newest creations in the world of mdf last night in preparation for the T-molding. The router is a tool that I'm uncomfortable with, especially when working with it inverted like this. It can become the bass-o-matic real quick to your fingers/hands. I'm glad to report that wasn't the case You would not believe how much hand sanding I did on these since the last post!

-
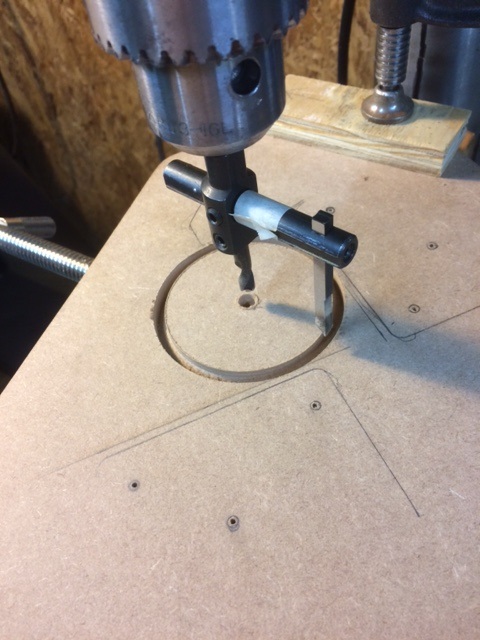
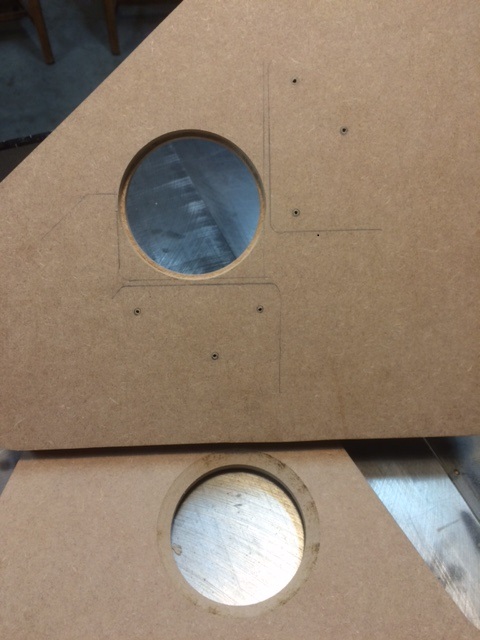
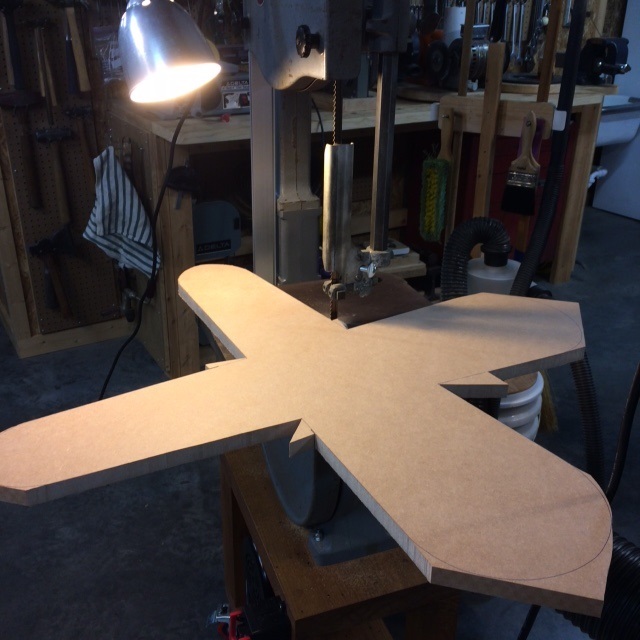
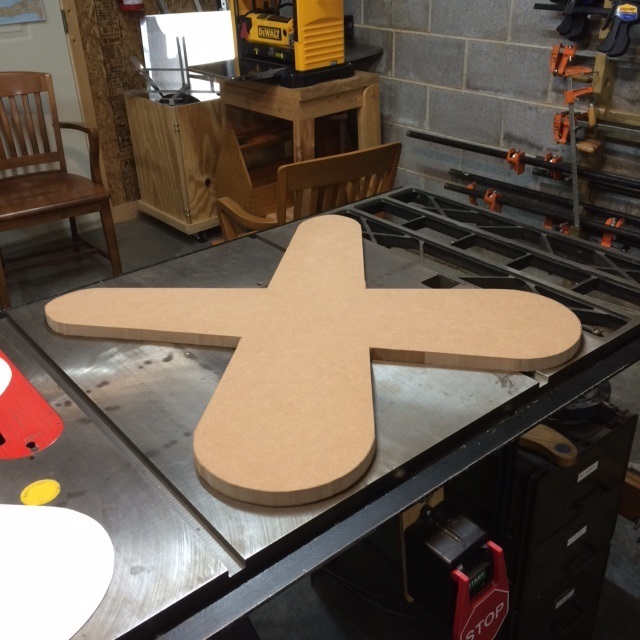
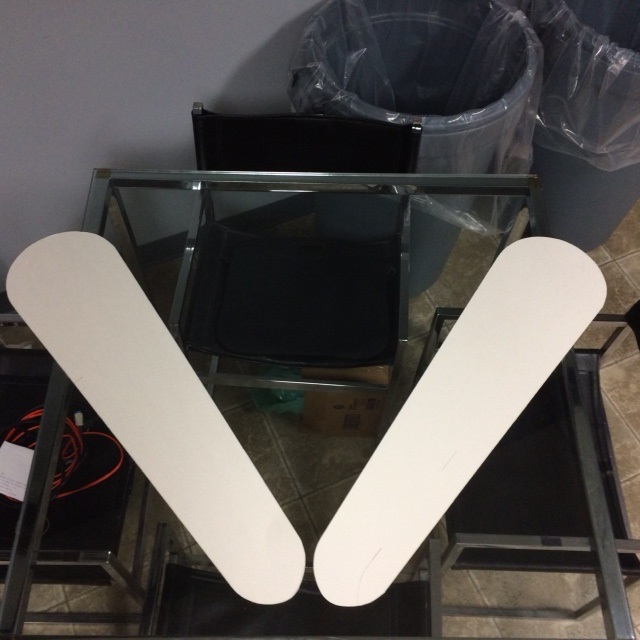
Posted October 7, 2015 (edited) Getting a bit better with the mdf cutting. Only a couple areas over the line, overall I'd say I'm happy with the results. I'm hoping that after a few times over with the sander, nobody will be the wiser For anyone curious, I started with the PBX logo, but unfortunately when enlarged to the size I needed, it is to large for a 2 x 2 sheet of mdf, so I had to do a little customizing on this part of the project. I took a single flipper bat and enlarged it using one of my overhead projectors that I rent at my dads store. This got me to a big 24" flipper bat, so I came home last weekend all smiles. I cleaned this up all nice and neat with a ruler and protractor. oops, when diagonal this this needs to be right at 32", and now no overhead. My *buddy with the wood shop loaned me a pantograph to do the enlarging. Quite an interesting tool... *Lynn had the idea to flip over the piece, and strike out lines to final cut the nips near the center in the first picture, I couldn't reach these areas from hitting the body of the band-saw. He made it clear that he felt I should give him credit for this, so there you have it.
-
Posted October 6, 2015 (edited) Planning for the playfield base. I wanted to incorporate pinball paddles into the playfield base by using the base of a mid-century kitchen table my mom and dad gave me decades ago.
-
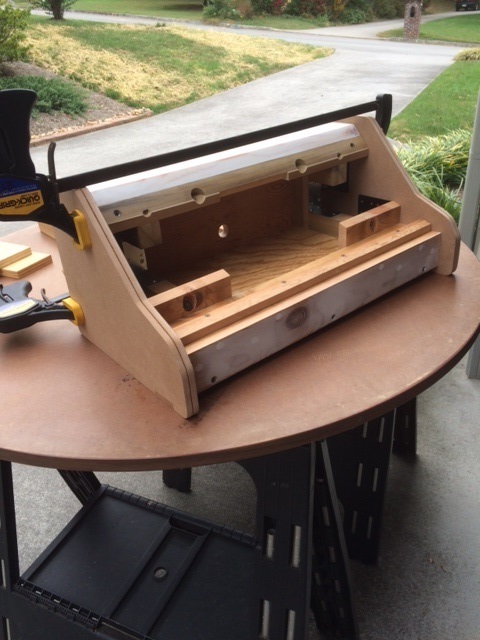
Posted September 24, 2015 Finally time to start the end caps for the Star Wars CP. mdf isn't something I've worked with before, but it seems the best material for what I'm trying to do here. Two things I realized here: I'm not particularly fond of mdf, and I'm not very skilled working with it. You can destroy this stuff in short order, I much prefer natural stock. With any luck, perhaps I won't mess them up when cutting the T-mold slot. Between home jobs I also got the final paint coats on the CP itself. It took quite a beating from repeated fitting attempts during the enclosure building. A old Atlas mic stand with some weights added to it have been my makeshift painting stand. Makes a good scarecrow for our dirt garden, complements of the sewer renovation.
-
Posted September 3, 2015 (edited) Okay, so I'm juggling around seemingly a thousand different "around the home" things, but still picking away here too. I think I finally whipped the control panel closure. Not perfect, but I'm happy. I ran a couple wood inserts through the swinging part of the panel, as well as the into the popular support I put in. This creates a sort of female all thread that will be used to secure them together with some 1/4-20 wing nuts. I got red ones like these for RC planes, they look pretty cool Last night I finally started cutting the birch plywood panels for the pedestal base. This stuff looks great, but cutting it without getting a lot of veneer tear-out is always a challenge. I used a zero clearance insert, which went a long way to stopping the majority of it. It was a long night of measuring twice fifty times to cut once (in most cases) I'm really going to push to complete whole project during the fall. I know what you're thinking, "yeah right"
-
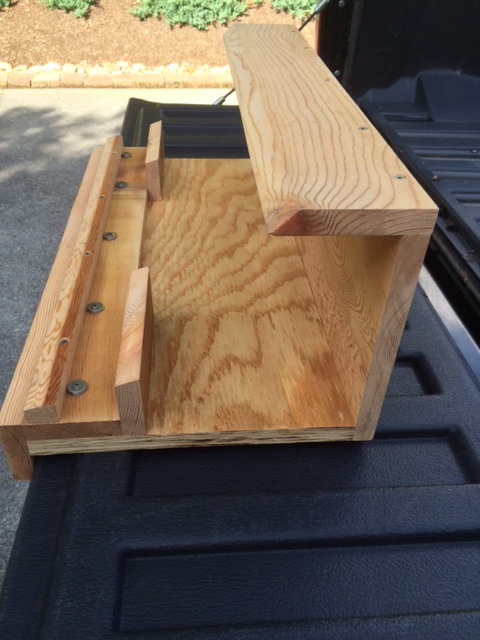
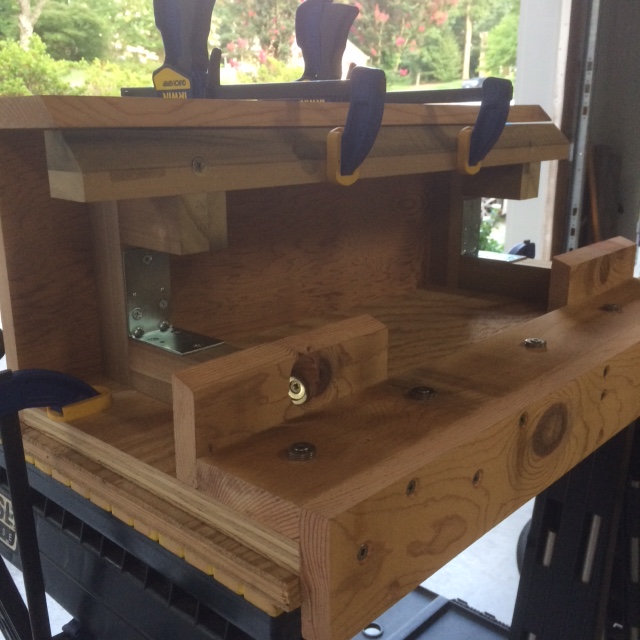
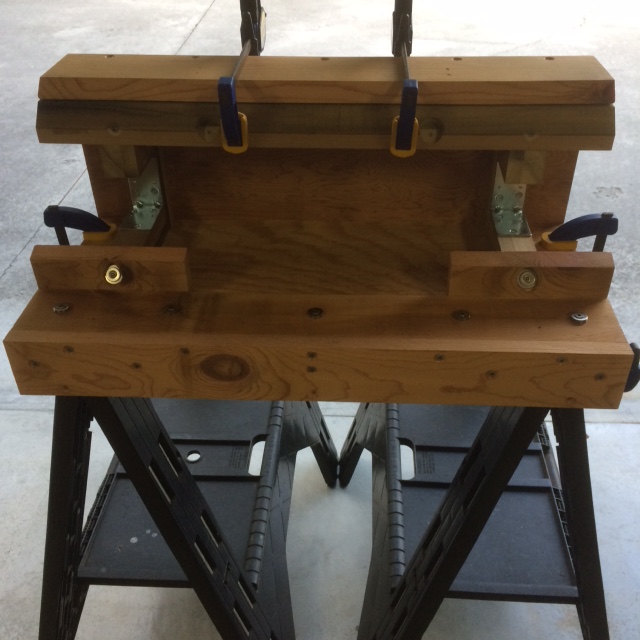
Posted August 5, 2015 (edited) If you ever played this in the arcade, you can probably imagine that the yoke itself is fairly heavy. I always "over do it" anyway, so why change now? I braced things real well to help ensure it would hold up under pressure. Here I've ran some horizontal supports across the lower section to remove the weight from solely resting on the piano hinge. To square it up I cut a several pieces of 1.5 poplar, and did a stack arrangement to create a "pinch" type of scenario where as fastening together would also increase the strength from the way everything rested together. Jenga sort of, but with screws. My previous failed attempts at creating a closing mechanism that would lock resulted in some lost materiel, so I fitted a full length run of the same poplar all the way across, and used a forstner bit to allow the bolts that hold the panel to recess in. Hope this idea works
-
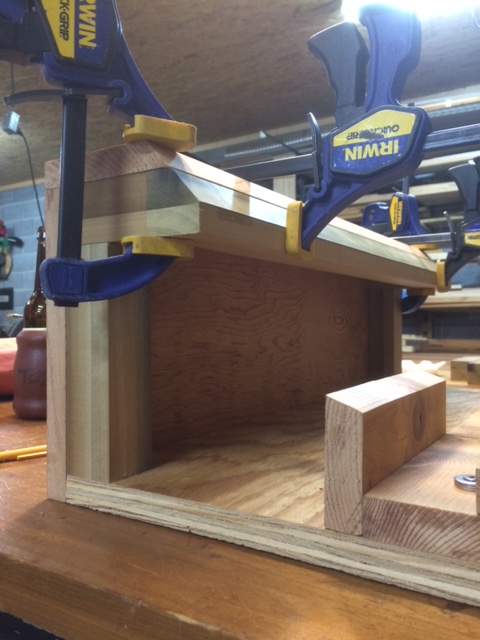
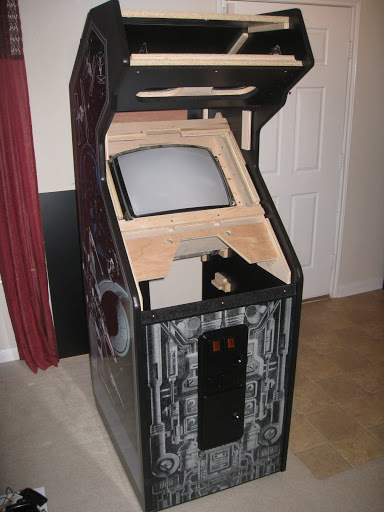
Posted August 5, 2015 "It's been a long time since I rock and rolled", but since I "think" I'm finally getting somewhere, I thought I'd post some of the progress. This was more challenging than I gave it credit for. After my first couple runs at it, I thought it was going to go pretty quickly. All things sailing along, or so it seemed. The design I've come up with is nothing like the real cab, where the hinged panel closed down on the framing underneath the bezel, which you can see in the pic below of OU Flight's project. I figured I'd come up with something eventually though, so I carried on. I tried pull latches, using a cinch fitting, nope. Regardless, lots of head scratching later I just decided to square the box up really good, and go with a bolt down solution. Hopefully once it's all up and running I won't be getting inside of it that much anyway.
-
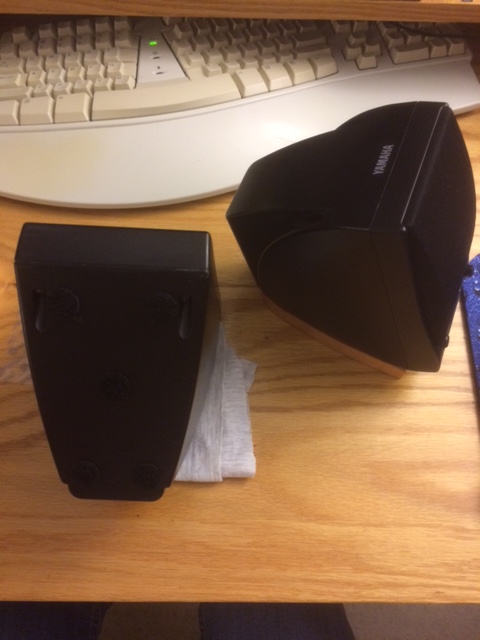
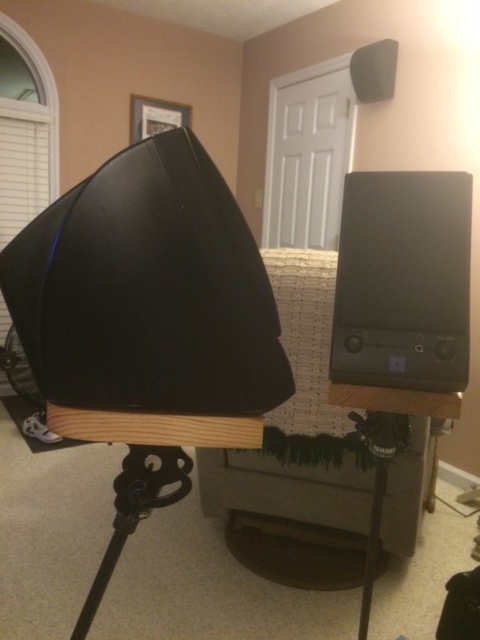
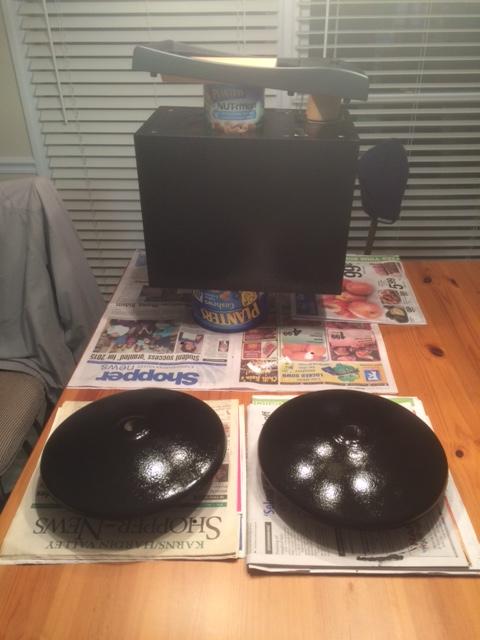
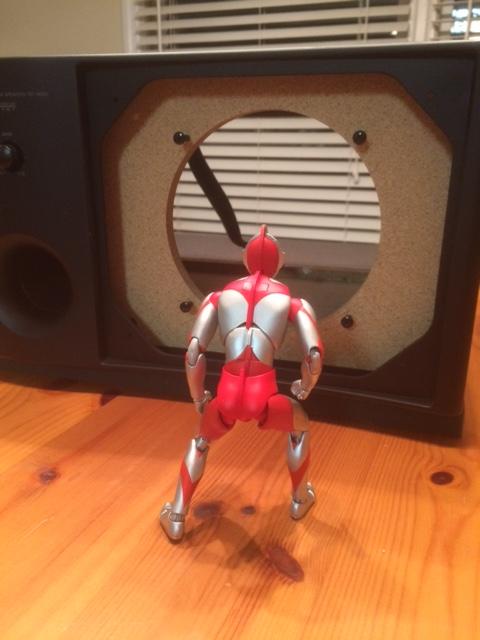
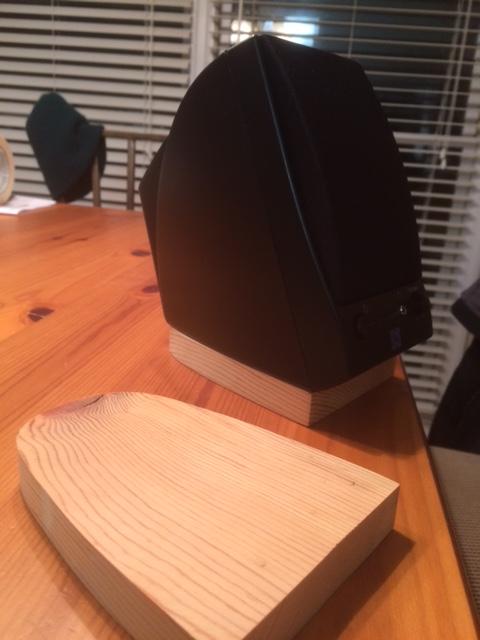
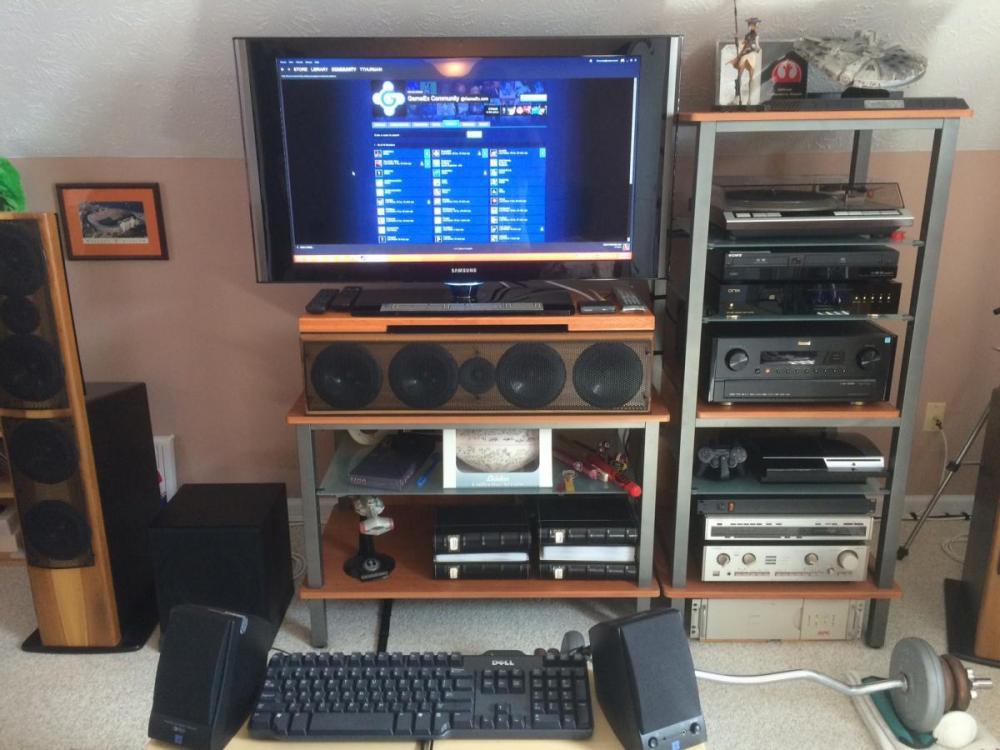
Posted February 9, 2015 (edited) Now to finish the stands. I used Formby's Tung finish on the wood bases I posted a while back, and mounted the speakers to them with velcro dots. I figure this will decouple them a bit, and allow me to get back into them, should the need ever arise. I purchased some Yamaha mic stand to speaker/mixer adapters that I threaded into the wood, then sealed the upper portion with the Formby's. They seem good a secure, and it made for a good repurposing of my old kick mic booms! My plan all along was to get these back from the pedestal so they are out of the way, and they are! Not the best pics, but here they are in place (at least for now), along with a couple peaks of Draco's new kick-ass Smoked Glass theme!
-
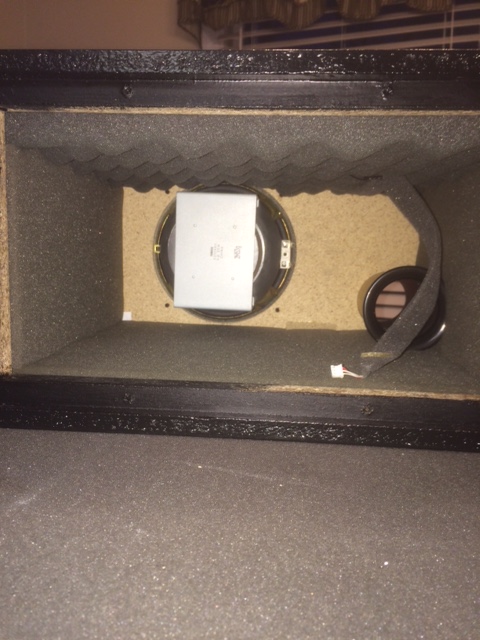
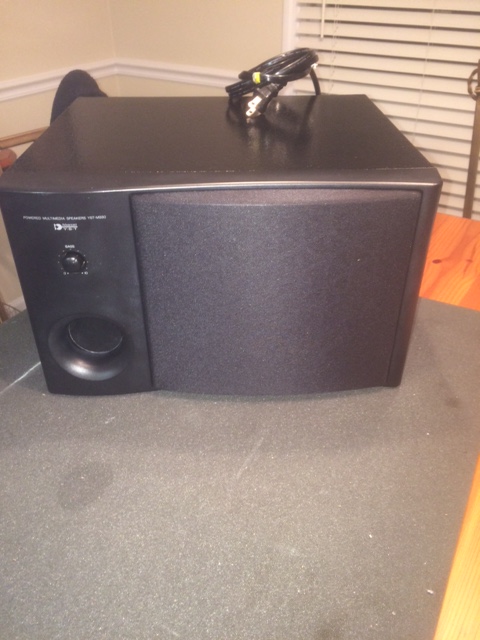
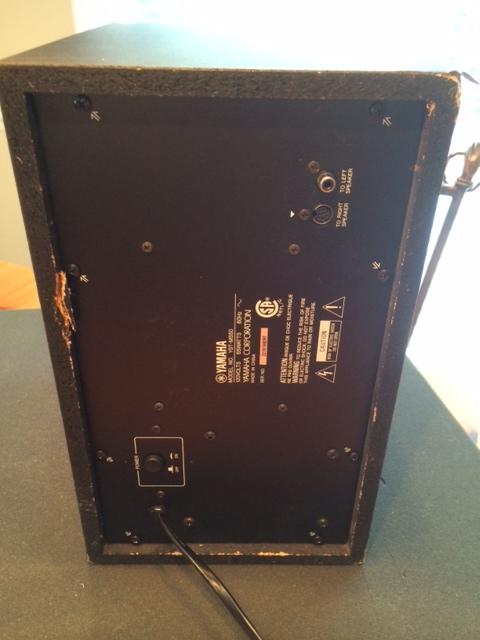
Posted February 9, 2015 (edited) Okay, so Friday I was able to successfully get the sub back together. I forgot just how short that wire was ...but I finally got it all buttoned up! Plugged up a portable CD player, and put them through the paces with The Best, which put me in huge nostalgic VH mode for the rest of the weekend. I'm very pleased with the results, they rock for such a small set!
-
- 1 reply
-
- 1
-

-
Posted February 5, 2015 (edited) Just for a point of reference, I'm not completely crazy trying to not only salvage these, but hoping to improve upon them. If you've stuck with me this far though, you're most likely starting to think I've lost it! I've had a white pair for years, and they sound amazing considering their size, and relatively hollow cabinets. I'm not alone with my high regard for them! If my mods work, the white pair will be next
-
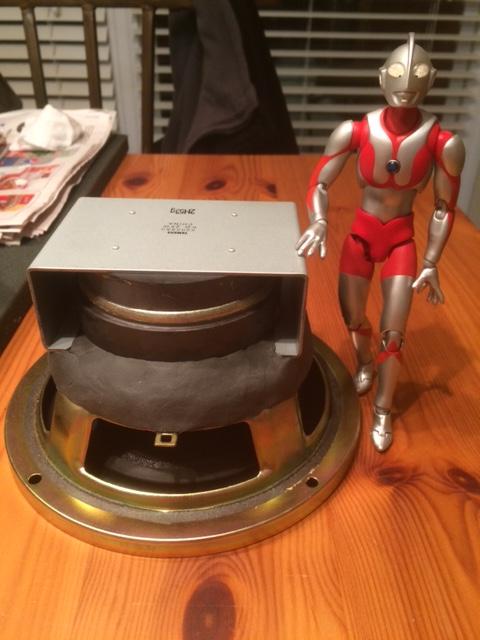
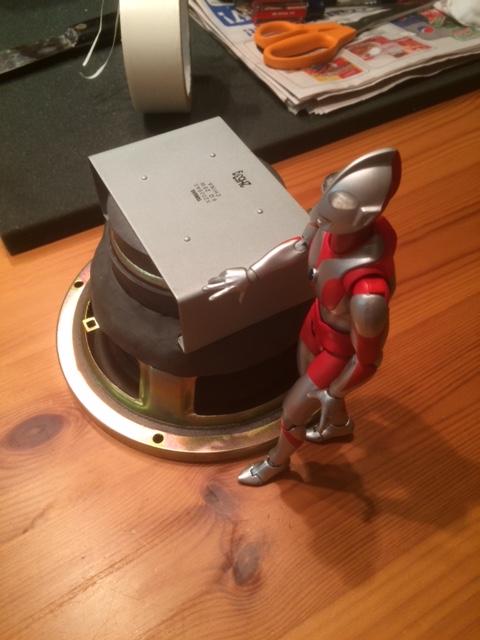
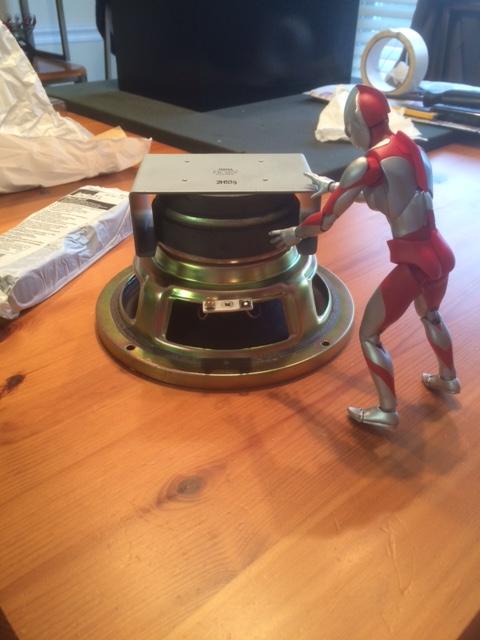
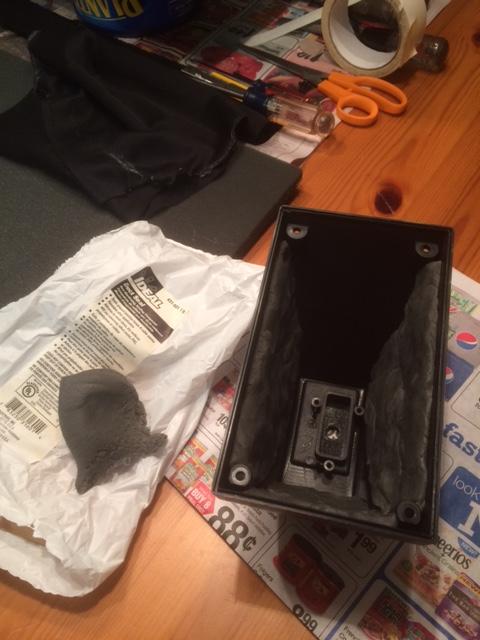
Posted February 5, 2015 (edited) Super Bowl Sunday, work continues..... As for the cabinet, without some type of wrap, I'm convinced at this point that I've arrived at the best case scenario, cosmetically speaking. Given that, time to see if I can clean up some more cabinet noise. Some pretty bad ringing there! So what to do about that ringing? Read quite a bit about this mod use for duct seal, right in the area between the magnet and basket frame. The results are impressive to say the least. I can't wait to see how much it really helps!
-
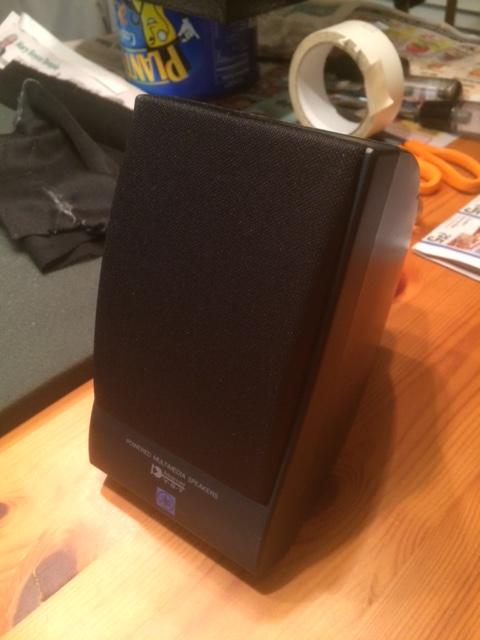
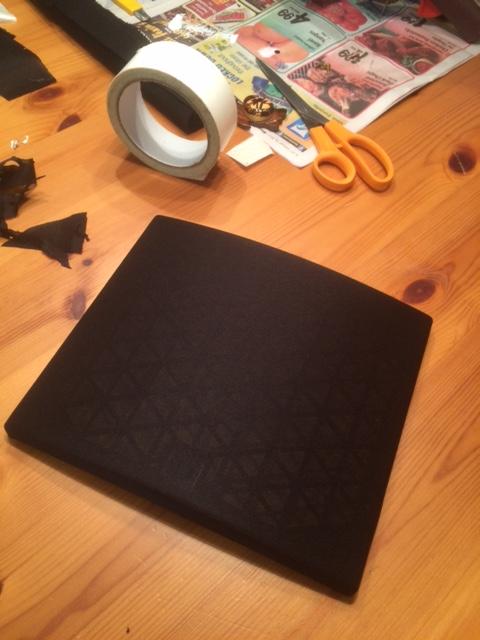
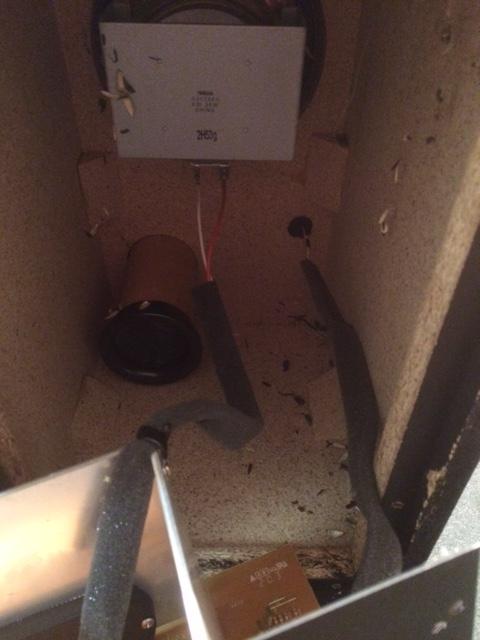
Posted January 26, 2015 (edited) Restoration and modding work continues on the speakers. I've decided to go a little crazy with these, and see what I can get out of 'em. I rolled the sub heavy with three coats of rustolem satin black, intentionally orange peeling the surface of the mdf. I'm going to buff them down a bit with rubbing compound after they dried about a week. Shown here with the freshly painted cast iron Atlas mic bases. Re-covering the grills turned out to be a bit more challenging than I expected. Hot glue didn't cut it for this project, but given how they cinch down on the frame when installed, carpet tape has worked great! These are some of the best multimedia speakers I've ever owned, but still the cabinets are plastic, and therefore resonate. This added color may be a positive, but it usually isn't, so I'm dampening them with 1lb of duct seal. Given how dull, thuddy and flat the bass is in arcade games, I'm betting this keeps the buzzing down a good bit. If you've never used duct seal, it's like heavy playdough so it never sets up, and remains tacky. The knuckle rap test is night and day between this one and the yet to be treated right satellite. One down
-
Posted January 17, 2015 Now to get the vinyl wrap off, the brute force way. Man, this vinyl was brittle! That mixed with strong glue made for an unpleasant tug of war! Time to bring the HEAT! All in a days work! hmmm, gonna need some treatments in here.....

-
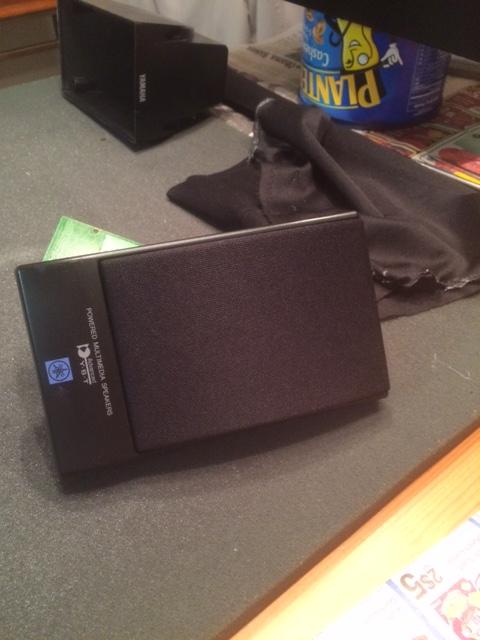
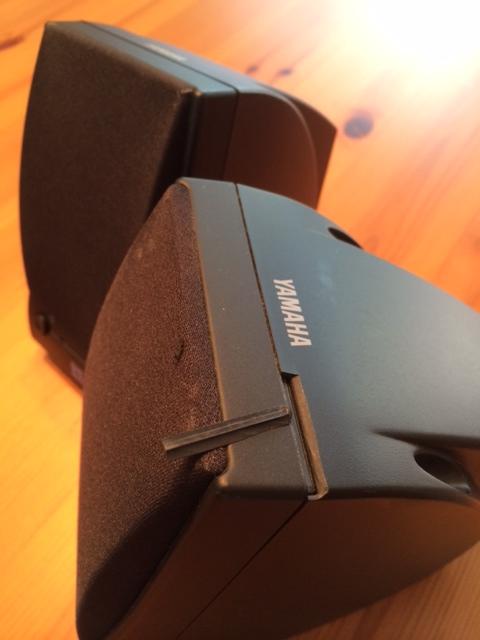
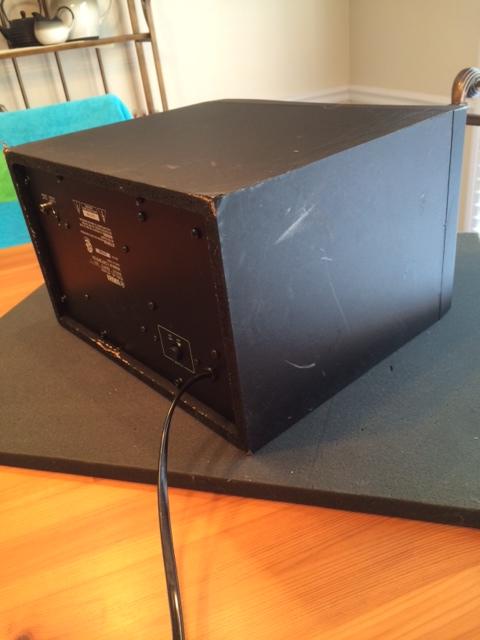
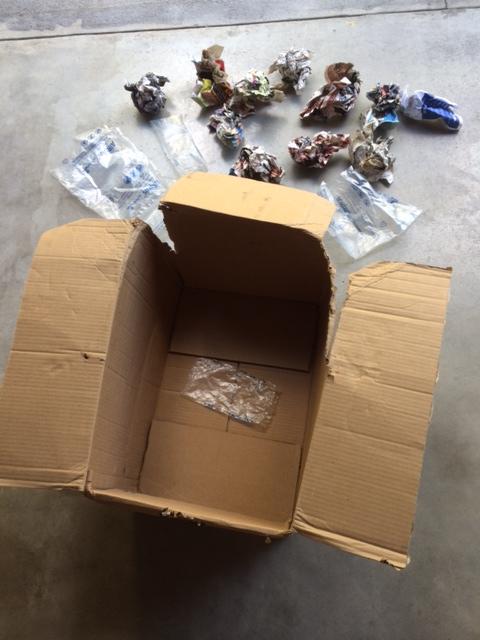
Posted January 17, 2015 (edited) Getting on down the road to recovery, but it's put a hurting on production, and inches on my waistline For months I've been struggling to come up with ideas for mounting speakers to the stand, when suddenly it hit me, don't. Time to repurpose some kick booms as stands, but first have to clean up the speakers. I mentioned earlier that I purchased a set of Yamaha's off ebay, they sound great, but the packaging was horrid. This represented the second 2014 ebay purchase for me that wasn't packaged appropriately, but after some exchanges the seller offered a partial refund. In what I hope to be a win/win situation, I figured I would restore them. No heavy lifting, and something to get me off my butt for a while. I glued the broken areas on the satellites and cleaned them up using Meguiars fine cut cleaner. I've still got to replace the grill fabric, but I'm really pleased with the results. Pictured here with the wood stand bases I made Wednesday night. The sub, well it was a different story. The mdf was bruised in the corners under the vinyl wrap, and the vinyl torn in one corner. I thought about getting some case corners, but as scratched up as it was, I decided to strip it and prime and paint. This is after a good vacuuming, I have no idea what this stuff was but tons of it shook lose during shipping.
-
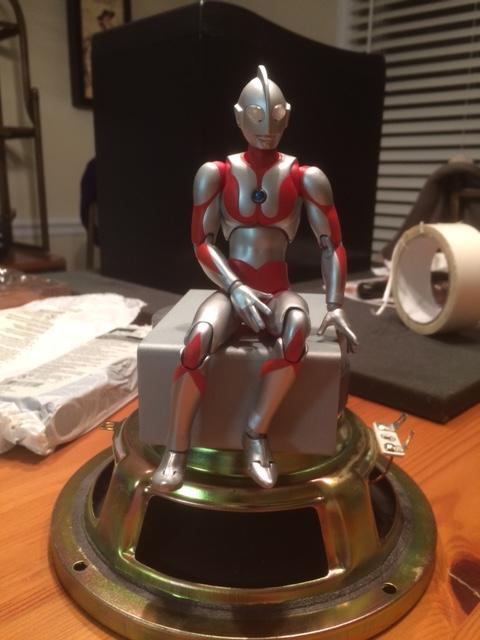
Posted January 17, 2015 Ran across a picture of the namesake for my build, my second kit.
-
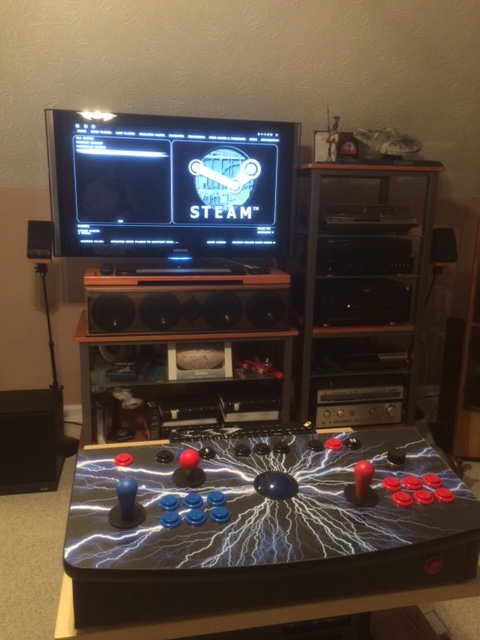
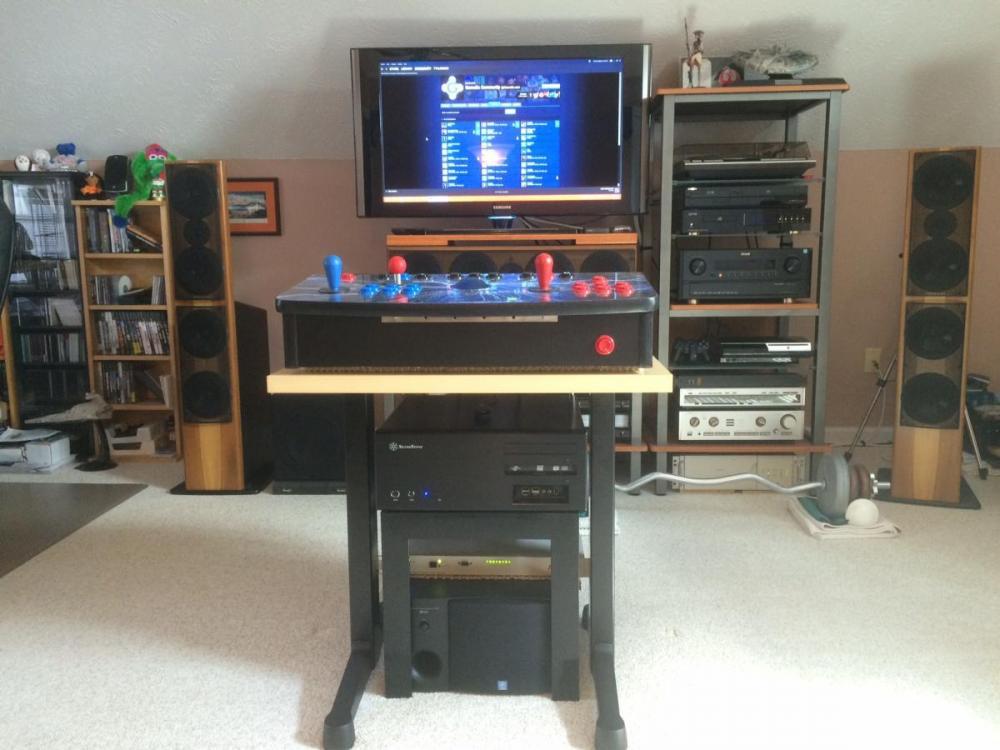
Posted October 11, 2014 It's been several of those dreary, rainy days in East Tennessee that just makes you want to be lazy, so I set up my rig on the temp stand I put together. Still have some work to do on the the controllers, but been getting a little FX2 time in, and looks quite nice in 1080P Picked up a 2.1 set of Yamaha speakers off ebay, that sound great. I didn't want to have to turn on surround sound just for arcade games. Believe it or not, this is clean for my room
-
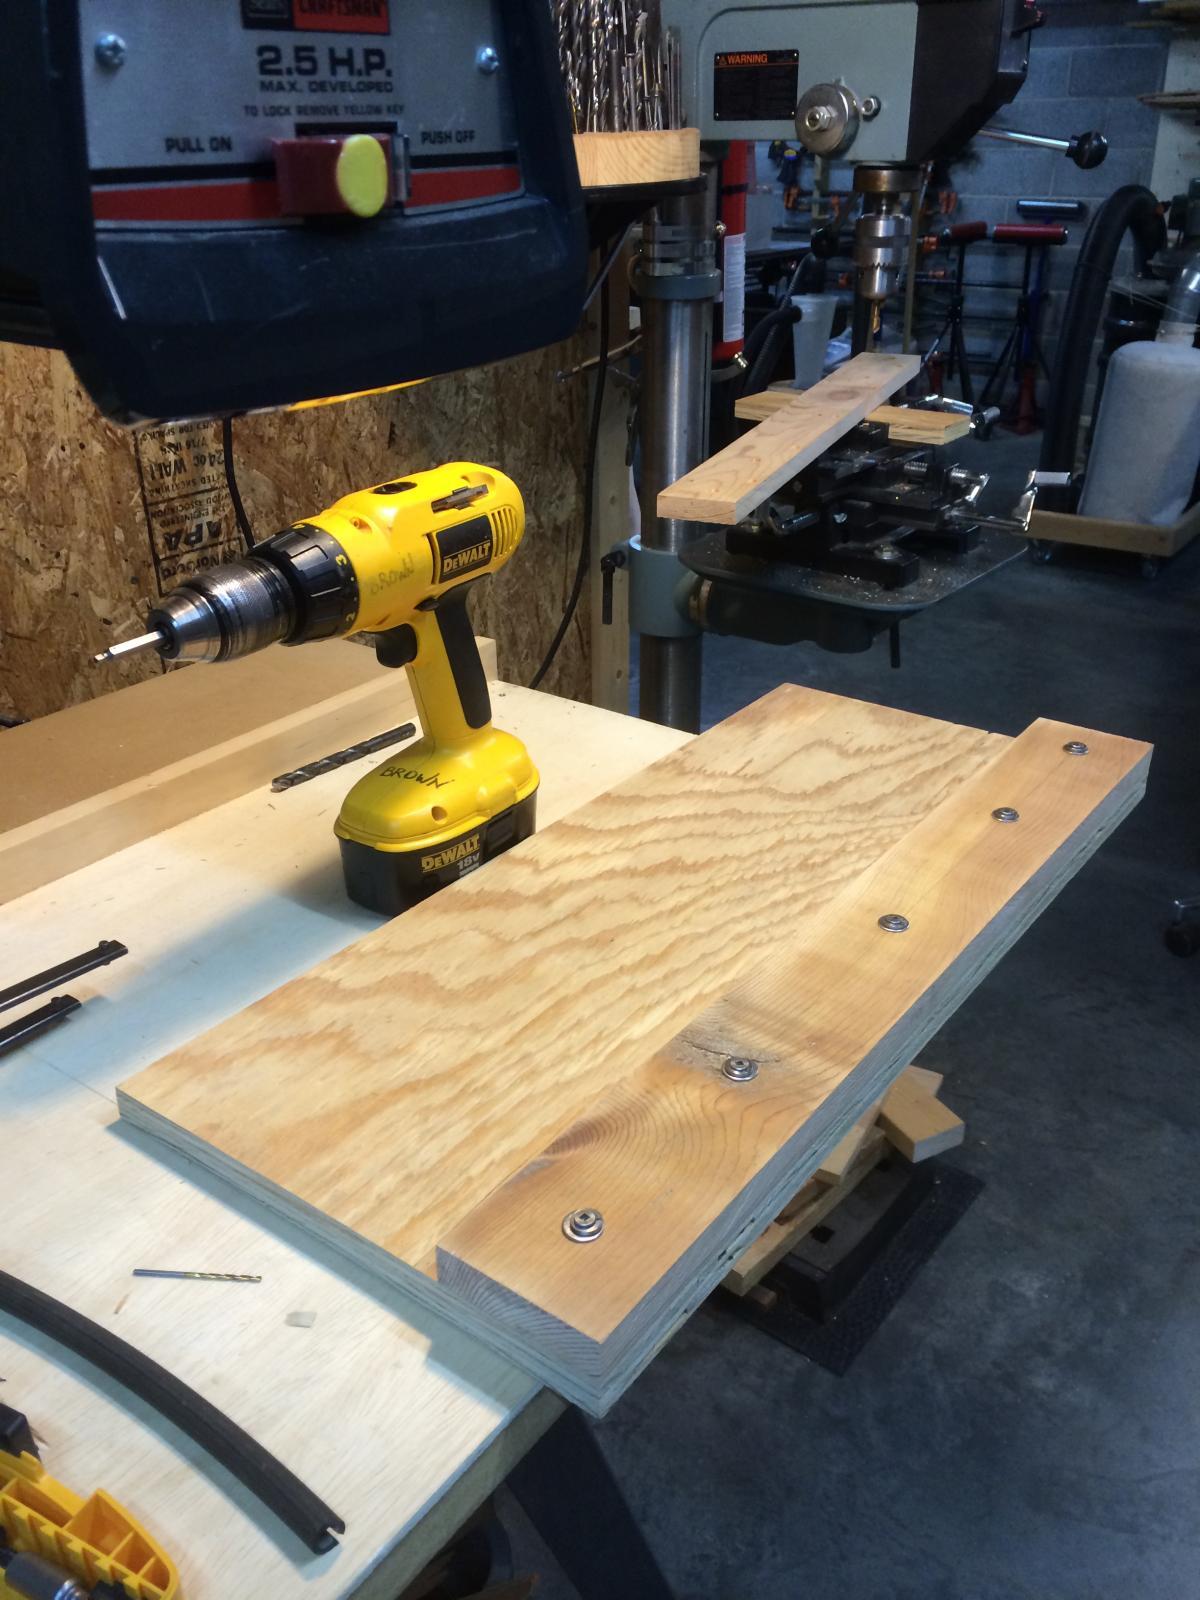
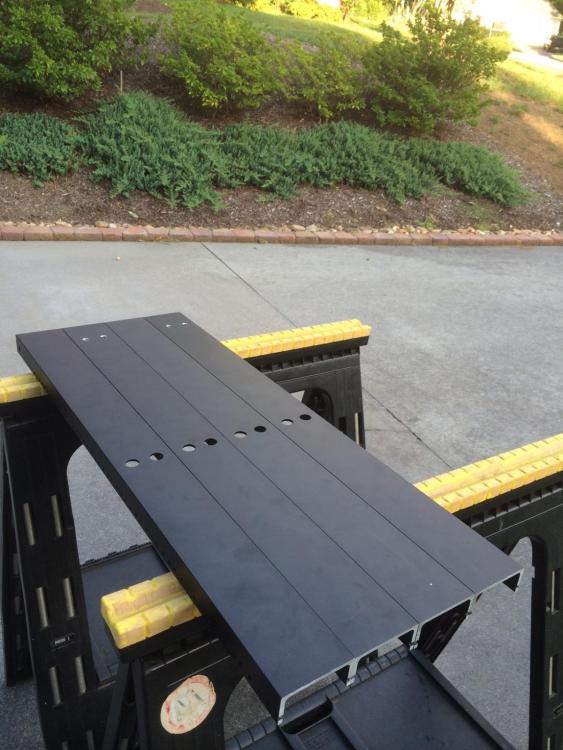
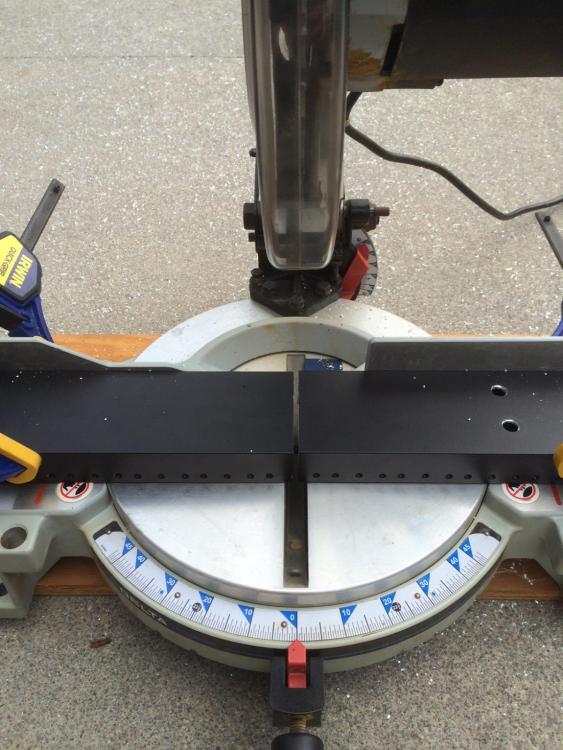
Posted September 15, 2014 I tell ya, just keeping routine homeowner duties current seems to rob nearly all my time, but yesterday I took the day off and did a little prep work on my stand. My hope is I can get enough of the metal parts cut and painted to allow me to work on the main base over the cold months. Bring on the miter saw 40 tooth, carbide tip + aluminum = pretty decent edge Took a little more time than normal, but when I mentioned cutting metal products during shop night I got a "why don't you try that at home first". Needless to say, I was pleasantly surprised with the results!
-
New Tron article up over on Tony's blog. https://arcadeblogger.com/2022/07/10/the-lost-tron-arcade-documents/
-
- 1
-
-
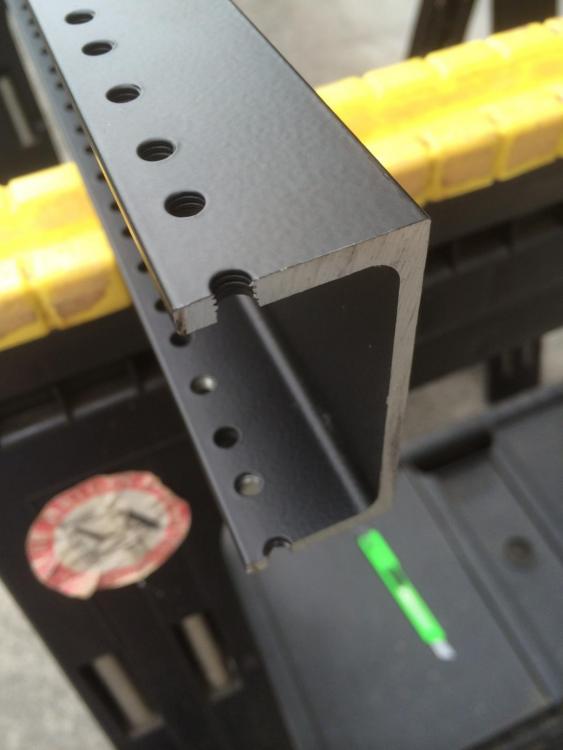
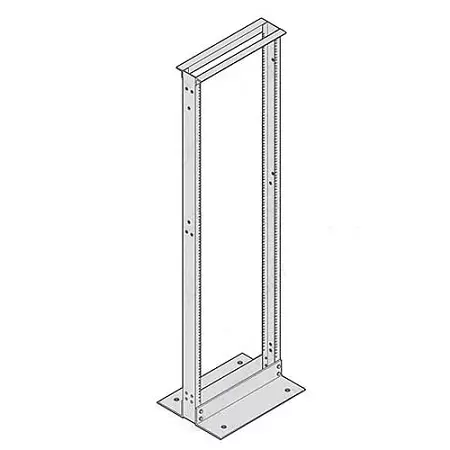
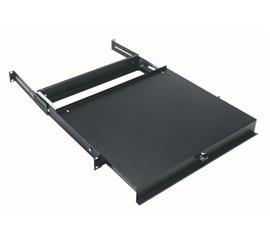
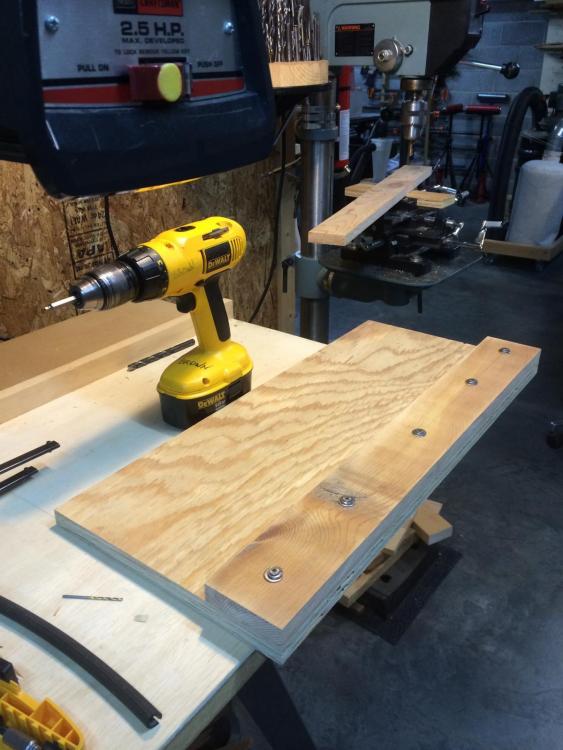
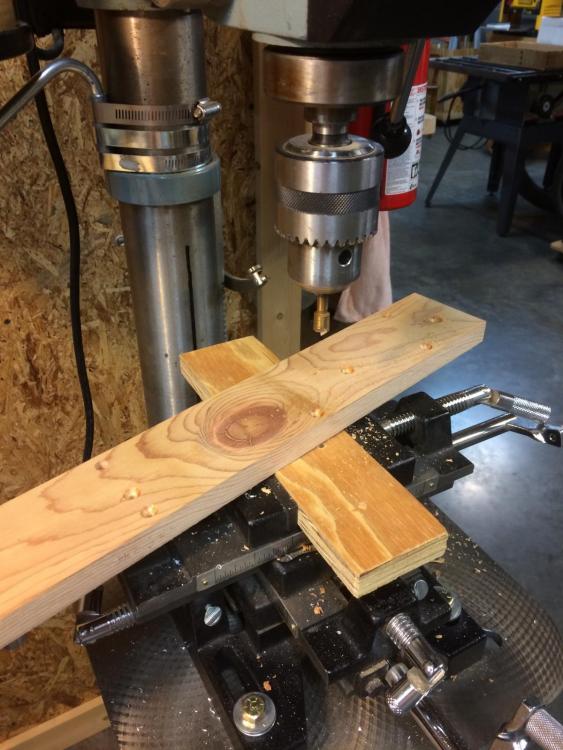
Posted August 27, 2014 (edited) Moving this to my build thread for cohesiveness: Due to the rest of the design, I'm restricted on the width of the center opening. This is a case of "bringing home the office" so to speak. It won't make sense if I try and write it out, so I will detail the main parts Toddzilla will consist of in hopes you can get a mental image of the basic appearance of what it will look like finished, and why I need that left/right extra rigidity. I've got two of the below: From these 7' relay racks, I will cut the four main rails to achieve 4 rails, each for a total length of 32.25, in order to achieve the ideal control panel height (for me) once mounted to the plywood base. The slender cross sections pictured at the top of the imagine will be used, but only 1 a the top and 1 at bottom on the outward side only, where they will screw into the pedestal base through a pre-drilled hole. This will ensure exact 19" telecom rack spacing. The 4 rails will screw into 3/4 birch plywood to create the right and left sides of the cab. Basically a cut down 4 post open relay rack, encased on all but two sides. This will offer some stability, but not enough, hence the flared back boards, that will really serve as a sort of outrigger support. my sliding shelf will mount directly onto the rails, first up under the CP. Below I will have 2U cantilevered shelving for my HTPC, XBOX, PS3 (maybe) and the sub for my 2.1 channel. These can mix and match, some mounted to the front rails, with the option to also mount them from the rear, if needed. The flared rear panels will allow me that side to side strength, while at the same time retaining that wider top and bottom look I'm aiming for. The interior railing and modular shelving will give me flexibility, as all my shelving will be moveable at any time, as opposed to fixed positions. All this, and the front and back are completely open to allow optimal airflow to keep everything nice and cool. Cable management is something I do all the time, so I'm not worried about unsightly cables, they will be will hidden, and mostly unnoticeable. Edited August 27, 2014 by tthurman
-
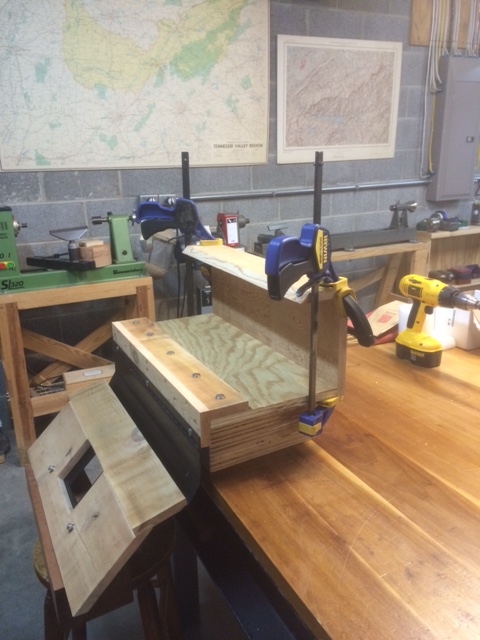
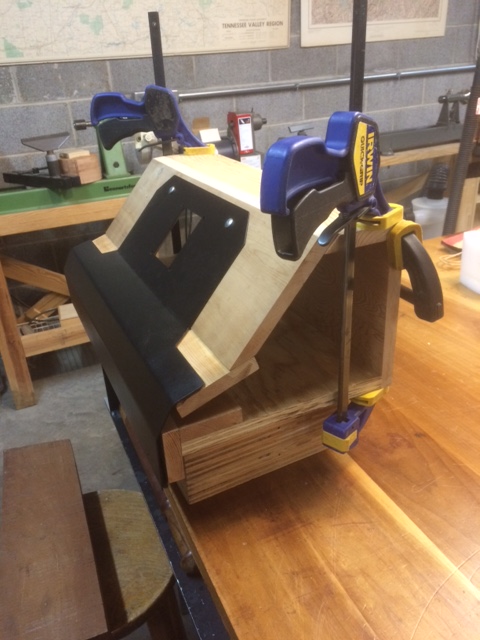
Posted July 30, 2014 (edited) Made a little dent in the control panel assembly tonight. This thing has been tough to piece together, as it's just so awkward to handle it while it's unmounted to get any sort of measurements. I've gone through several patterns and ideas, only to scrap them for something completely different in an attempt to simplify it. I'm attempting to make the yoke the same height as the arcade, and since it's interchangeable with my regular CP, I need to drop it down slightly. My idea is to build a base that does this, and use right and left panels to conceal it once it is mounted. I'm not sure these pictures depict this very well. The board mounted to the top of the base plate will serve as a strain relief when the panel is hinged down for service, which hopefully will not be often, but this thing is heavy. I made the hinge panel to securely attach to both the base, and strain relief. Finally, it's starting to take shape. I know it doesn't look like much now, but I've only had a couple hours a week to mess with it, and along the way I've had some unexpected RL issues pop up that have made it challenging to focus on someting as trivial as an arcade panel. Hopefully tonights accomplishments will give me some motivation. <edit> useless pics removed in favor of higher res pics

-
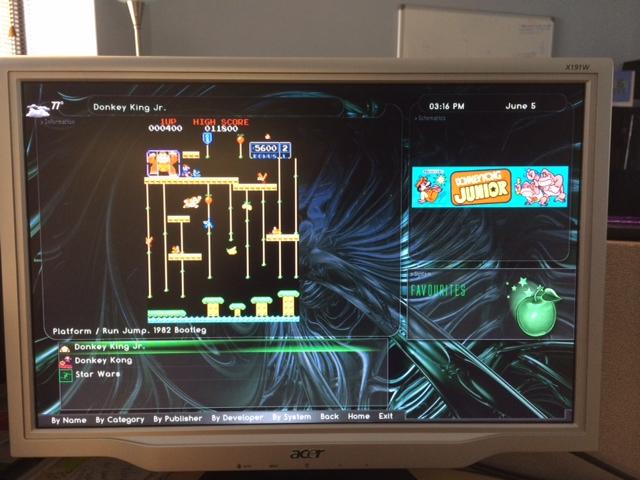
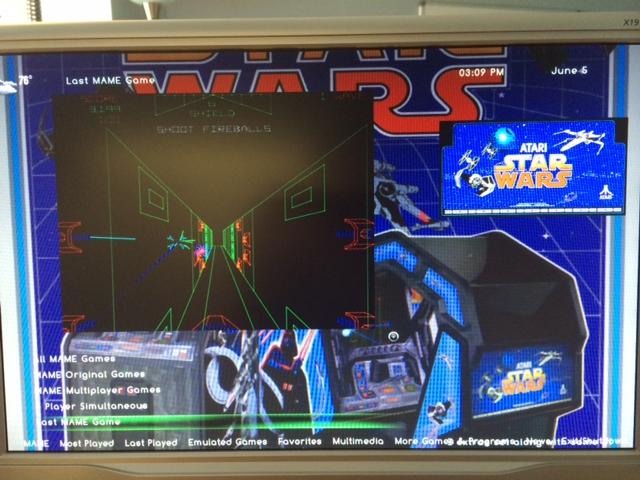
Posted June 5, 2014 It's ALIVE!!!