-
Posts
6884 -
Joined
-
Last visited
-
Days Won
209
Content Type
Profiles
Forums
Events
Downloads
Store
Articles
Everything posted by tthurman
-
-
Posted May 29, 2014 (edited) The yoke itself is pretty much ready to reconstruct, but I do need to source some steering bumpers. playa, over at Coinopspace mentioned that he used packing nuts for this, so I'll have to make a run to the plumbing store here soon.
-
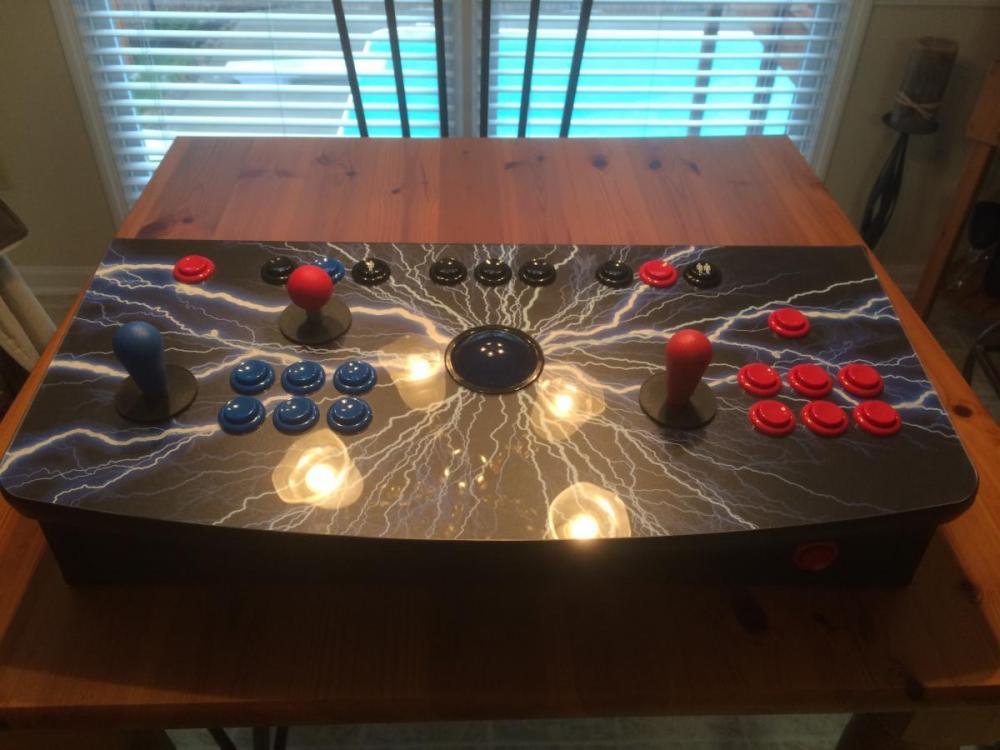
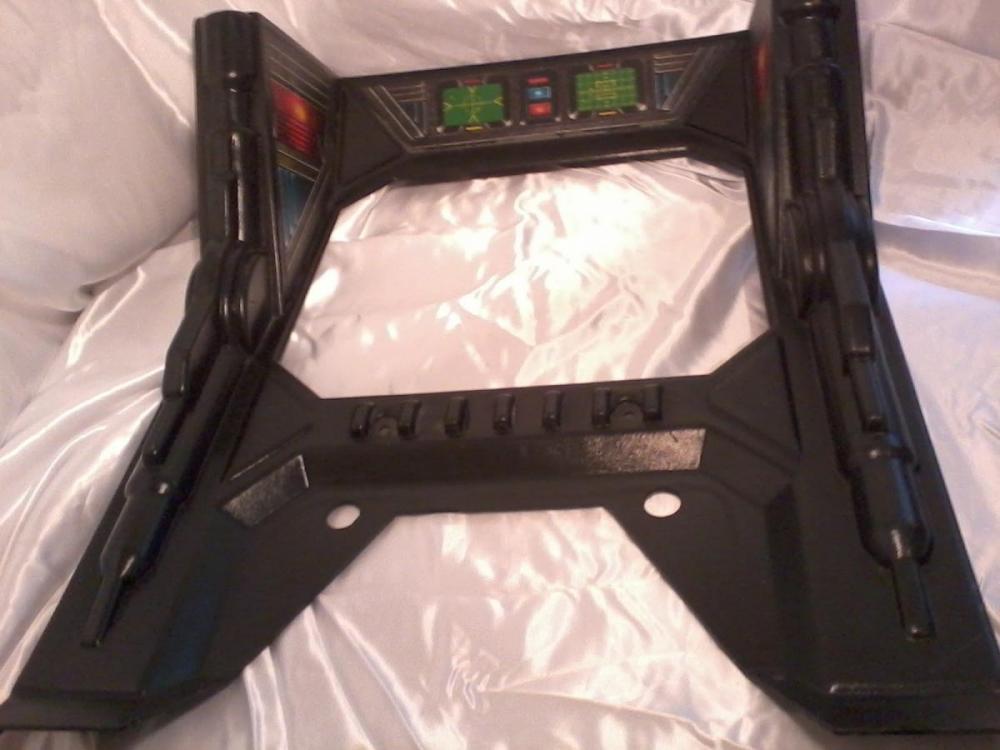
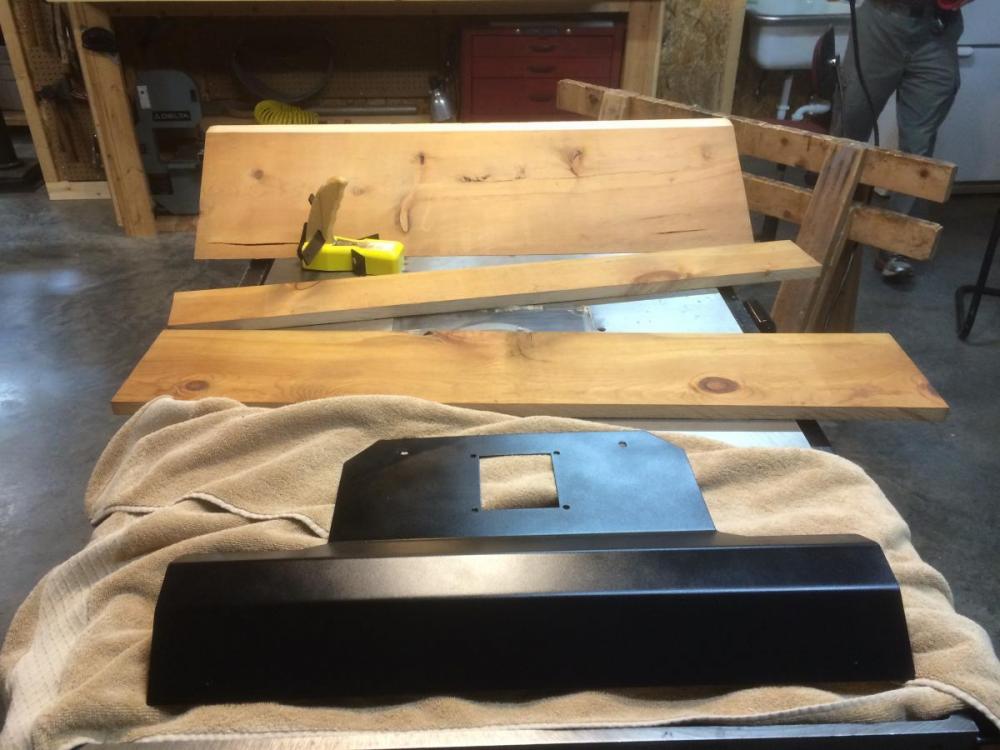
Originally Posted May 29, 2014 (edited) Finally, some progress towards the Star Wars yoke. The Star Wars controller is the first step of my creation, as I need it finished to determine the height of the pedestal. The pedestal will serve as sort of a dock for different control panels. I purchased a used yoke and panel last summer, and thought I would never get the old artwork off of them. Once I did, the process of building around the control panel quickly became somewhat of a challenge. I don't have this part: First I had to bang out some damage: After several failed concepts, I decided to just make it out of 3/4 shelving. I made the most troublesome cuts last night, and while it may not look like much, it was a real bitch cutting a 120 degree angle for this. The board had to be vertically oriented, cut at 30 degrees to cut this angle. For testing purposes on scrap, we used a sled along the fence to prevent it from falling into the blade. Still more cutting to do, but this at least got some of the more difficult cuts out of the way. <edit> I know this will likely progress slowly, but thought I may as well go ahead and start documenting it as I go. Edited May 29, 2014 by tthurman
-
That makes sense, just not a problem I was faced with. [Off topic] I always envisioned something unique, with a complete out of the box style mindset, which is probably why I never get done. back in the late 90’s I recall BOSE (yeah I know) having a large display at bestbuy or circuit city that had these huge speaker booms stretching from a tall stand. This of course positioned all the speakers in an ideal spot for the person standing in the sweet spot. I’ve always thought this type of Dr. Octavius style design would be completely immersive. [/crazy idea]
-
Funny, my plan was to utilize multiple sets of YST-MS50 2.1 speakers using a X-Fi soundcard, Front, Center, Rear to form essentially a 6.3 setup. I obviously have no idea if it will work, but I still plan to find out.......some day. For their size they really do put out a decent amount of bass that you can feel, but it seems a little silly after seeing what everyone else is doing! You thread has inspired me, perhaps I should attempt to recreate my build thread when I finally get around to working on it again.
-
https://arcadeblogger.com/2022/07/04/celebrating-ataris-50th-anniversary/ The oldest footage I've ever seen.
-
- 1
-

-
Saw this show last night and can tell you the video below doesn't come close to doing it justice. The sound, vibe and stage presence was amazing, like stepping back in time. If you get a chance to catch this near you then don't miss it.
-
The Arcade Blogger Today marks the 50th Anniversary of the creation of the Atari Brand, by founders Nolan Bushnell and Ted Dabney.
-
Yeah, I seem to recall a recent post about just that, perhaps Tom has enabled that or a similar feature ...
-
Honestly I haven't played with it, instead just remember Tom posting about it. Look in "Display Settings" > "Interface Mode" in the Setup Wizard.
-
I'm not sure this is exactly what you are looking for, but it's worth a look.
-
Oh I missed that you intended to do this while in place. You certainly have steadier hands than I do. Nice work!
-
This is probably something along the lines of melamine. Tape will help, but you may be able to limit it even more with some different techniques. A high tooth count blade is an absolute must, the higher the better and a blade for fine wood cutting. This may limit it, but things will still be going against you. The reciprocating action of these type cutting tools combined with the "flex" the blade itself has makes this very difficult to do without some tear out. There is also no kerf on these saws to assist the blade staying perpendicular to the work surface, which makes them more prone to flexing. If I could make a suggestion it would be to test an area you're going to cut out anyway with the below ideas. Use a utility knife with a new blade and score the laminate where you intend to cut it. Extend or redo your current tape to include longer and finer drawn lines so that you can see it with a sacrificial board placed over it. Position this bruise board (any flat 1/4, 3/8.... pine/plywood etc. scrap wood you have and clamp the two together on at least the top surface or bottom if your cutting upside down) and use the extended lines you drew to strike out a line on the bruise board as a cutting guide. The bruise board will keep pressure a on top of the laminate surface, which will minimize flaking and tearing on the upstrokes of the blade, since it is being forced to stay down and has nowhere to move as a result of the blade action. Every other blade tooth is angled toward the laminate on the blade during the upstroke, which will create a "picking" effect in rapid succession, the above will limit that since the laminate itself is trapped between the two pieces of wood. These give some idea of what I'm trying to describe above.
-
Excellent work! I love these build threads, so cool to see what everyone is doing and the different methods they use to achieve the same end goal. Thanks!
-
Sorry dude, I somehow missed this It's good to see you posting!
-
The factory footage detail is crazy, don't get bored and give up on it!
-
This is just a snip of what you can find here.
-
You did alright with the 970 Evo Plus, I bought two of them when faced with the same decision last year. https://www.minitool.com/backup-tips/980-pro-vs-970-evo-plus.html Everything looks really nice! I hope you are doing well <edit> Linked the wrong review.
-
I would agree when used inside of a pincab but with my Frankenstein style build it won't be lifted except to remove and replace. It simply spans the distance from pedestal to the display stand on a set of "Pinball X" flippers.


.jpg.dfba0c4bf43c201ce79c8d3d44e98711.jpg)


