-
Posts
6884 -
Joined
-
Last visited
-
Days Won
209
Content Type
Profiles
Forums
Events
Downloads
Store
Articles
Everything posted by tthurman
-
Wow, I somehow missed this one! https://www.arcade-museum.com/game_detail.php?game_id=17896 https://archive.org/details/hl2survivor
-
I have never really understood the appeal of collecting these, but it seems Atari was doing these long long ago.......... See the whole story over on Tony's blog.
-

Fan Remakes, Mods, and Homebrews - Get them while they are still around!
tthurman replied to Draco1962's topic in Social Club
I’ve been digging a bit deeper on this one, going to have to pick up XWA. -
https://www.imdb.com/title/tt26424569/
-

Rare Arcade Pickup - Sinistar Cockpit - Only 200 made!?
tthurman replied to tthurman's topic in Social Club
-
Nintendo 64 is COMING TO MiSTer...We THINK!
-
Manuals are now available over at their github if you want to take a peak at what's involved. This project really peaks my interest, it'll be interesting to see how this continues to roll out. Project Stellar Update 5
- 1 reply
-
- 1
-

-
There is no shame if this makes you drool uncontrollably https://arcadeblogger.com/2023/04/15/arcade-raid-huge-arkansas-barn-find/
- 1 reply
-
- 1
-

-
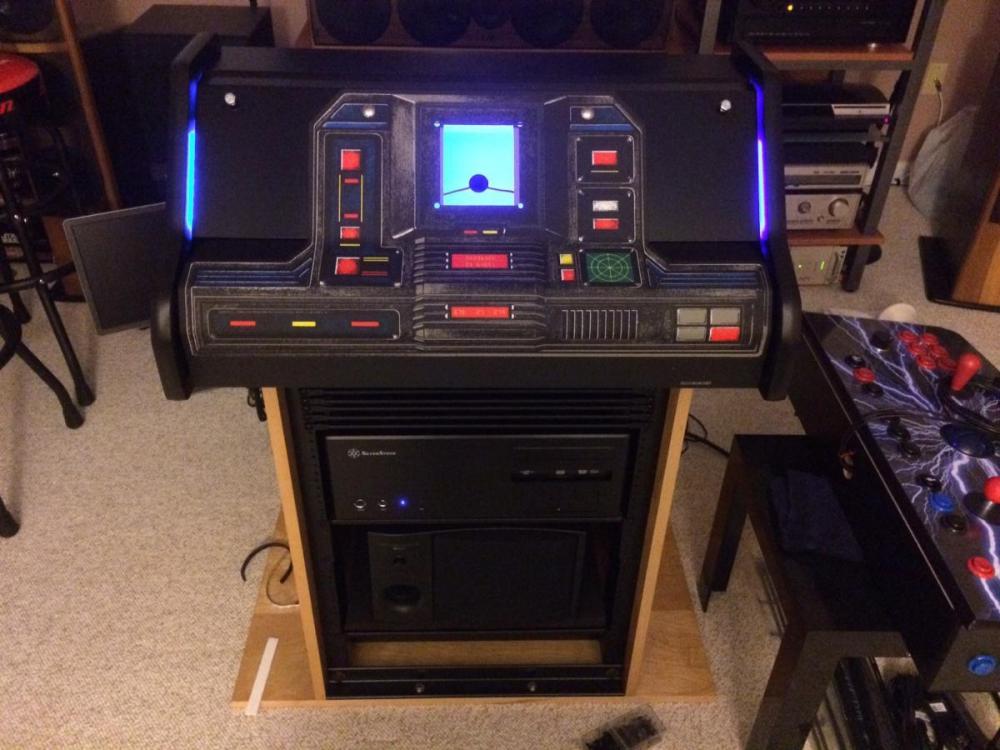
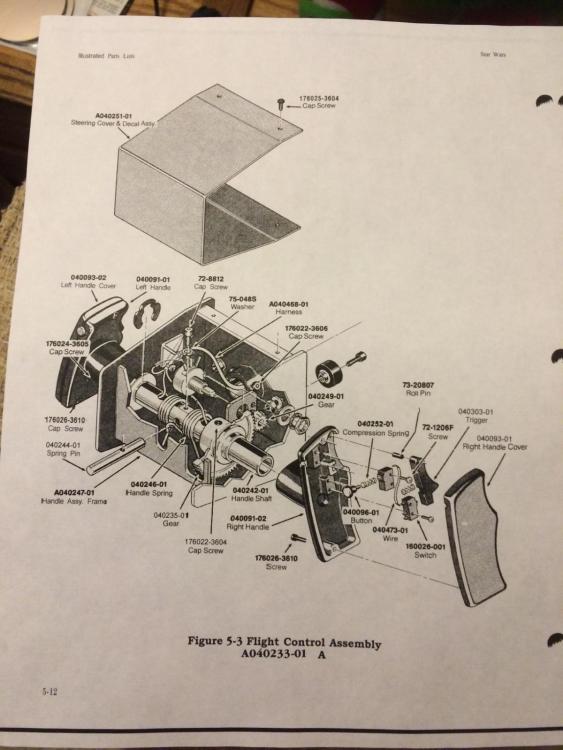
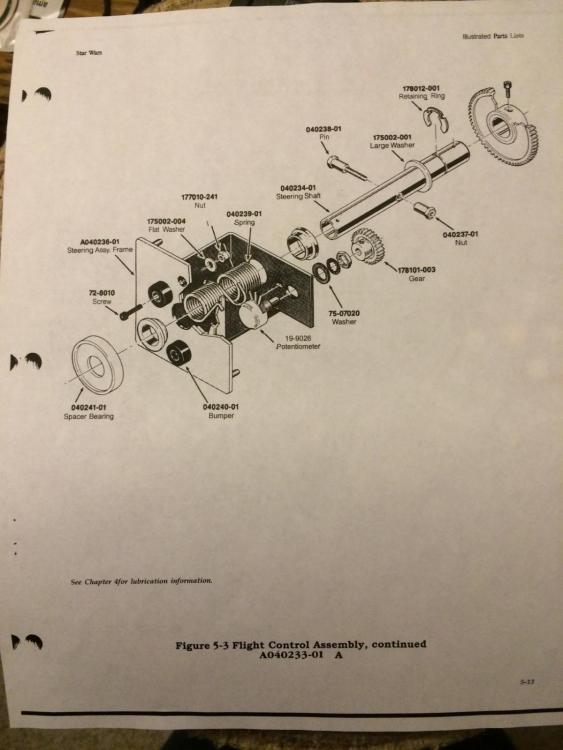
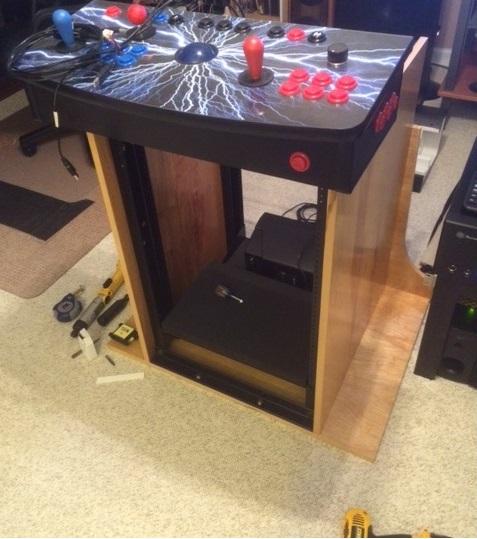
Posted February 13, 2016 (edited) Thanks! This game is the primary reason I got involved in this hobby, but funny enough as time went on I really almost didn't build it because of the cost associated with these controllers. I had my eye on the RAM controls reproduction yoke all through development, but by the time I came back to it all hell had broke loose. If you aren't familiar with that mess, consider yourself fortunate. This panel had me wanting to throw in the towel on several occasions, but I'm pretty happy with it. You'll have to imagine the yoke being fitted for the time being The crevice glow did about what I expected, and it was born from a need to cover my ass due to the fact I accidentally cut the main control panel chassis exactly to size with the metal Atari yoke mount. This was a classic example of a "oh shit" moment, that in turn was quickly reinvented into a "feature". The inlay cuts with the routed flanges hit me one night after seeing some Star Wars figure stands on ebay. Some fellow was etching them in to acrylic, and gluing a foot peg into hole drilled into them. I contacted him about making some without the foot peg, and although he agreed, he blew me off twice. I made my own with 3" round mirrors I got at Jo-Ann's, and some 2 1/2 vinyl decals I found from another fellow on ebay. One things for sure, they won't scratch like acrylic! Now, to put this thing back together....... I think that when the pinball attachment is completed in the coming months, it will go a long way making the completed assembly into a decent looking rig. It looks really odd in it's current state with that big void following the control panel, but rest assured that is only temporary. (please excuse the mess)
-
I haven't configured a new setup in quite some time now, but recall this follows the directory structure of the MAME Extras. Have you ran "Verify Setup" to ensure it's not a path problem?
-
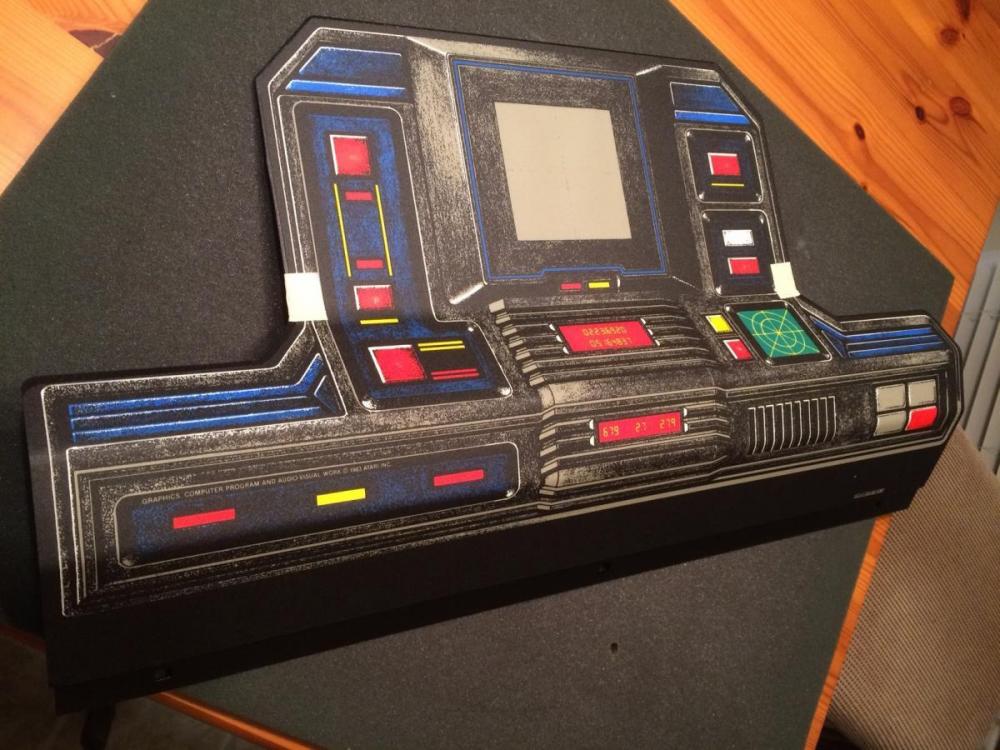
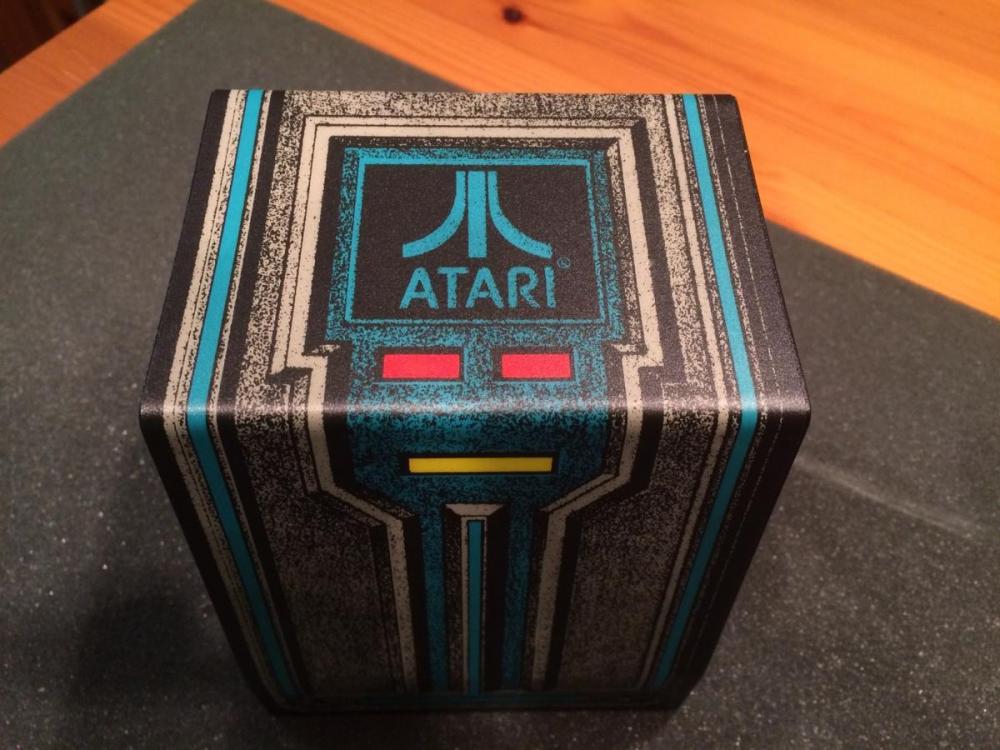
Posted February 11, 2016 (edited) Took advantage of some time off today, and among other things we caught "The Martian" at the dollar theater. When we got home, I figured no time like the present, so I carried on. The control panel overlays have been something I've dreaded. The coolness factor these bring is somewhat of a given, but the potential consequences from a botched application can make for a bad day in short order. I've been sitting on these for a long time now, which I'm sure comes as no surprise I sprung for the reprints from This Old Game, that came right from the original screens. Lots of trial and error, masking tape (#@!*&? and beers) later.....they turned out about as well as I could have hoped! For anyone wondering, the hair dryer does help to get things nice and tight in those troublesome bends so often found in the control panels. I used Vic's 1875 watt dryer, which did the job quite satisfactorily. I was prepared to bring out the heat gun; although I didn't want to go there, but it wasn't necessary.
-
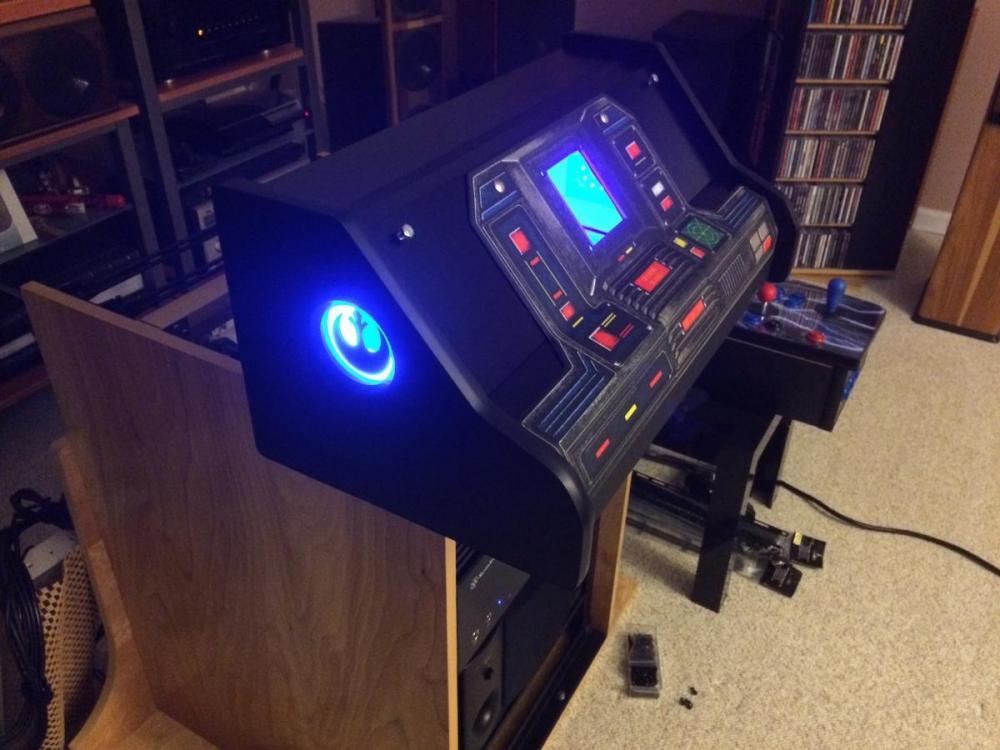
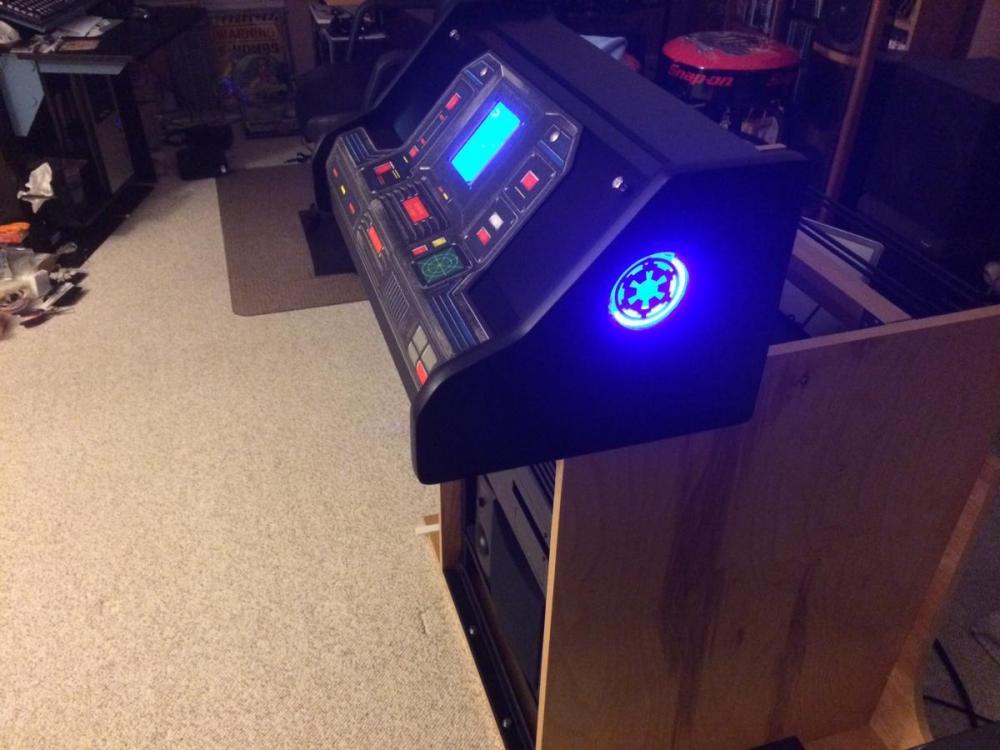
Posted February 11, 2016 (edited) Forgive me if I don't shake hands seem to come across as gloating a bit. After months of slow progression, my Star Wars control panel has entered the final turn. I believe there's a good chance that this idea that had been floating around in my head for so long might actually work well, and look somewhat cool at the same time. The brackets intentionally leave about a 1/8" gap between the main frame and the caps. With any luck this will be just enough for the effect I'm going for The glass inserts proved to be somewhat of a pain. First I tried to soak the mirrors in water for a week to get the silvering off of them. Water seems to work fine on the bathroom mirrors, but it must take years to get to that point. I finally caved and soaked them in muriatic acid, which had the silvering coming off in a single piece when I checked them the following morning. The fun didn't stop there though, mounting them to the inlay cuts I made was frustrating. I was going to use mounting squares cut into tiny slices to hold them, but since the is like using chewing gum, they never feel secure enough to me to make it the long haul. I ended up using 3M foam body molding tape, leaving the backer on so it would slide into place. If you've never used this stuff, it's super sticky, but also compresses and expands. I cut small slivers and rounded the sticky side to the mirror glass, then inserted them into my recessed cuts. They are still removable, but when the tapes foam based expanded out, the fit was good, snug, and covering 360 degrees. I finished them off with a vinyl crest for both the Rebellion, and Galactic Empire. With any luck, the effect should look cool once the real Star Wars cabinet pieces are attached. Regardless, my part of the creation process for this piece is completed
-
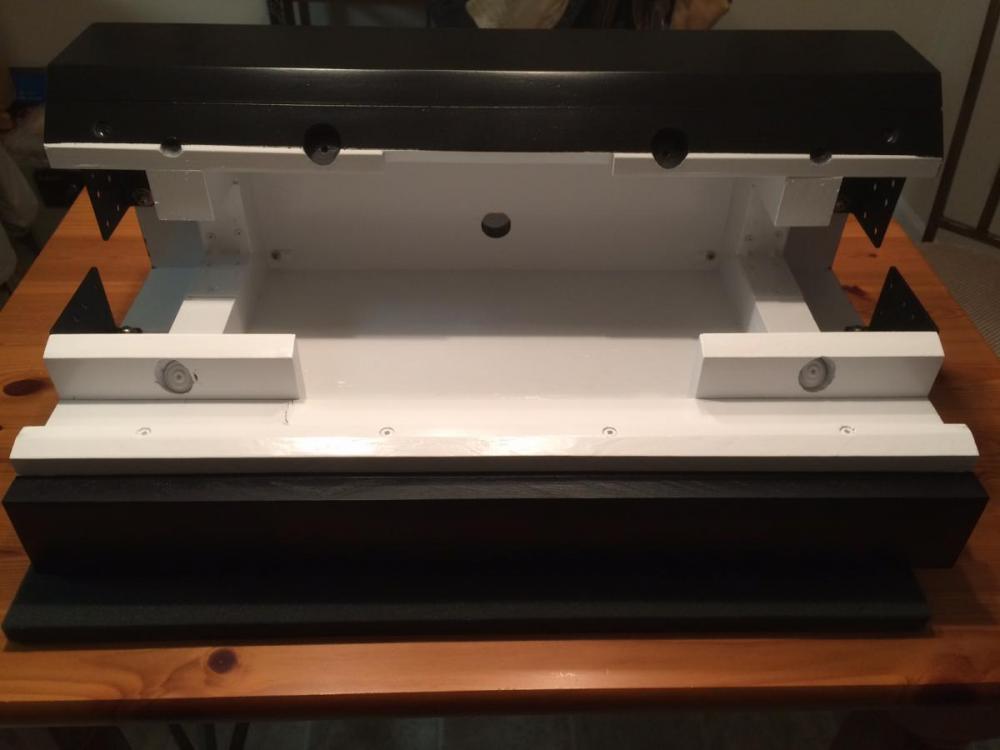
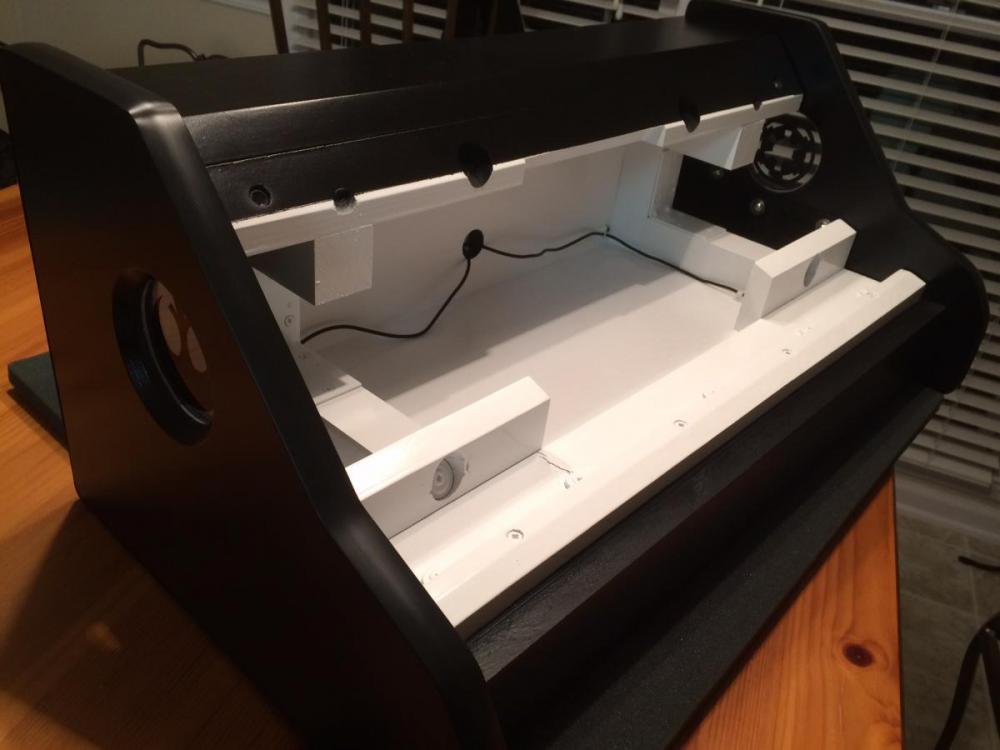
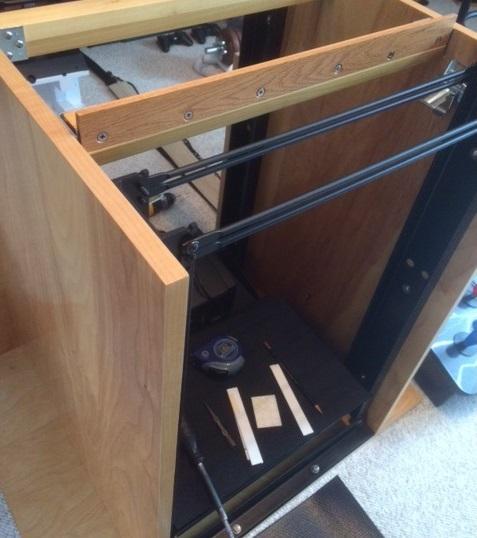
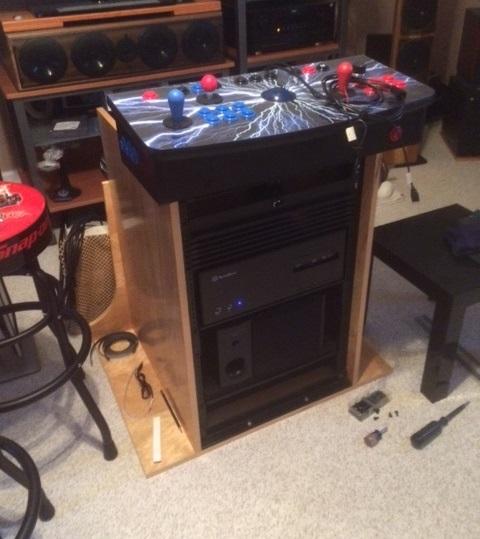
Posted February 1, 2016 (edited) I'm still at it! Following the holiday break I decided it was time to reorganize the garage. I'd been planning this for some time in hopes my car can fit in there if needed, imagine that, a car in the garage. Anyway, this snowballed (I'm still not entirely done), and ended up being a real time eater. I did reassemble the pedestal once everything had cured, and Vick and I managed to get it up the stairs without too much drama. I have to say, the control panel latches are a bit of a trick, spacing wise, and I didn't get quite enough tension on them. I remedied this by attaching some cut strips of rubber with double faced tape, which should also protect the cab while change out panels. I guess by this point it's clear nothing about what I'm doing is conventional, so I plan to use two sets of Yamaha 2.1 multi-media speakers to create quad.2 sound. The YST-MS30 sub pictured above will be rear firing in order to accommodate the limited space I have. I picked these up on ebay, and much like the bigger YST-MS50 set I restored last year, they pack a punch for such small speakers. Turns out it is going to be a pretty tight fit with my sliding shelf installed, but it should be workable. I'm using lacing bars and fillers to keep it from looking void in some areas, and it seems to give it a bit of an industrial look too.
-
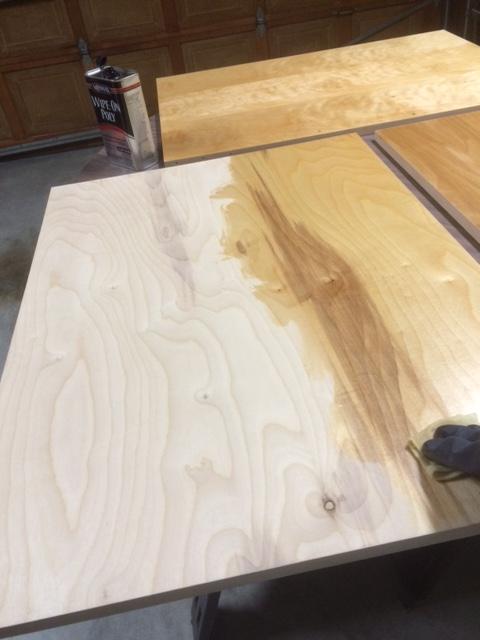
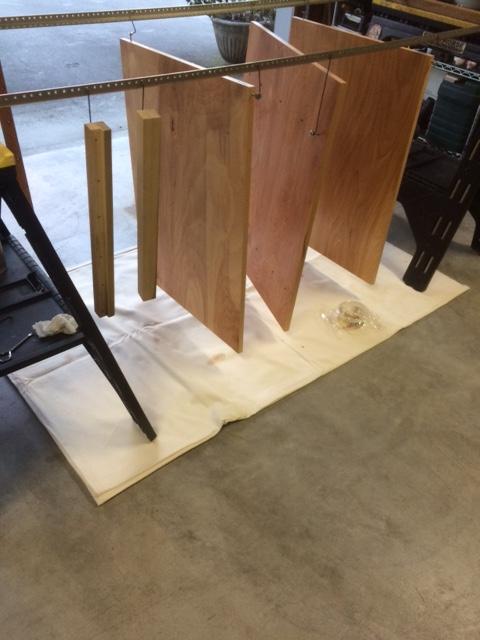
Posted December 6, 2015 (edited) I always try and save some extra time for around the holidays, and so I'm enjoying 4 day weeks (or should be) until the end of the year. It's been unseasonably warm, and so Friday made for a good day to be sanding. I managed to get all of the veneer edging level with the panels, and everything nice and smooth with only a couple areas getting a bit thin on the veneer. Much of this could have been avoided, had I not had the panels so long in advance of actually using them. So begins finishing, something I'm not alone on when it comes to disliking, I'm sure. A little patching had to be done first, which I did with some poly, mixed with sanding dust. It worked pretty good actually. Saturday I moved on into full production, and this is where I was after the first three coats last evening. 'm between coats on round 2 currently, but so far it's been interesting. I'm doing this per instructions I got outside my usual sources, using wipe on poly. 1st coat, wait one hour then 2nd coat, wait two hours then 3rd coat. Allow to dry over night, then sand with 3M 7447 scotch brite pad and tack cloth thoroughly to remove all residue. I've got to say, this pad seems to make the difference. You really can't burn through the original coat as easily as you can with normal sandpaper on a sanding block, especially at the edges. You repeat this for the second round of coatings, and the for the 3rd, and final coat, switch from gloss to satin to give it the look I'm going for. I'm hopeful the effect will be as good as described, but apparently using the satin all along during the layer builds adds a bit of cloudiness that this method avoids. Time will tell
-
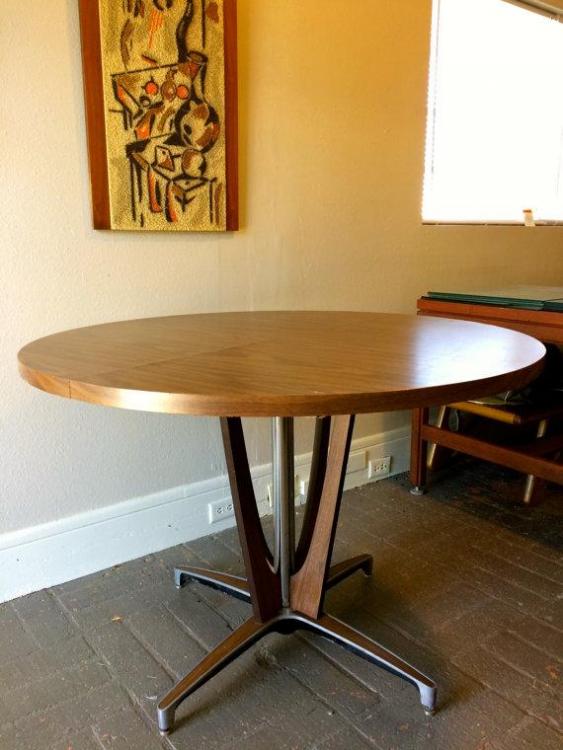
Posted November 29, 2015 (edited) It will be quite the contraption when it's done, a mutant between an control panel stand and pincab w/o a back-glass. My 40" Sammy will be the back-glass, and the play-field is going to be supported by a circa 1960's table stand with the pinball X flippers as the base. This isn't my table, but it's a similar model, I've just robbed the base off of it. I retired it to storage many years ago, but when the "X" idea hit me.....I'm sure you can see where I'm going with the PBX logo. Since I can't get good viewing angles of the picture in my head, it could very well look like crap once completed! I tried to sketch something out, but drawing isn't a strength of mine. It's not post worthy, trust me! That said, I may be sorry I posted all this when I finally assemble it all.
-
We've had AT&T Fiber for two years now, it has been very solid to date. I had bought a new Motorola modem a couple years prior to changing from Comcast that worked very well, but it has been collecting dust for a while now. I figured AT&T would play the pricing game, so I hung onto the cable mode. So far it's stayed at $65 per month for 500 up/down, which is usually 600+ up/down in reality.
-
Everyone cut the cord and ran from the cable providers to streaming, then greed took over and you saw stuff getting pulled from Netflix and instead exclusively on "company X streaming service" and now it has all come full circle. "WTF, all these à la carte streaming services are higher than Comcast was. Likewise, spend, spend, spend while keeping everyone on staycation has wound up costing everyone now. All those free checks really added up doing more harm than good. Greed fallout will hopefully be stuffed down nvidia's throat soon for exploiting their userbase in favor of mining projects yet still clamoring on "that's just how prices are now" once the bottom fell out of crypto.
-

Steam will ditch Windows 7 and 8 support next year
tthurman replied to Draco1962's topic in Social Club
The downside of digital content -
Gordon Moore, Intel Co-Founder, Dies at 94 https://www.intel.com/content/www/us/en/newsroom/news/gordon-moore-obituary.html?cid=iosm&source=linkedin&campid=hq_ao_q1-2023&content=100003943859194&icid=reactive-engagement&linkId=100000196294171 He Stood Alone Among Tech Titans https://www.intel.com/content/www/us/en/newsroom/news/gordon-moore-he-stood-alone-among-tech-titans.html Gordon Moore at Intel https://www.intel.com/content/www/us/en/newsroom/resources/gordon-moore-at-intel.html


.jpg.dfba0c4bf43c201ce79c8d3d44e98711.jpg)
