|


Crippius
-
Posts
26 -
Joined
-
Last visited
-
Days Won
3
Recent Profile Visitors
759 profile views

Crippius's Achievements
")
Super Member! (3/5)
18
Reputation
-
I would suggest that you buy a PI 5 and install Retropie or Recalbox to make you a real opinion. Takes 2 hours. I run on PIs for 10 years for my retro-gaming console (ie with gamepads for the living room television and not on cabinet) It wasnt bad on PI3. It was really good on PI4 Its bafflingly exceptional on PI5.
-
And power consumption is not important to you? A minipc consumes between 10 and 60 watts. A PI is 3-4 watts....to run all arcade and consoles games perfectly fine. A PC is thus a non-sense. And on a side note, I understand this would be a lot investment time for you, but I would personally not mind to have to repay a new lifetime license for an ARM project. Ofc if I am the only one you wouldnt care. But I predict that you will have more and more longtime users of Gameex that will leave for an ARM based project, because this is just the future. No issue, I am going to take another frontend. Good bye and Good luck !
-
ok got it. But let me give me my impression : you are taking a bad direction for your project. As running Arcade on PC hardware is already a non-sense and that will grow even more on the future. Also with the Windows 11 mess, running frontend arcade on Windows has no future. If you dont upgrade your hardware to very recent and expensive, you cant run Windows 11 and have no more security upgrade for older systems. Why would anyone choose the Windows 11 way and big and expensive hardware spec for an arcade cabinet, while they can just run all retro-gaming emulators on a PI?
-
Why not worth it on a pi?? I mean... its just the future of arcade. Running perfectly fine at 5 volt on 70$ credit card sized hardware, and you say "not worth". Just for the record, mostly all other retrogaming projects are running PI... just to name a few: TrackMode Emulation Station Retropie Recalbox Batocera Lakka Really strange stance... but ok I wont argue with you and just move on another system
-
Hi I am a long time user of Gameex but was a bit silent here as everything was working fine 😛 My 10-15 years old cabinet needed a complete overhaul and hardware upgrade. Following the mediocrity of Microsoft regarding Windows 11, I dont want Windows systems anymore in my house. So for the Arcade cabinet, I took the Raspberry Pi 5 way. I am running Raspberry Pi OS (previously named Raspbian). I DLed both Linux_GameEX and Linux_GameExArcadeEdition.... and none of them can be executed. tom@arcadepi:~ $ cd /home/tom/Arcade/GameEx/Linux_GameExArcadeEdition tom@arcadepi:~/Arcade/GameEx/Linux_GameExArcadeEdition $ sudo chmod +x GameEx.x86_64 tom@arcadepi:~/Arcade/GameEx/Linux_GameExArcadeEdition $ ./GameEx.x86_64 bash: ./GameEx.x86_64 : impossible d'exécuter le fichier binaire : Erreur de format pour exec() tom@arcadepi:~/Arcade/GameEx/Linux_GameExArcadeEdition $ ls -l total 38476 drwxrwxr-x 7 tom tom 4096 23 oct 17:32 GameEx_Data -rwxrwxr-x 1 tom tom 15072 23 oct 17:32 GameEx.x86_64 -rw-rw-r-- 1 tom tom 45536 23 oct 17:32 libdecor-0.so.0 -rw-rw-r-- 1 tom tom 69664 23 oct 17:32 libdecor-cairo.so -rw-rw-r-- 1 tom tom 39255224 23 oct 17:32 UnityPlayer.so tom@arcadepi:~/Arcade/GameEx/Linux_GameExArcadeEdition $ cd .. tom@arcadepi:~/Arcade/GameEx $ ls Linux_GameEx Linux_GameExArcadeEdition tom@arcadepi:~/Arcade/GameEx $ cd Linux_GameEx tom@arcadepi:~/Arcade/GameEx/Linux_GameEx $ sudo chmod +x GameEx.x86_64 tom@arcadepi:~/Arcade/GameEx/Linux_GameEx $ ./GameEx.x86_64 bash: ./GameEx.x86_64 : impossible d'exécuter le fichier binaire : Erreur de format pour exec() tom@arcadepi:~/Arcade/GameEx/Linux_GameEx Forgive my french, this : impossible d'exécuter le fichier binaire : Erreur de format pour exec() Means : impossible to execute the binary file : Format error for exec() I suppose that the executable is compiled for Intel only CPUs and can't work on ARM. Is there an ARM version somewhere that I have missed ? Am I definitively out of GameEx for that cabinet ? Cheers
-
Hi After some days of configuration I have pretty much everything working except the ability to light up LEDs following the games controls in MAME. I hope you understand what I mean... I use a PAc-drive and headkaze's LED pluggin. The LED are working as expected in GameEX (I've got them all blinking the way I want following the events) However I can't make them work for MAME. Strangely, there's only the LED of P2_BUTTON1 that is lighting up when I launch a game. The same happens when I am in the plugin configuration under tab "LED Input Map". I have been through every LED option carefully and could not manage to fix it. Also I don't really understand the meaning of this to what is related led0-to-3 and lamp0-to-3 exactly ?? ANd is there anything I have to change ?
-
It looks great !
-

[CABINET] Showing off my project for GameEx Cabinet
Crippius replied to Crippius's topic in Gamer Rigs
A few questions from an IPAC2 noob to pros 1. I thought to assign the IPAC SHIFT to the PAUSE key, which is the white on the middle edge. Is that a good idea ? Apparently it is set by default on P1 Start. 2. I have placed 2 buttons on each side for the flipper, where should I plug them? I mean which IPAC2 entry is the more convenient in terms of gameplay, config and usability? I have never played with your flipper emulators. 3. I absolutely need an efficient and highly responsive combination to control the volume. It should be WINDOWS WIDE, and not MAME/GameEx only. I thought to SHIFT (Pause) + joystick or trackball up and down. Is this a good idea and as anyone have a good working software/plugging for doing that? Something win7 compatible. -
[CABINET] Showing off my project for GameEx Cabinet
Crippius replied to Crippius's topic in Gamer Rigs
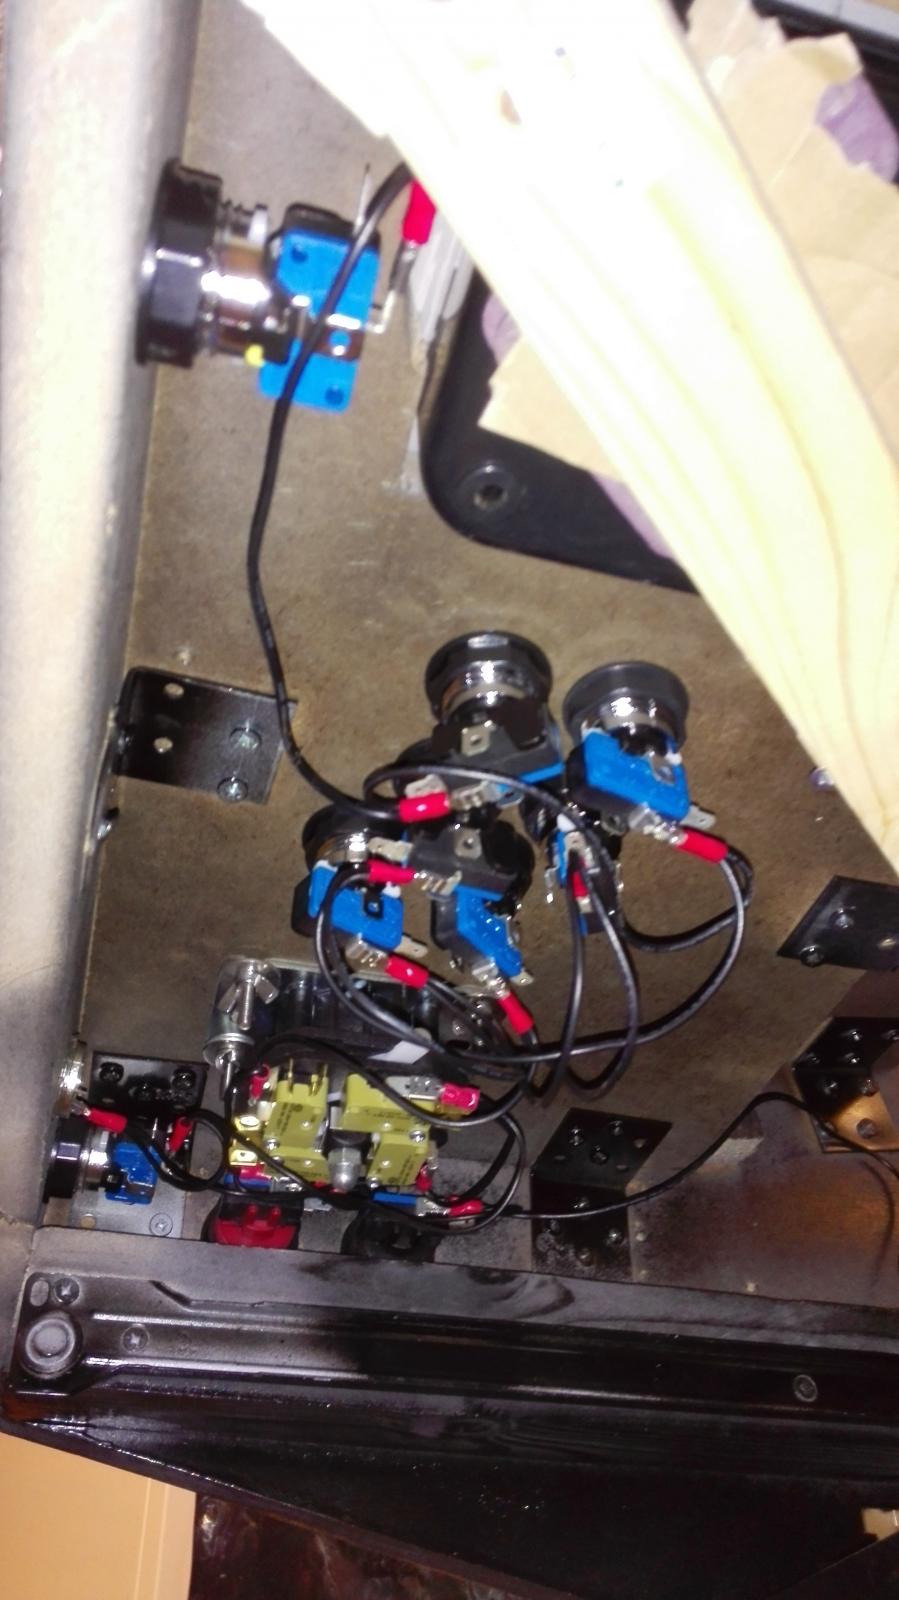
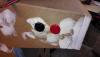
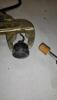
Yesterday evening I placed all the button LEDS and micro switches, then I made a daisy-chain out of power wires that I recuperated on 2 old PSU. P1 controls ground is done Slowly but surely
-
[CABINET] Showing off my project for GameEx Cabinet
Crippius replied to Crippius's topic in Gamer Rigs
Thanks for the compliment I'll pass the message to the wife -
[CABINET] Showing off my project for GameEx Cabinet
Crippius replied to Crippius's topic in Gamer Rigs
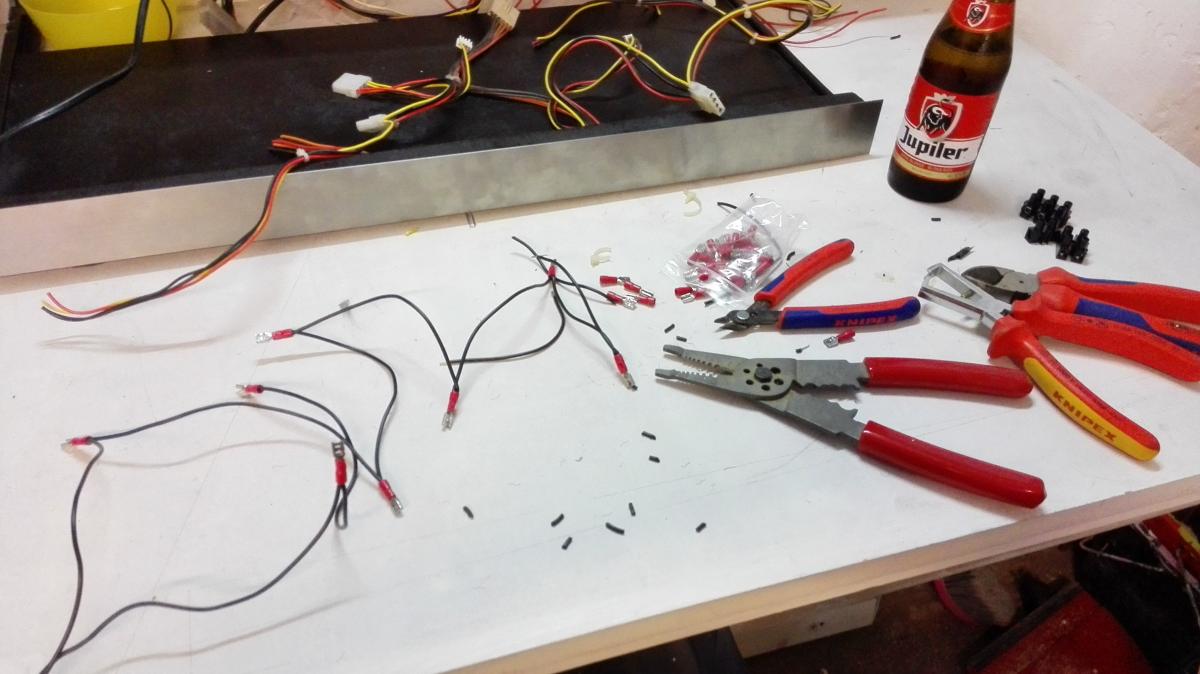
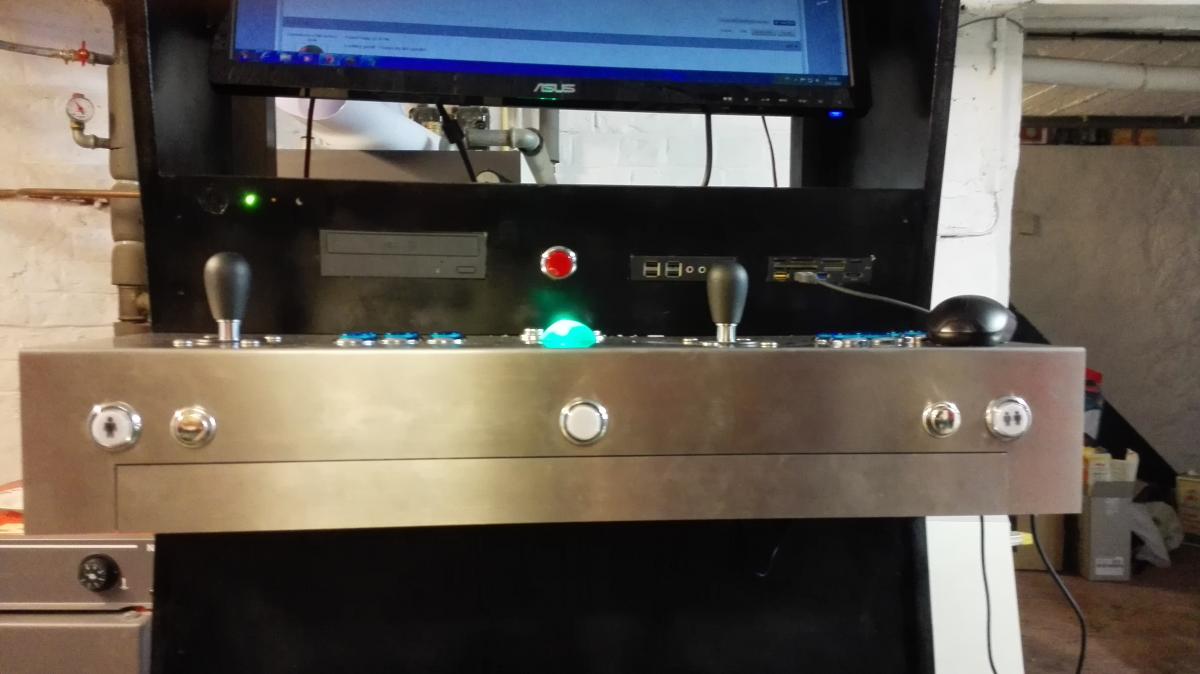
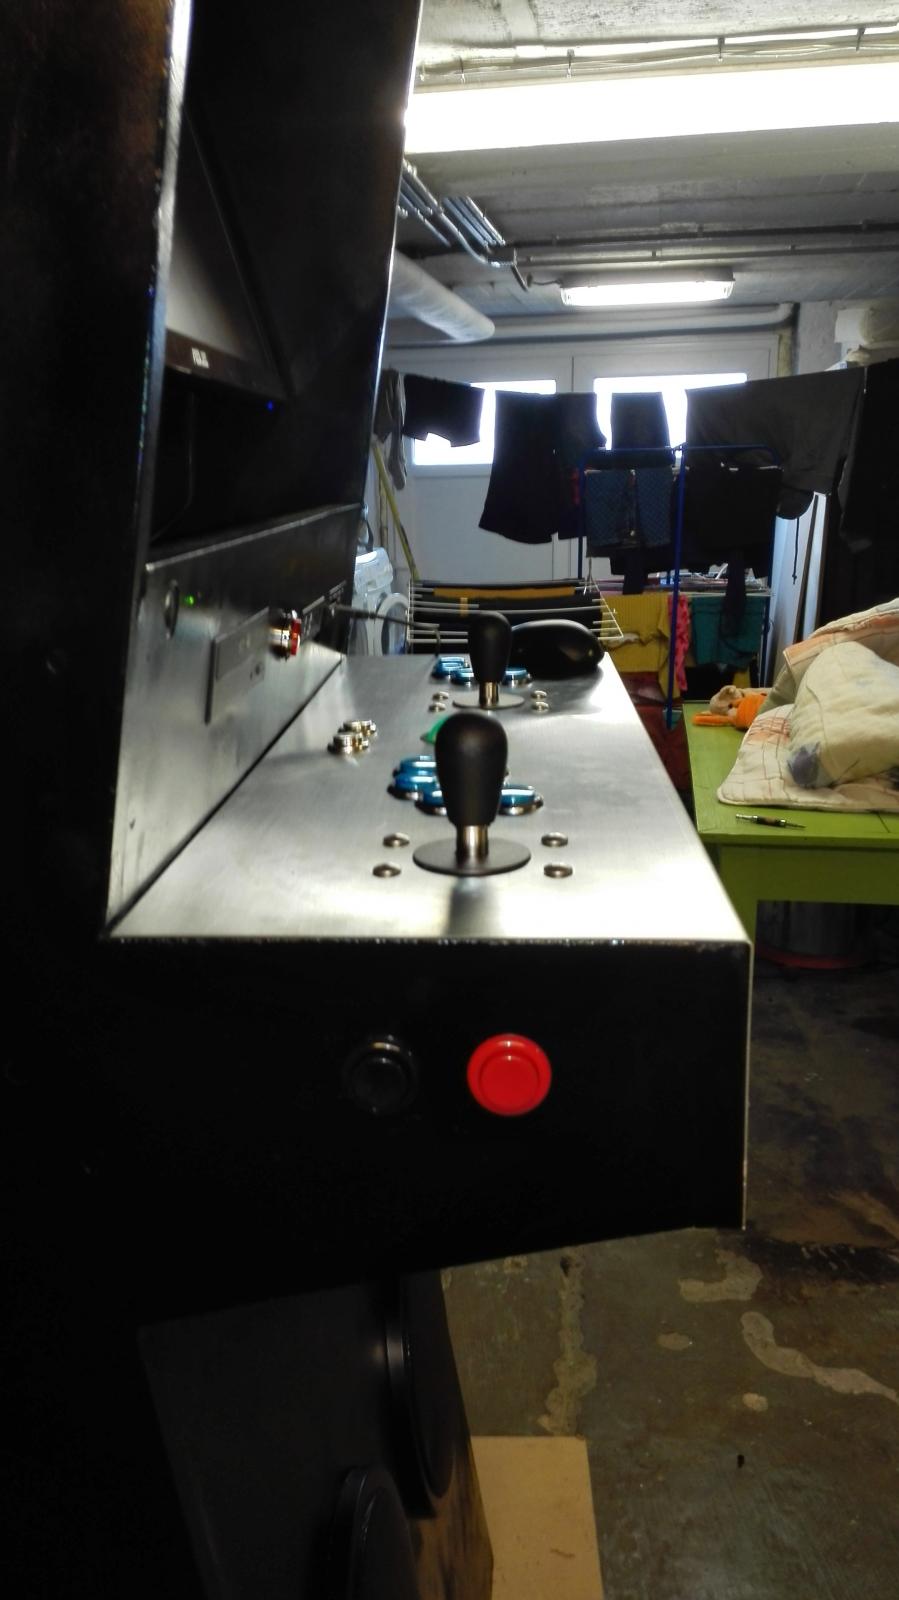
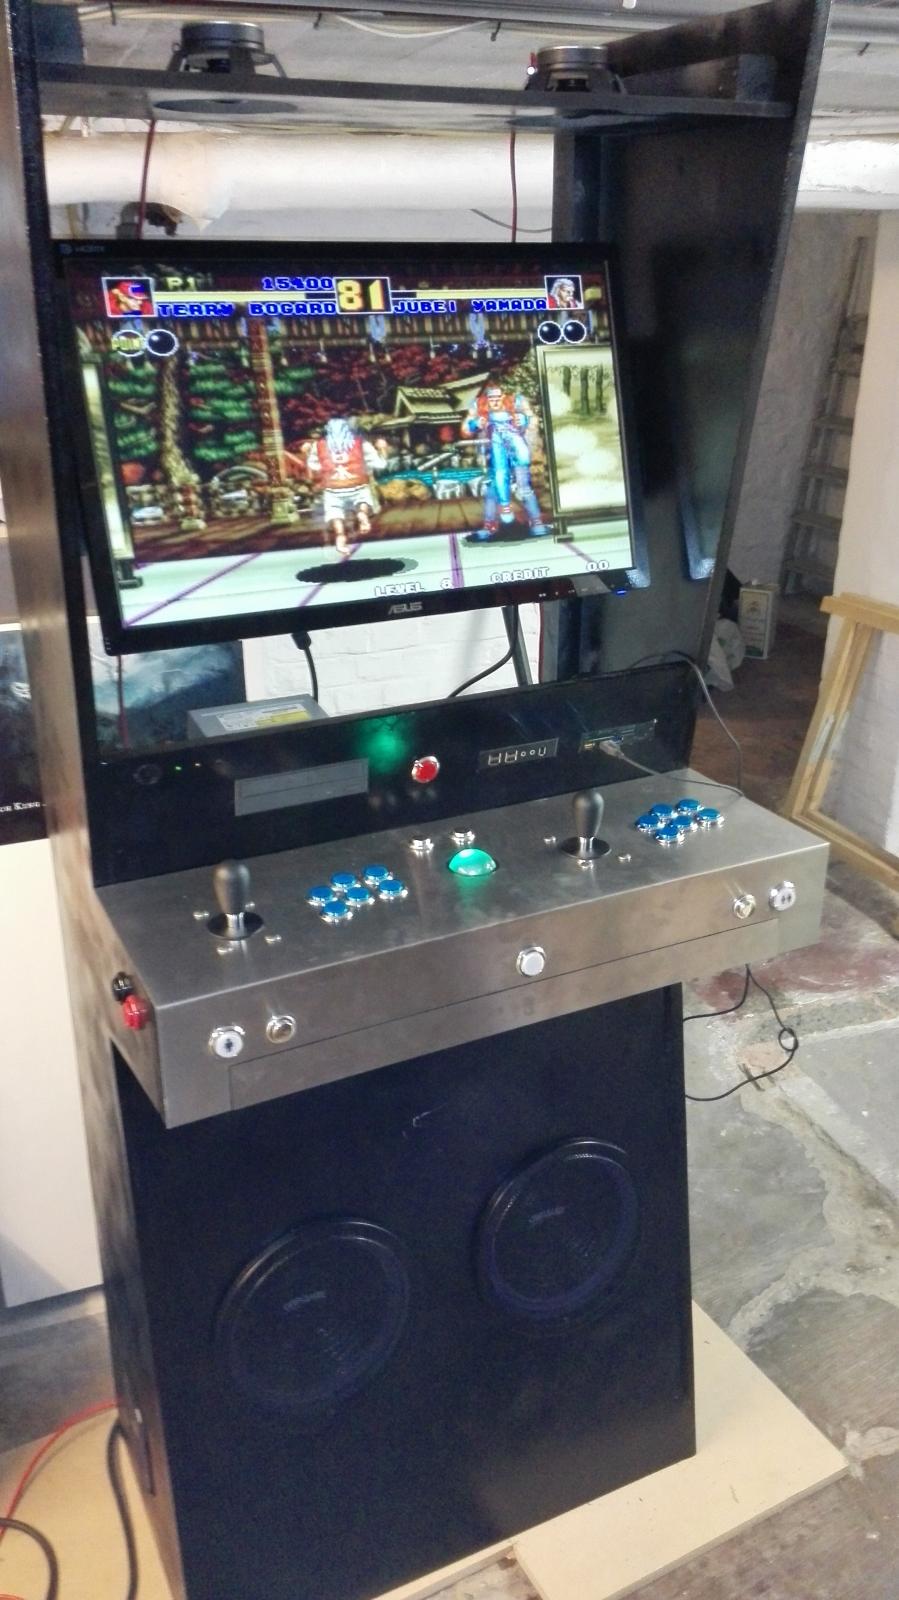
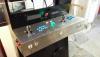
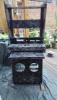
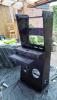
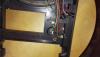
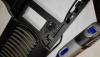
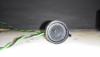
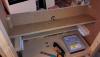
Hi Painting is done. 2 primer and 5 black coats. Its not totally perfect but I give up. I hate painting and I don't have the will nor the patience to spend one week on this. I tried to wet sand between coats but that not really worked the way I would. That's not bad anyway. So I worked late yesterday to mount the buttons, IT and Audio. Everything's good. To answer tthurman: the trackball is not steel but illuminated... And I absolutely hate it. I ordered a blue and received this ugly green. I will have to either change their LEDs with blue or remove them. Drawer Opened/Closed That's the bottom CP when the drawer is opened: everything's accessible so its very convenient for maintenance and 4/8 way switch. Somewhat clear wiring wiring Tomorrow I'll show you some pictures in darkness with all the blue light fancy things I put everywhere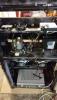


-
[CABINET] Showing off my project for GameEx Cabinet
Crippius replied to Crippius's topic in Gamer Rigs
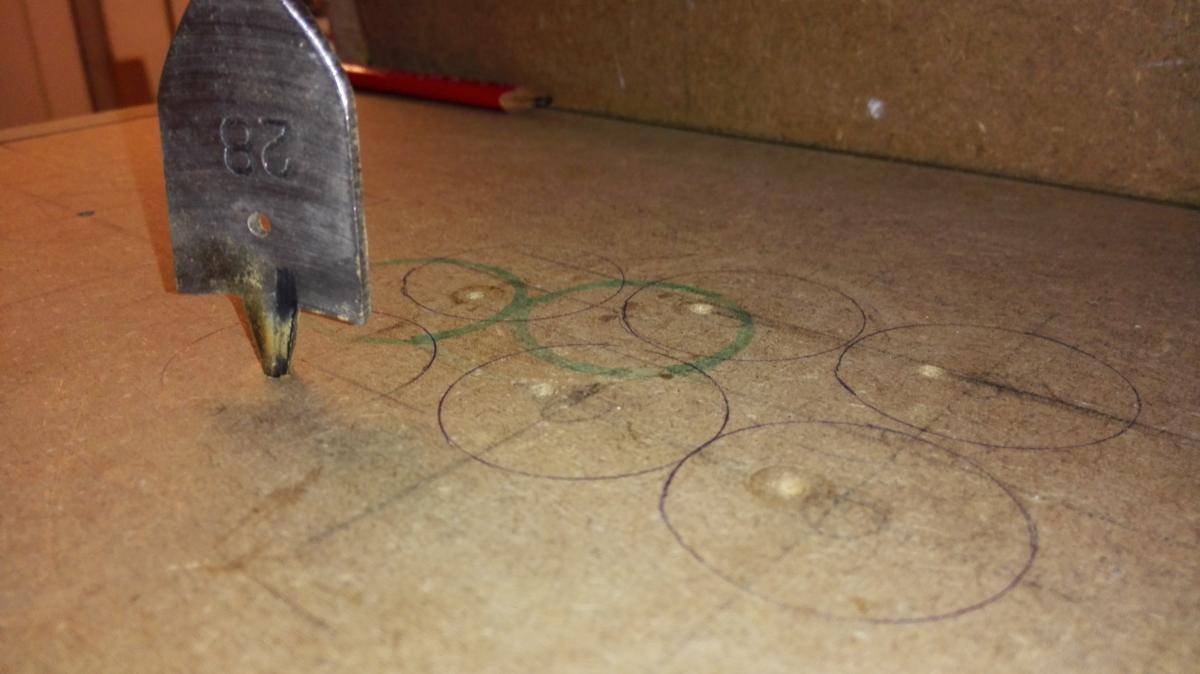
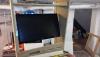
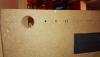
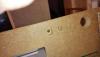
Last straight line to the paint. Flipper buttons holes CP Holes. My illuminated and chromed buttons are diam. 24 but they have an edge on top of diam 28, so I had to make 2 different holes Firstly 28mm Check Secondly 24mm SUPER CHECK I love it. And the very last: screen area. I let down the rotating monitor. And this is not by despair. I could not find any 4:3 monitor higher than 19". So I thought to it all the winter and I came to the conclusion that using a "small" 4/3 on this huge area will just look silly. Added to this, I have taken a 27" and the vertical size is almost the same as if I had used a 19" 4:3 in portrait mode. Placement and removal of the screen will be super easy thanks to this thing: http://www.materiel.net/accessoire-pour-ecran-lcd/ergotron-kit-extracteur-express-lcd-60-589-060-74105.html Crafters Here we go And finally, here's where I am right now. 2 coats of primer, 3 coats of black. I'll apply another 1 or 2. AND NOW THAT WILL BECOME INTERESTING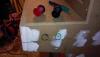

-
[CABINET] Showing off my project for GameEx Cabinet
Crippius replied to Crippius's topic in Gamer Rigs
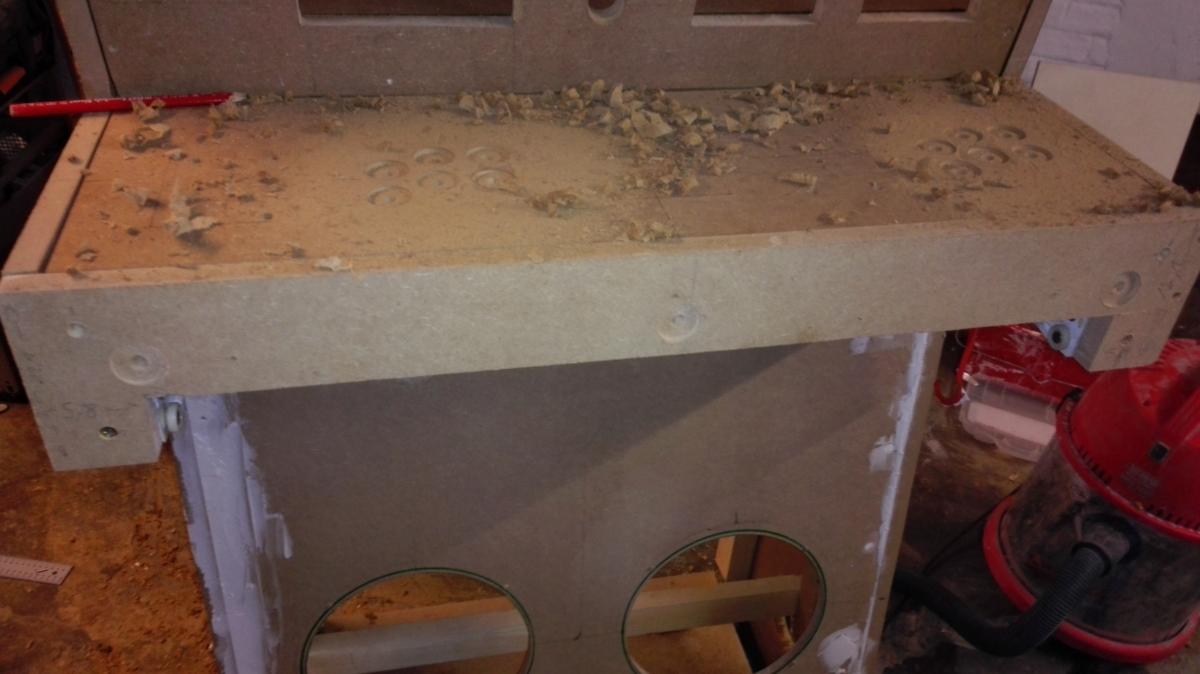
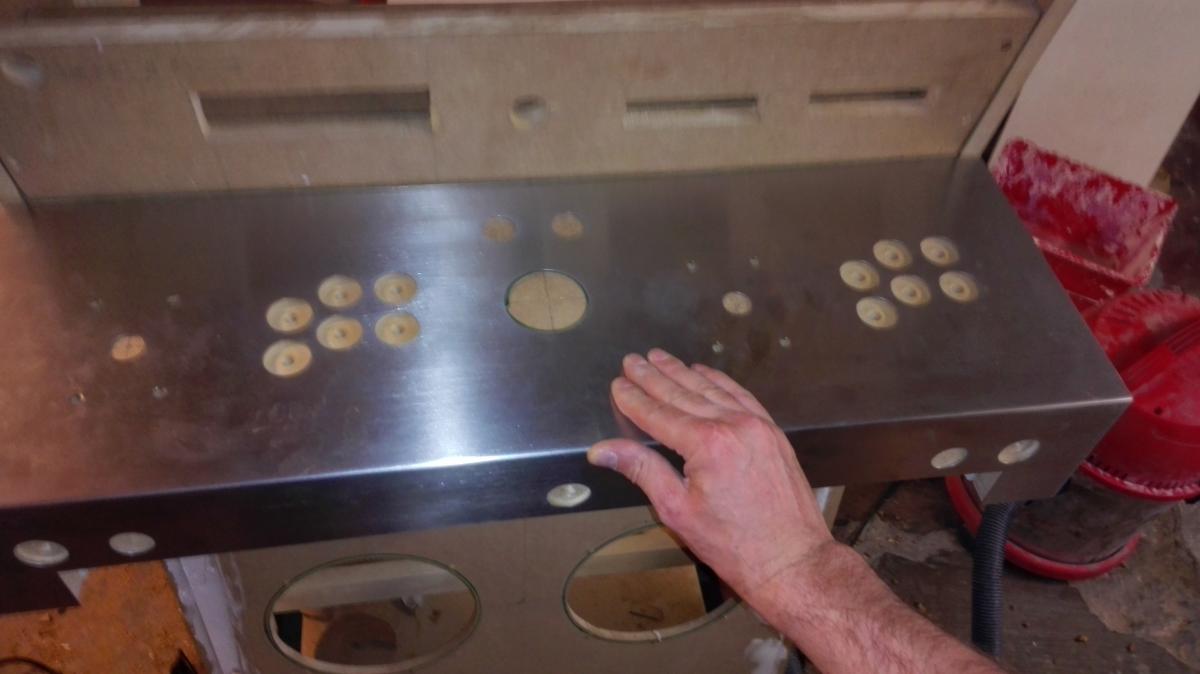
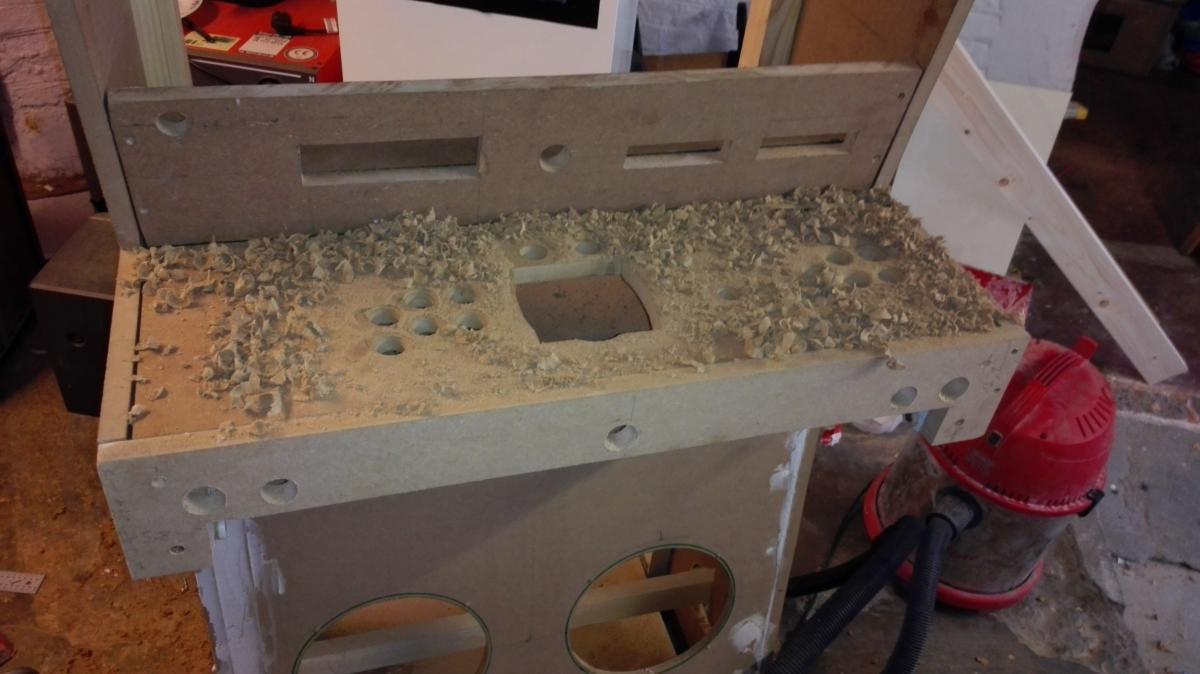
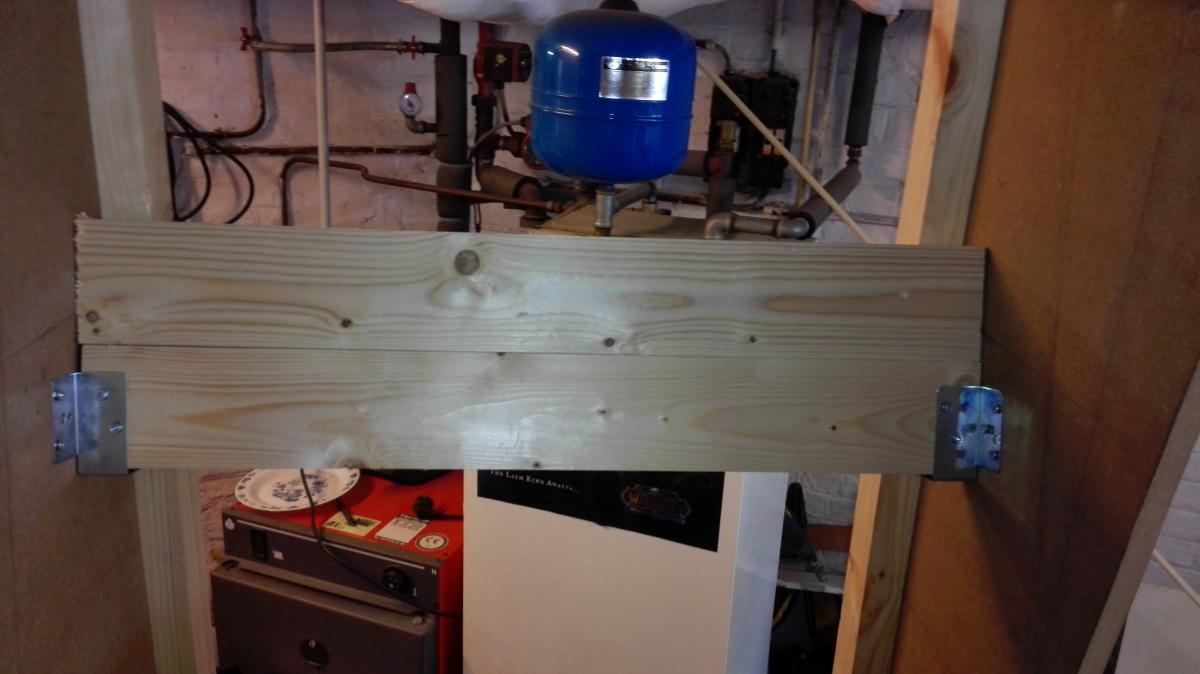
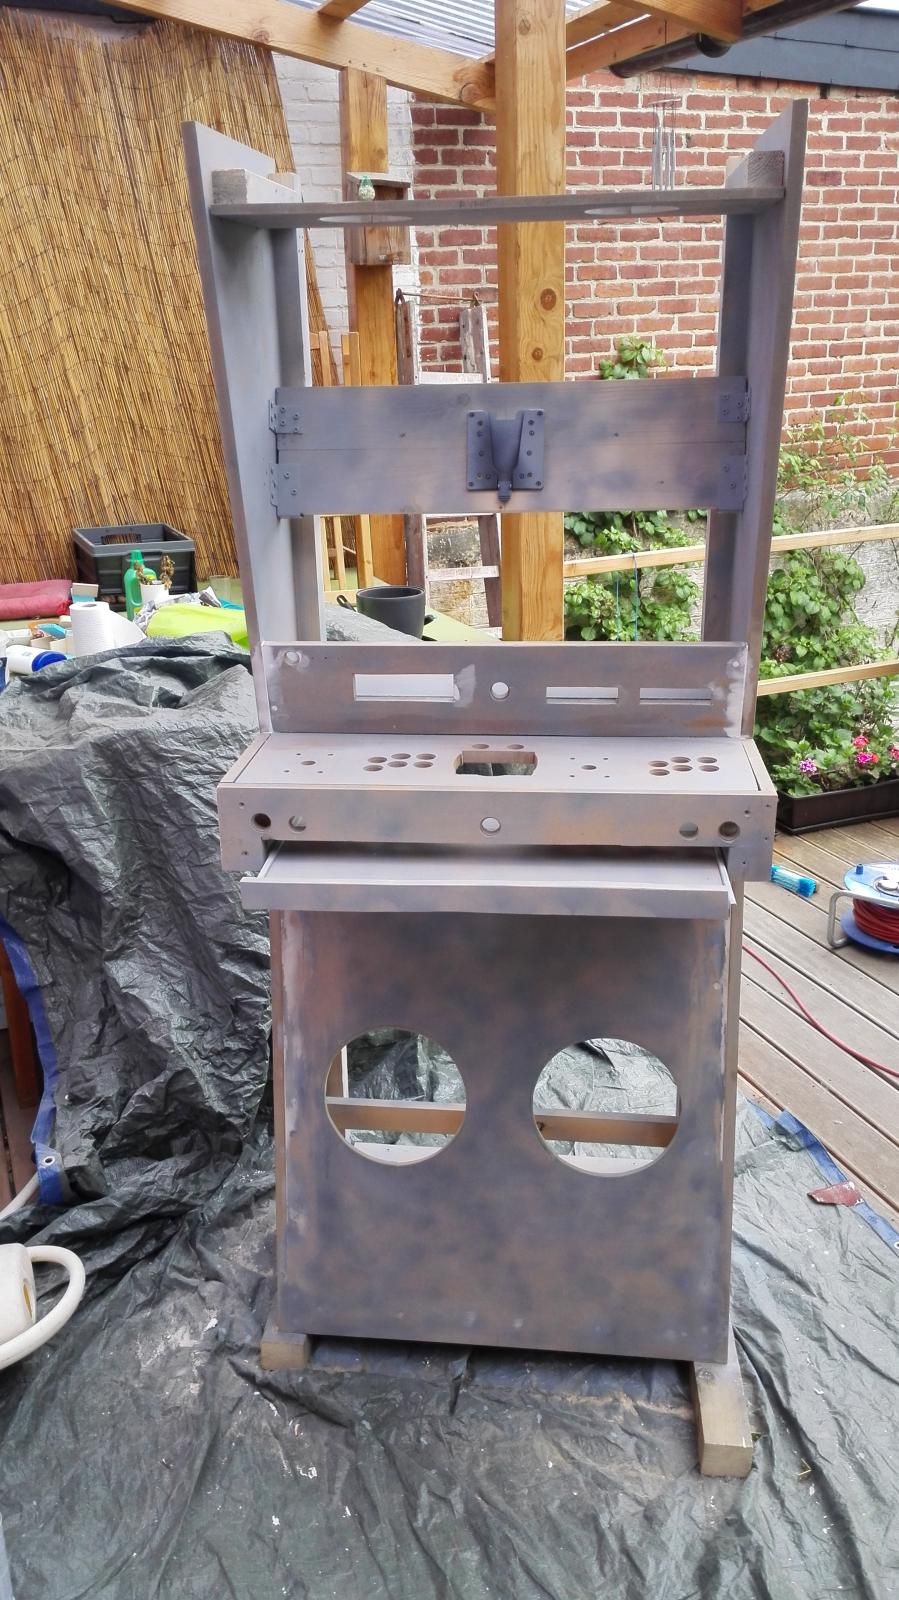
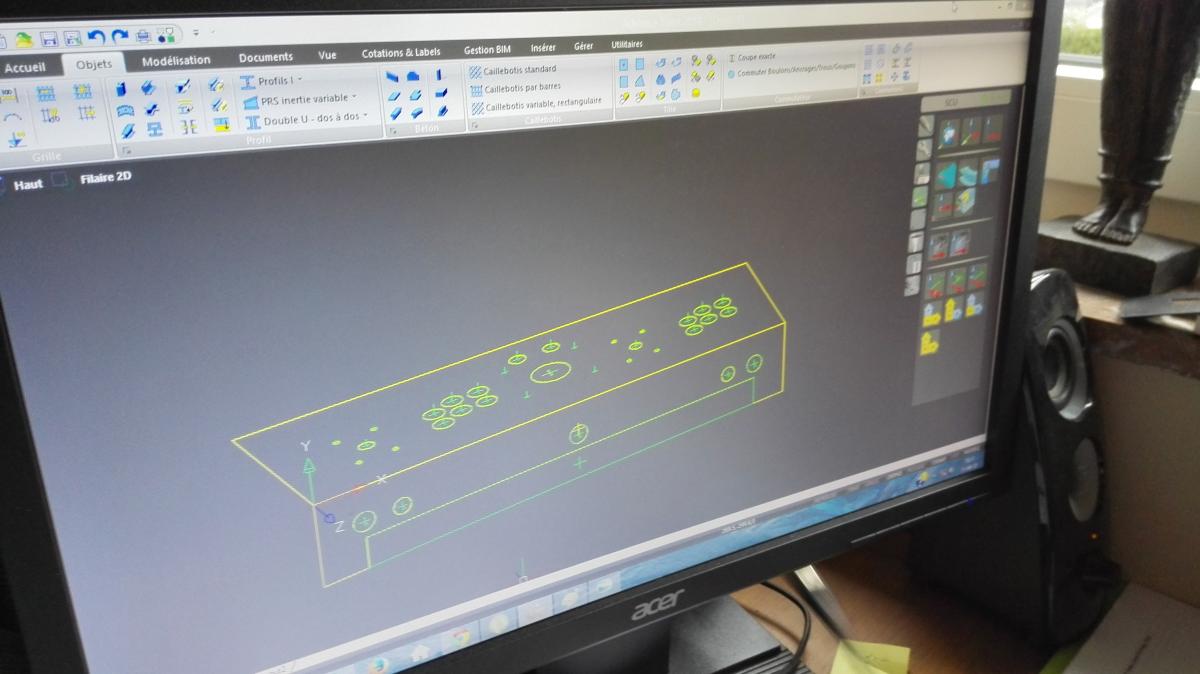
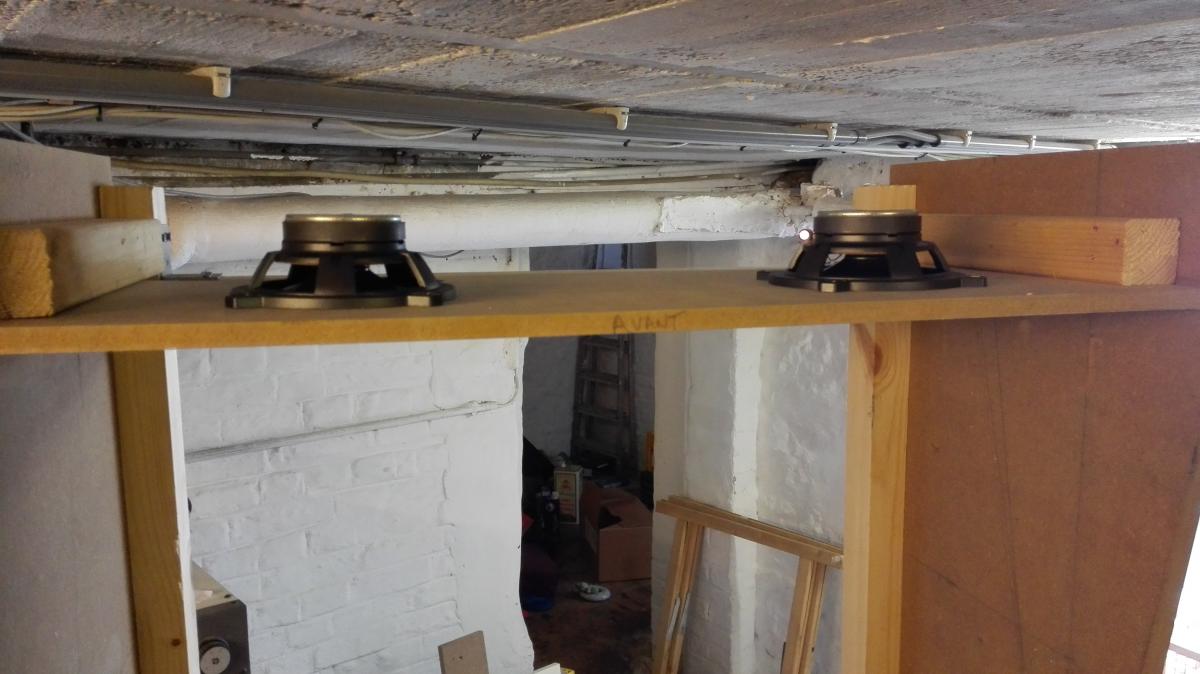
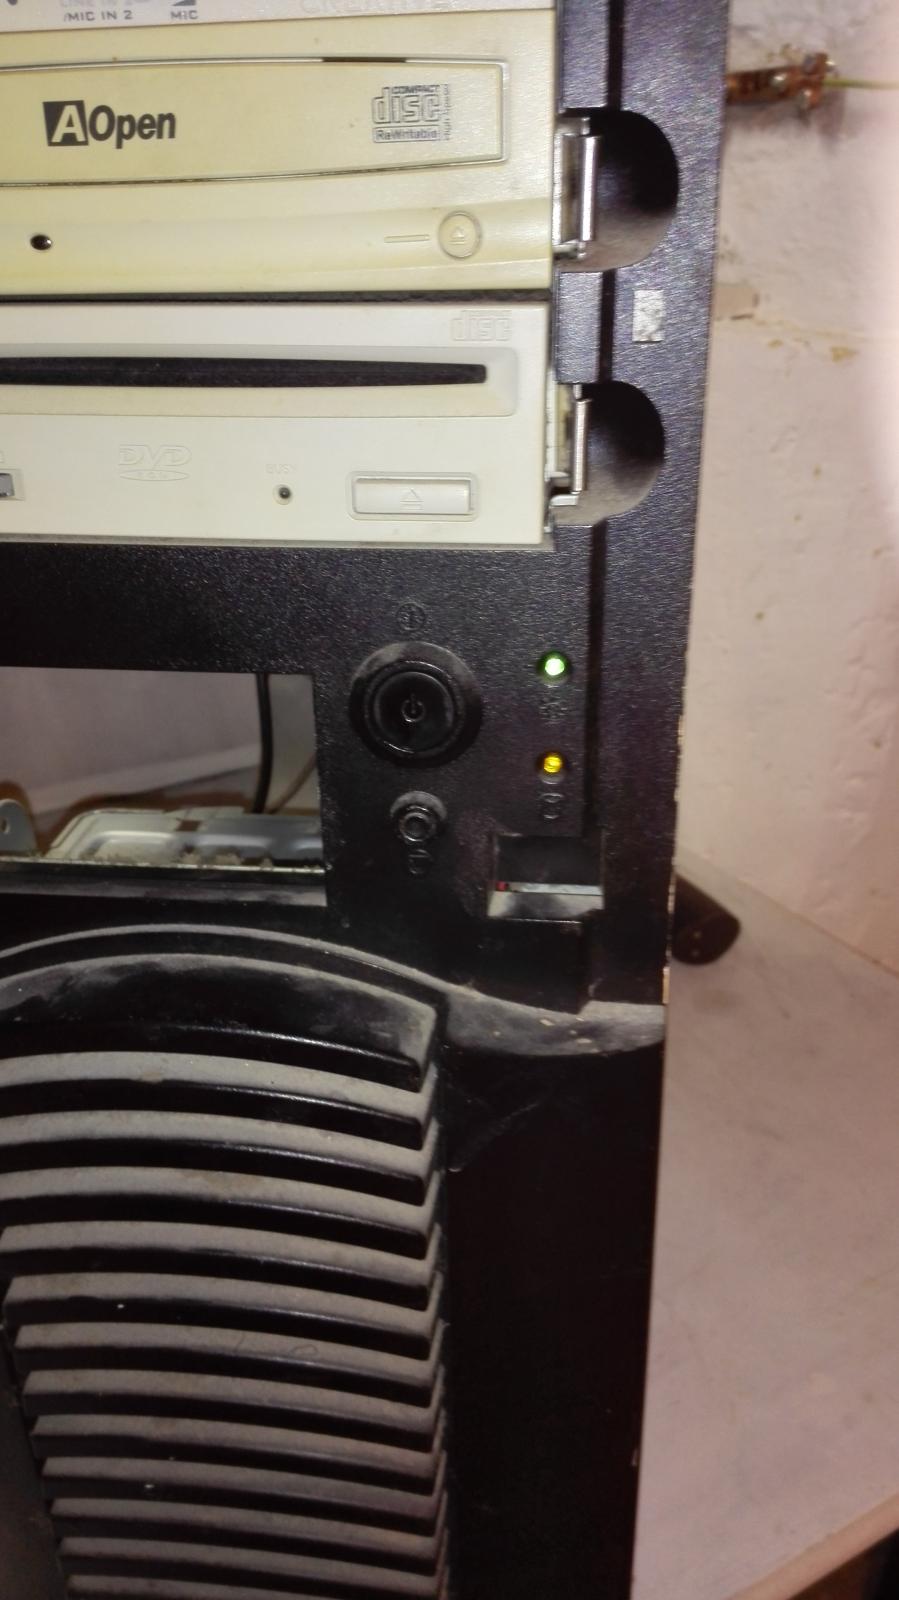
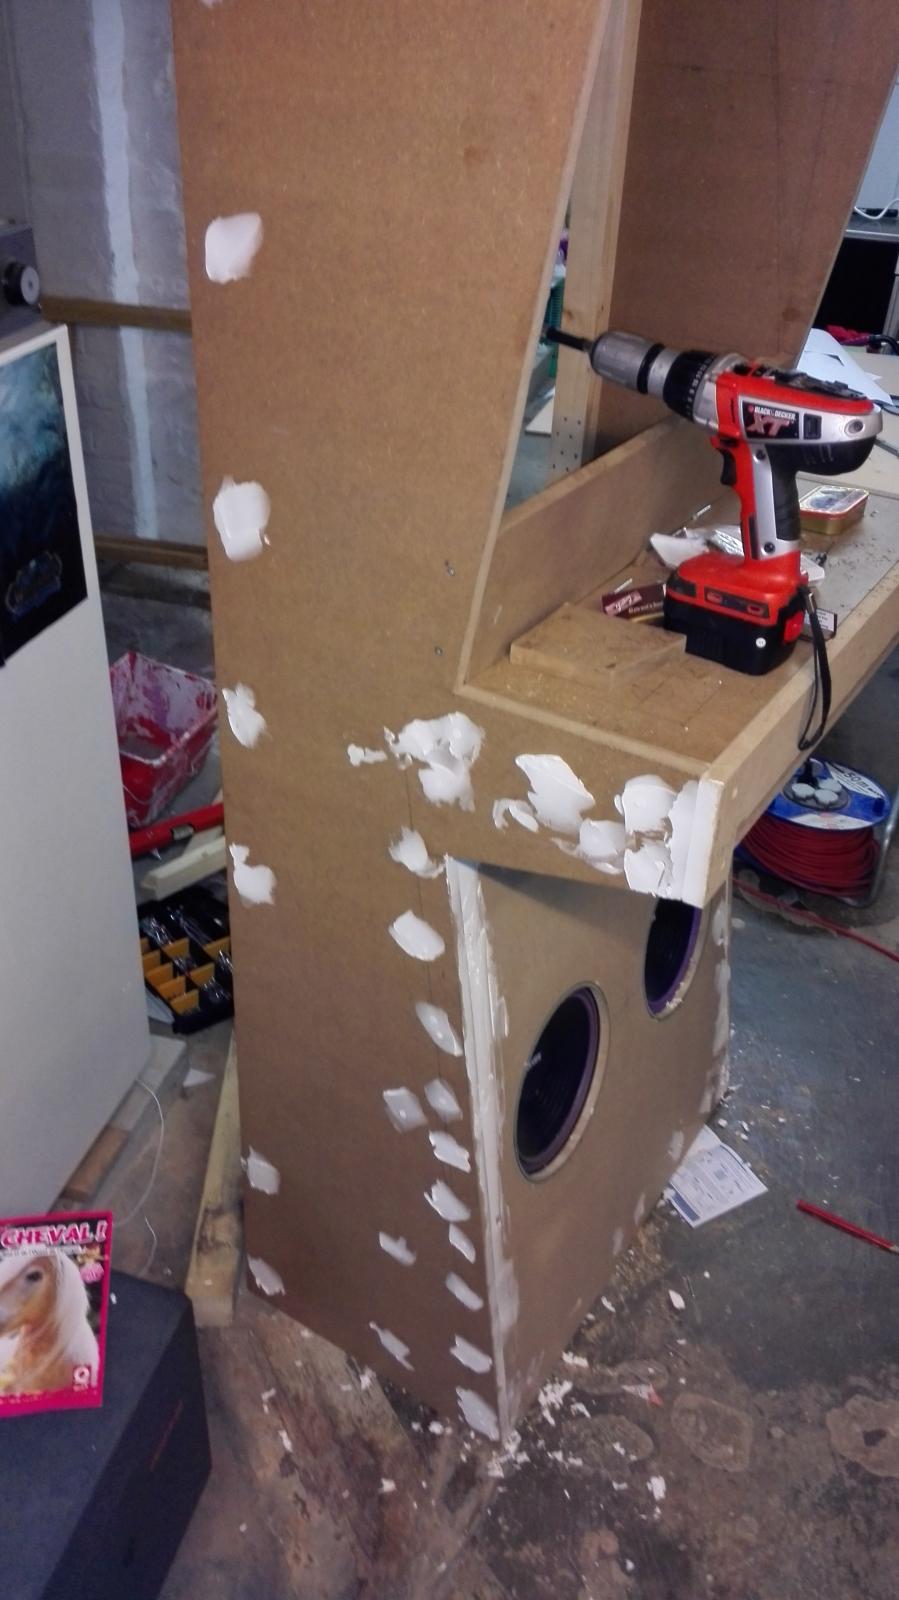
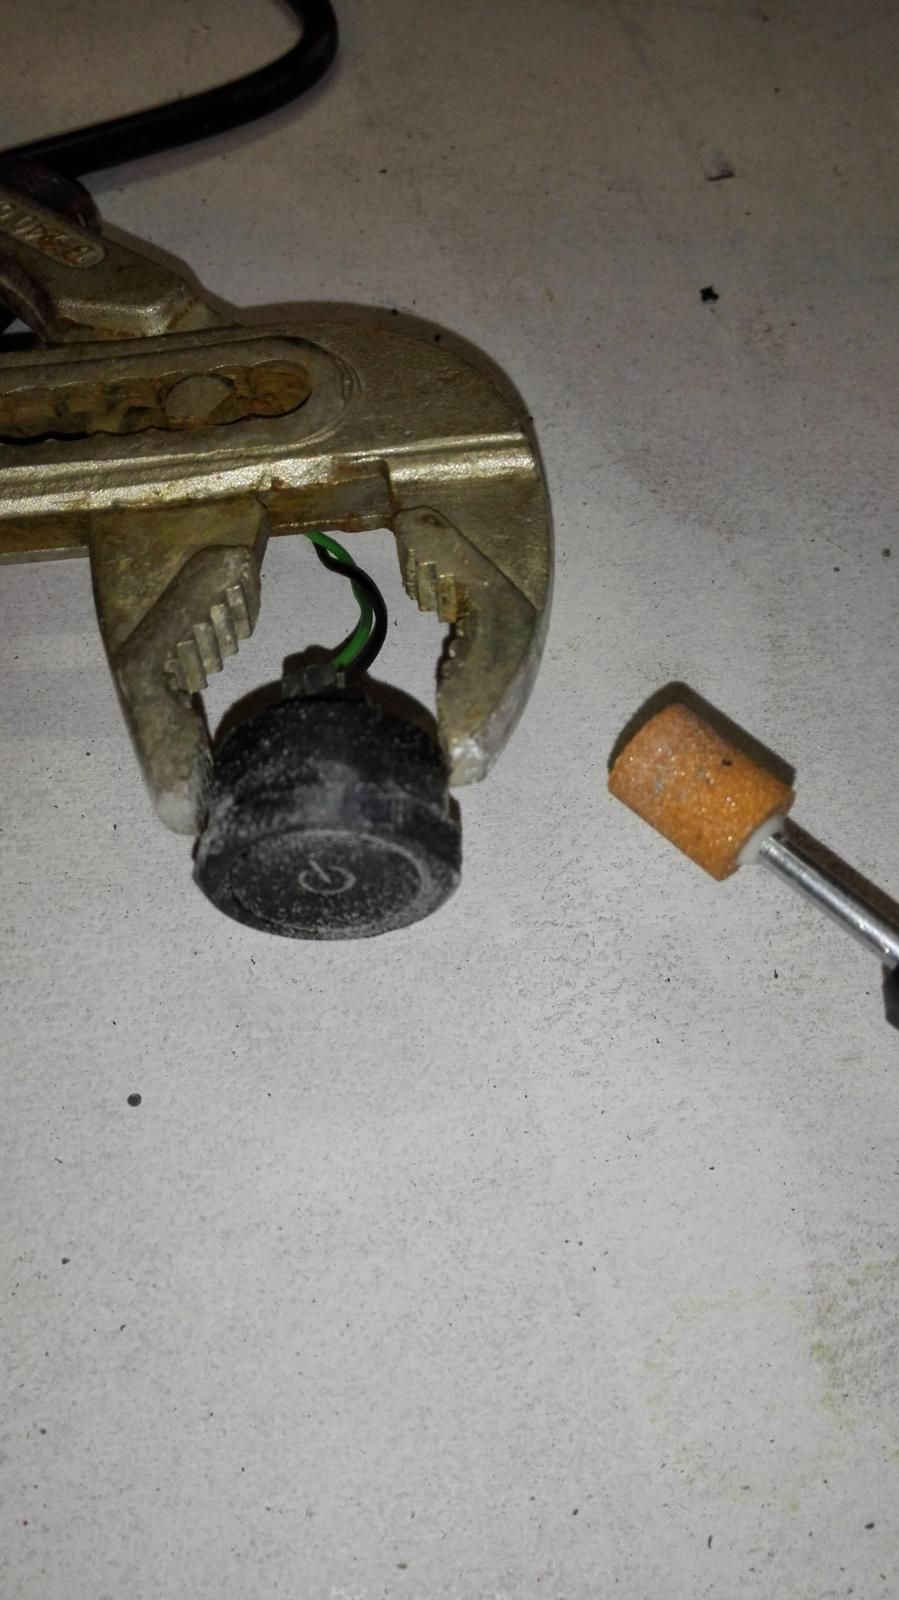
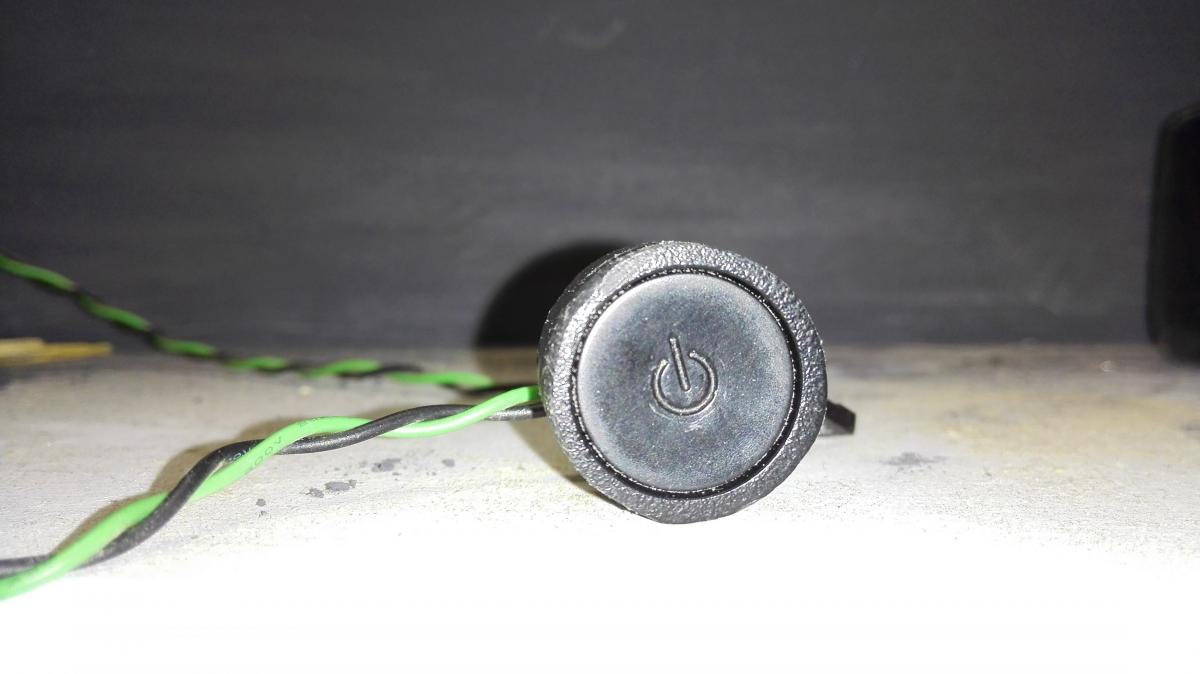
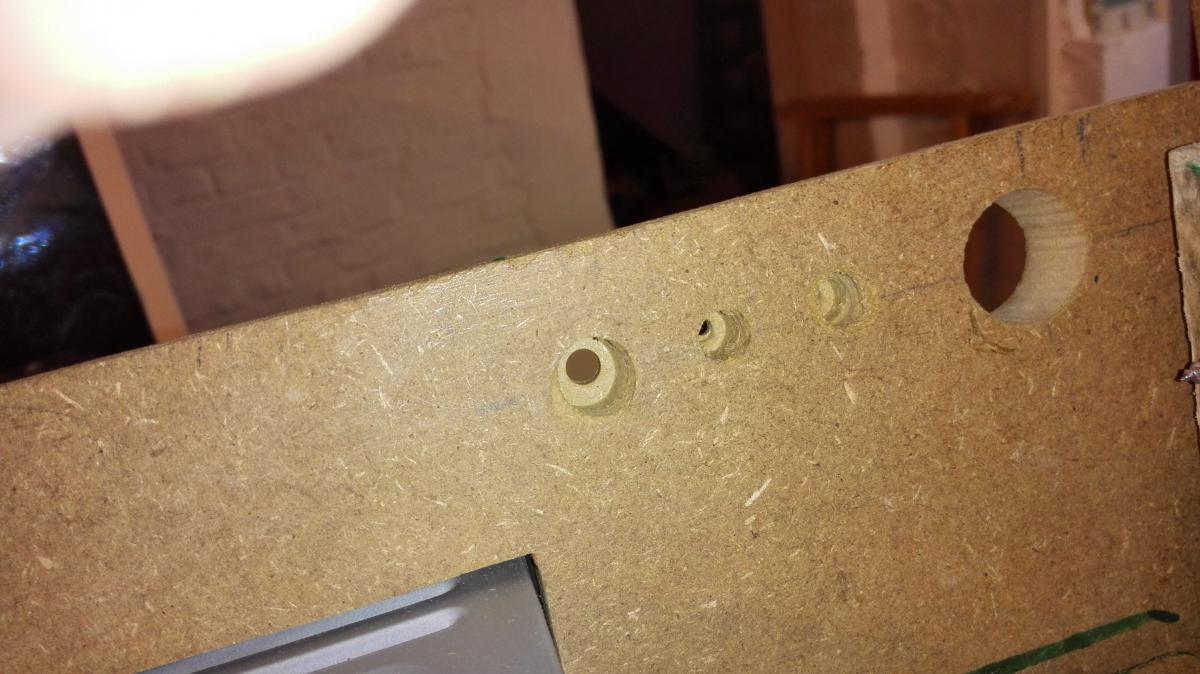
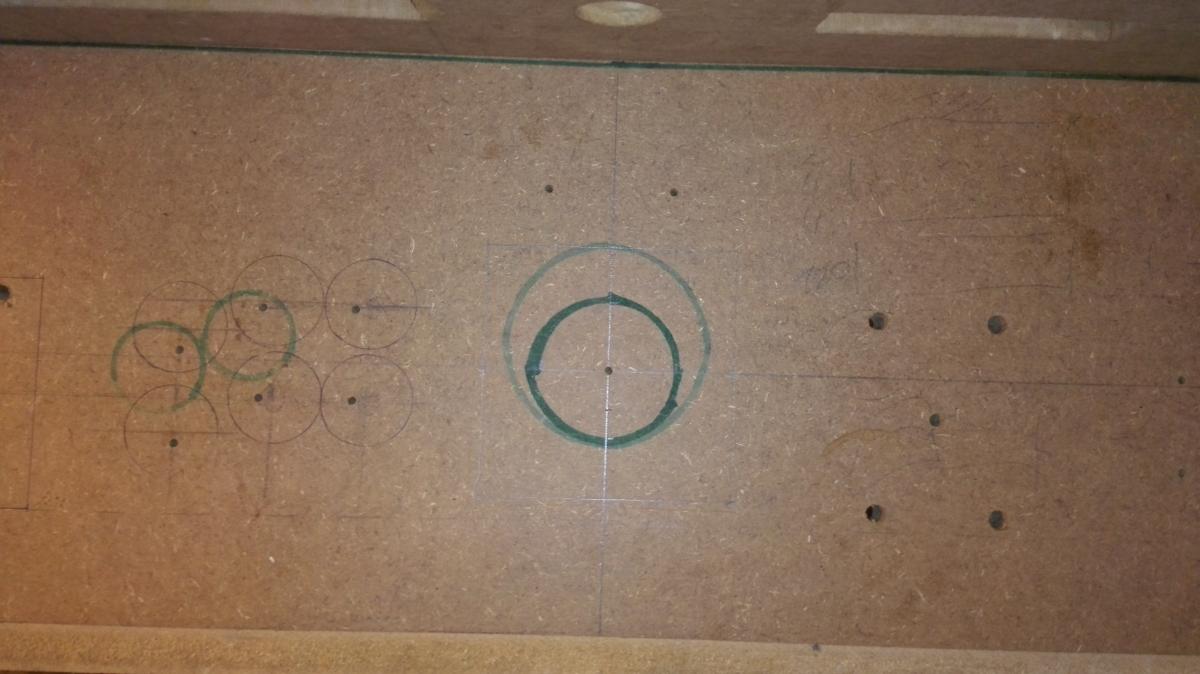
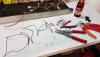
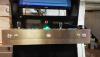
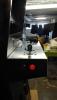
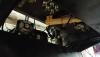
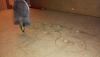
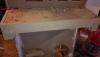
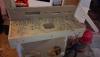
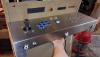
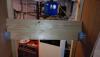
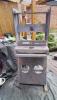
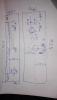
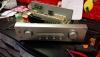
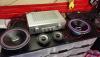
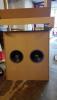
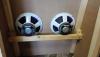
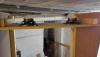
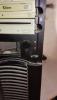
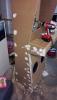
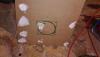
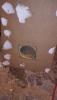
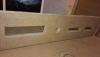
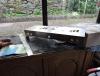
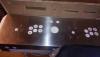
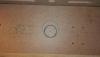
It's time for necroing my thread !! I was busy with too much work during the winter and I let the cabinet sleep in the basements for 3 months. Beginning of April I decided it should end and I worked on it my ass off all the month. We are almost there. Woodworking is done, and paint almost... I have nothing to do while waiting for my last coat to dry so I am taking a few time to show you the job, and I've got a lot of things to show. First I modified the control panel area to add a crafter. This was the last thing to do prior to make CP definitive plans in order to craft the metal piece. Then I drew this plan ANd I went to my friend's house to reproduce it in Autocad (he is an industrial designer drawing metal structures) Then I had to wait a few days to get the paper plans in A0 format, and 2 weeks to receive the crafted metal CP-top. Finally I chose to go with brushed inox That let me a few time to work on the Audio. I went to a local specialist in Car AUdio and discussed with him about the project. I initially thought to purchase a car amplificator, but since I had an old Stereo Sony Ampli of good quality, he advised me to use that one instead. So I bought him 2 big 350W speakers, 2 small 250W (Alpine) and very nice grids That's my AMpli I dismount it to analyse whether it was possible to remove the buttons from their chassis in order to integrate them in my CP. The circuit card was way to big to do anything, and unsolder would have lead to a total failure as some buttons was like glued in the chassis. So I decided to put it like this in the cabinet and to use windows to control the volume. And here it is remounted with the speakers The ampli is 150W. I couldn't push the volume more than HALF without turning deaf. the powerfulness of this install is absolutely crazy, and this is what I want In the meantime I received the printed CP plan and made some checkings Working on speakers holes It looks fantastic, especially with the grids which aren't on the picture Those speakers are so heavy that I prefered to add a solid rafter to discharge their 4 screws from the miserable 12mm MDF And ten the holes for the 2 Alpine 250W going on top Got an evening without anything else to do so I decided to fill all the screw holes Here comes a fun part. During the winter I desperately tried to find some sort of 3.5" PC front panel control for, in others, powering the PC. Apparently that doesn't even exists. I had this old PC and the power button wasn't bad So I decided to use that. I love my dremel. I began to cut the plastic to dismount the pieces I would And then I polished the plastic around power button to give it a round form Looks good enough Some days after I decided to craft the CP main control area : The support for 3.5" stuff and DVD Digging holes for devices, Power button and reset button, and leds (power/hdd) Let's work on the air flow. There will be 2 fans with blue led on the bottom side (flowing in), and 2 other flowing out on the top back Last week I got a phone call from my friend, the CP metal piece was waiting. I got palpitations I placed it on the CP, on top of the paper plan in order to have the holes centers to drill: I had a good surprise when I removed everything... This is a useless hole I drilled on the center of the trackball, just to see if it was centered with the CP like I planned it: Just perfect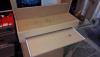

-
[CABINET] Showing off my project for GameEx Cabinet
Crippius replied to Crippius's topic in Gamer Rigs
Little update: my friend, which is industrial designer in a metal factory, has taken the measurements of the control panel. he will reproduce that in Autocad, then : print it at 1/1 scale so i can use that as a drilling template use that plan to craft the aluminium piece using a high-tech machine.That's the best way I found to have a highly polished aluminium piece that will fit perfectly atop the MDF that's a nice step forward as once I have the drilling template I can start to temporary mount the controls and test. -
I begun with this but I found that it was incomplete as some sentences were referring to other sentences/options which I didn't find in the ini file. This caused a serious issue as I need to keep everything coherent. Example: Hide Create Snaps does not lie in the language.ini file I then searched a bit in the file system and found that the setup wizard has it's own xml language file, in which I could find the missing terms: CONFIG\SetupWizard_fr.xml Do you confirm that I can modify the translations directly in this XMLfile and send it to Tom along with the french.ini ?